


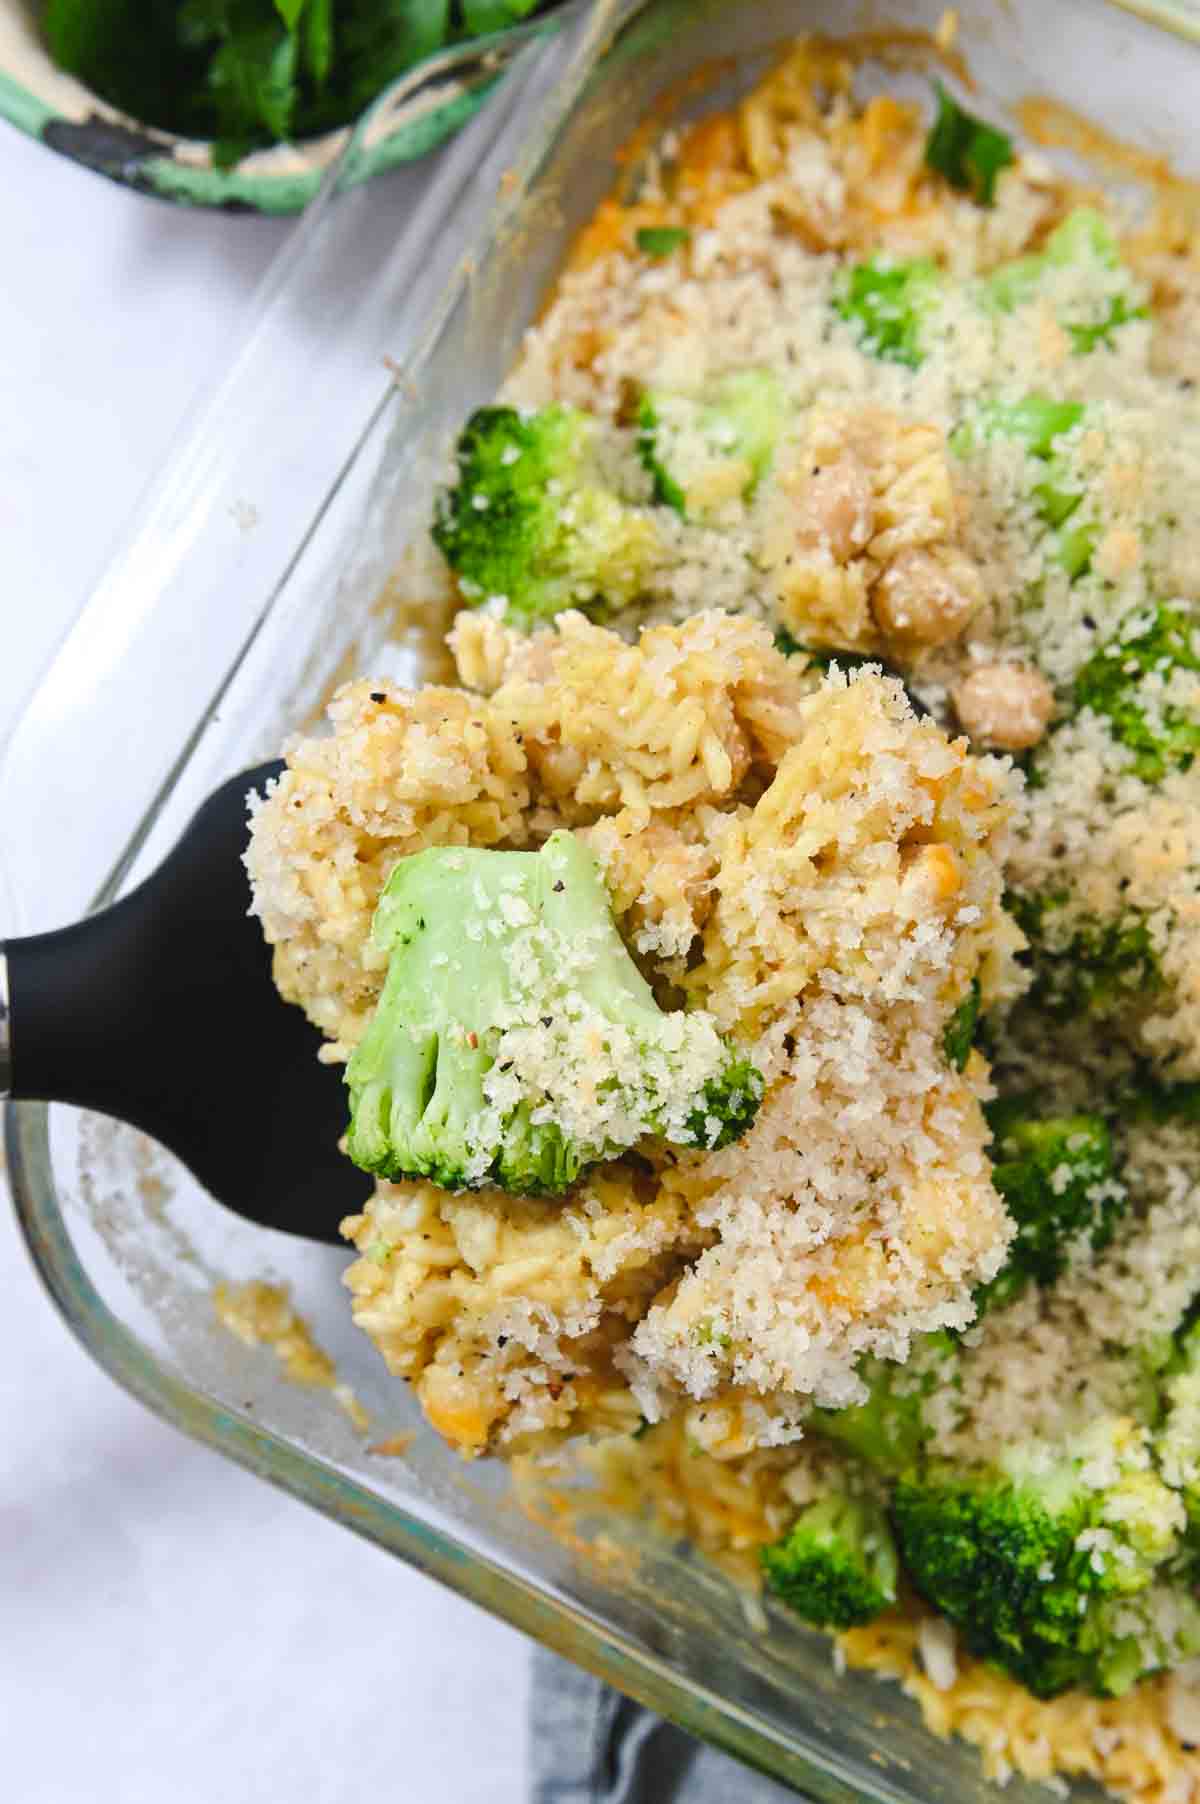
This cheesy broccoli rice casserole is the ultimate vegetarian comfort food! It's a dump-and-bake casserole that uses dry rice, coconut milk, and chickpeas for a satisfying and comforting weeknight meal.

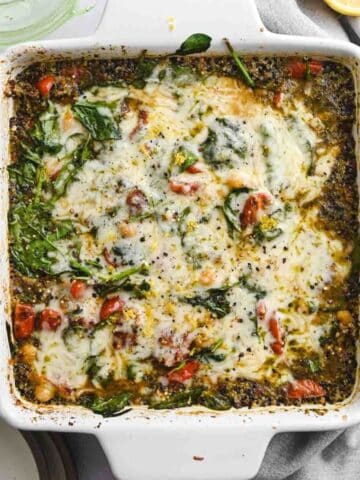
I recently shared this dump and bake quinoa casserole and it was a hit, so I'm back with another dump and bake casserole. This time it's a cheesy, comforting rice and broccoli casserole.
This style of recipe is often made with chicken, but we're using chickpeas for a plant-based protein swap. The result is like a cross between a chicken rice casserole and cheesy broccoli rice casserole.
The best part about this casserole is that the rice cooks in the oven, not on the stove. Dry rice is added to the casserole dish alongside the chickpeas, a bunch of seasonings to bring that chicken noodle soup feel, and coconut milk for a touch of creaminess.
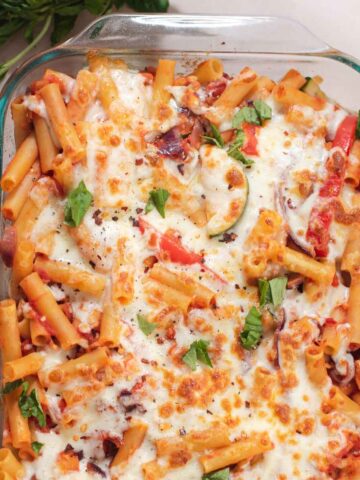
This recipe reminds me a lot of my vegan broccoli mac and cheese and my cheesy broccoli orzo recipes, which are also all about comfort!
Jump to:
Recipe features
- Dump and bake: No dicing, chopping, or cooking is needed before you put the casserole together. Just add everything to the casserole dish and cover tightly with foil. The rice cooks in the dish!
- Comforting: This is the ultimate vegetarian comfort food recipe. It's cheesy, simple, and satisfying. It reminds me of casseroles that I grew up eating, just a touch lighter (and made without canned cream of mushroom soup!).
- Balanced: We're omitting chicken to make this recipe vegetarian, but this meal is still balanced from rice, broccoli, and chickpeas. Don't be mistaken, but it's still a cheesy, comfort-first casserole!
- Texture: This is a sliceable casserole, so it's not super creamy or overwhelmingly rich. The rice is firm and perfectly cooked but still tender.
- Dietary features: Vegetarian as-is, easy to make dairy-free/vegan, soy-free, gluten-free optional, nut-free
Ingredients
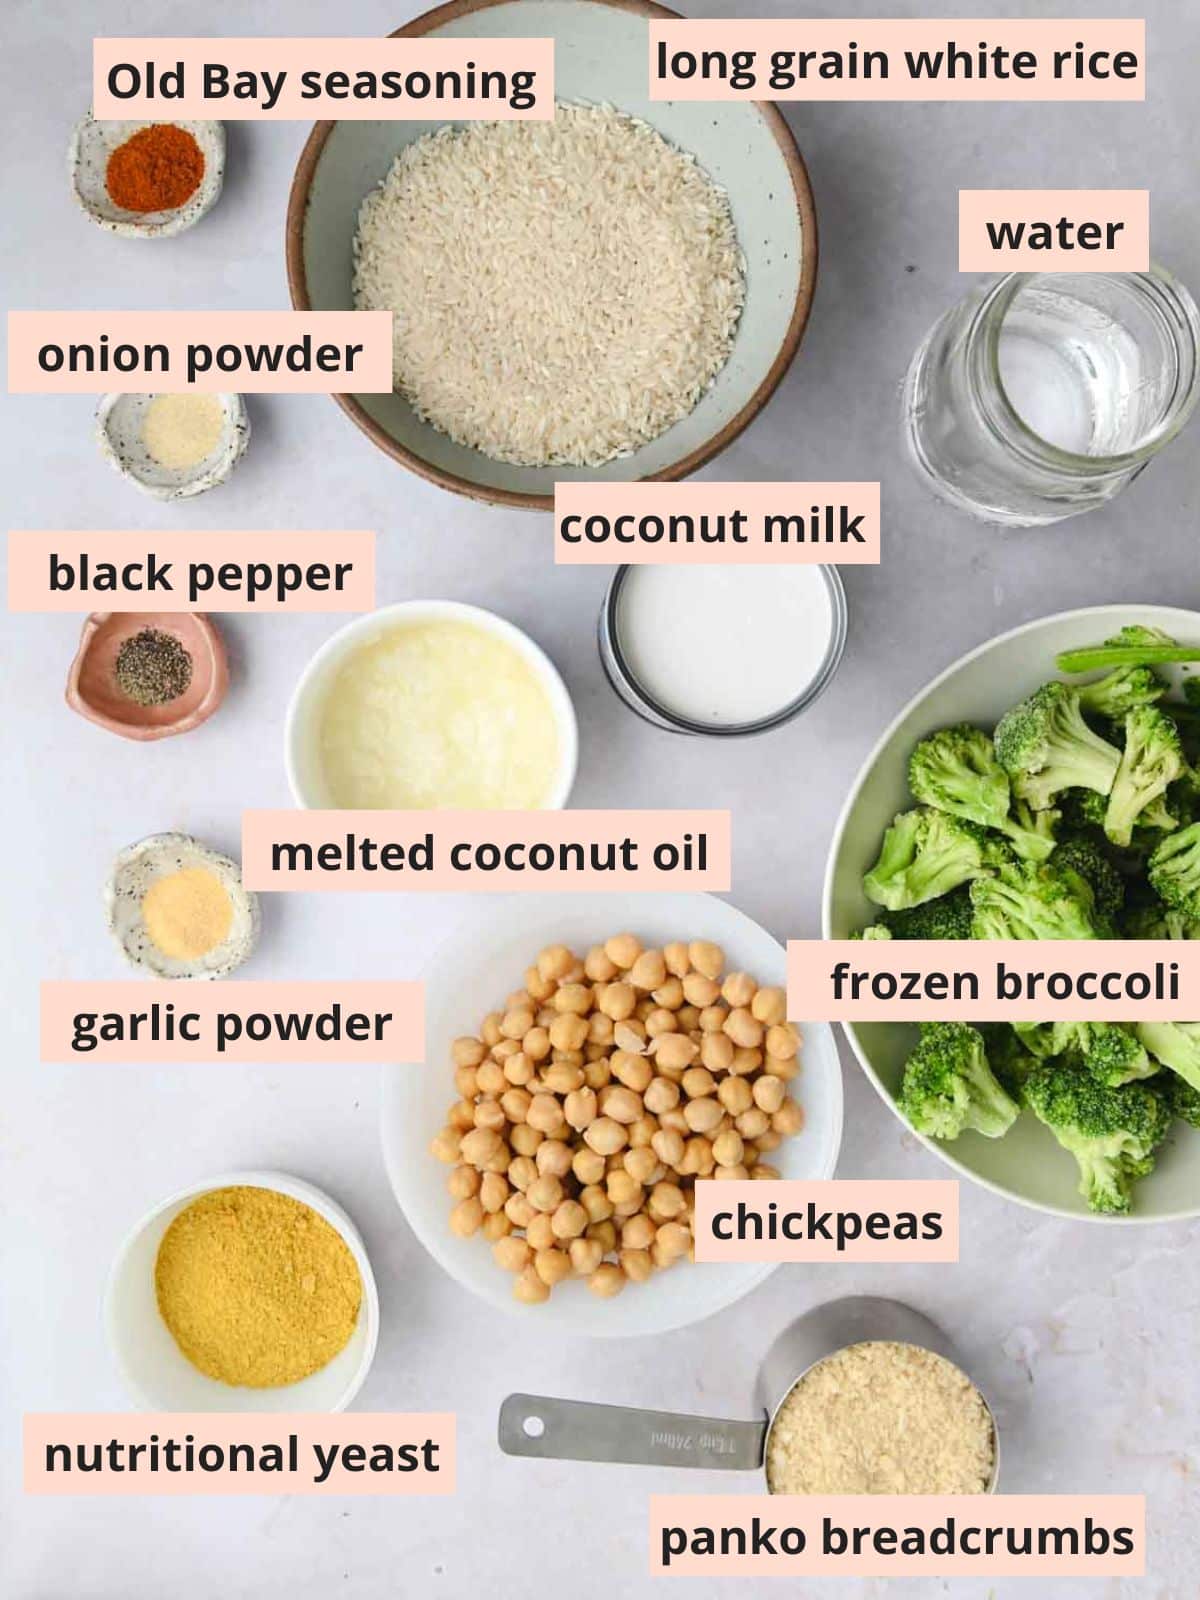
- Long grain white rice: I have only tested this with long grain white rice, so that's what I recommend using. Brown rice doesn't work because it requires additional liquid to cook fully.
- Coconut milk: Full-fat coconut milk adds depth and creaminess. It also provides some liquid to help cook the rice. For a lighter option, use light/reduced-fat coconut milk. I don't recommend replacing the coconut milk with another non-dairy milk.
- Seasonings: Old Bay is an all-purpose seasoning that is at the heart of the flavor in this recipe. If this seasoning is new to you, it's also great to keep on hand for cast iron biscuits, mac and cheese, and chicken fried tofu.
- Broccoli: To make this recipe as easy as possible, choose a bag of frozen broccoli. Make sure to fully thaw the broccoli before adding it to the casserole.
- Panko and coconut oil combine to make a crispy, golden topping. Regular breadcrumbs work in a pinch, but panko texture is the best. This step adds a lot to the casserole, so don't skip it! Melted butter works if you don't have coconut oil.
- Shredded cheese and nutritional yeast: Nutritional yeast is a staple seasoning because it adds depth and a hint of cheesy flavor. Combine with shredded cheddar to make the casserole extra cheesy.
Step by step instructions
Prep: Before you assemble the casserole, make sure to bring the liquids to almost simmering. You can either heat the liquids on the stove in a medium pot over medium-high heat or heat them in a heat safe bowl in the microwave.
Lightly grease a 9x13 baking dish with oil. Rinse the rice thoroughly under cool, running water, then add to the baking dish. Add the seasonings, simmered coconut milk and water (or broth), and chickpeas.
Cover tightly with foil so that steam does not escape while cooking. Bake at 375F for 25-30 minutes, or until the rice is mostly cooked through (like 95% done).

Stir the rice casserole. Sprinkle with shredded cheese. In a medium bowl, whisk together the coconut oil and panko breadcrumbs until combined. It will be a dry and crumbly mixture. To the casserole dish, add the thawed broccoli and sprinkles of breadcrumbs.
Return to the oven to bake for an additional 10-15 minutes, or until the panko breadcrumbs are golden and crisp.
Let the casserole rest for 5 minutes before slicing and serving. Enjoy!
Cassidy's tips
- Casserole dish: This recipe uses a 9x13 baking dish. I use a glass baking dish; ceramic or metal work but may slightly affect cook time. Same with dish size: most similar dish sizes work, but may affect cook time.
- Thawed broccoli: To keep the broccoli bright green, I recommend using frozen broccoli and thawing it instead of cooking it completely. To do this, either let it thaw in the fridge for a few hours or cook it for 1-2 minutes less than the bag recommends.
- Fresh broccoli: I have not tested this recipe with fresh broccoli but I don't see why it wouldn't work. Make sure to steam the broccoli to al-dente (a little bit of a bite) before adding it to the casserole.
- Why heat the liquids? I found that heating liquids prior to adding them to the casserole dish makes the cooking process a little quicker and yields softer rice. If you forget to heat the liquids you may just need to add an extra 5 minutes of cook time before removing the foil.
- Cover the casserole: This step is non-negotiable! Covering the casserole tightly with foil prevents steam from escaping. The steam is necessary to completely cook the rice.
- Rice texture: Don't remove the lid from the casserole dish until the rice is 95% cooked. It's not going to cook much more when the lid is removed. If the rice isn't fully cooked but looks dry, add an extra ⅓ cup of water to the dish.
- Gluten-free option: To make gluten-free, just use gluten-free Panko breadcrumbs.
Storage information
- Leftovers: Best within 3-4 days. Let cool to room temp before covering with foil or a lid and refrigerating.
- Reheating: I reheat the casserole in the microwave. I have not tried reheating it in the oven, but it should work fine. Just cover tightly with foil and heat at 325 degrees F for 20-30 minutes, or until warmed through.
- Freezing: I have not tried freezing this casserole but will update the post if I do. I'd love to hear from you if you do try freezing it.

Looking for more vegetarian comfort food?


Looking for a more traditional broccoli casserole? Check out my Broccoli Cheddar Casserole! You can even add cooked rice to it.
Recipe
Want to Save This Recipe?
Enter your email & I'll send it to your inbox. Plus, get great new recipes from me every week!
By submitting this form, you consent to receive emails from Cozy Peach Kitchen

Cheesy Broccoli and Rice Casserole (Vegetarian)
Equipment
- foil
Ingredients
- 1 ¼ cup long grain white rice
- 14 ounces frozen broccoli thawed completely
- 1 cup water or vegetable broth
- 13.5 ounce can full-fat coconut milk
- 15 ounce can chickpeas drained and rinsed
- 3 tablespoons nutritional yeast
- 1 teaspoon Old Bay seasoning
- ½ teaspoon onion powder
- ½ teaspoon garlic powder
- ½ teaspoon salt plus an extra pinch
- ⅛ teaspoon black pepper
- ½ cup shredded cheddar cheese
- 1 cup panko breadcrumbs
- 3 tablespoons melted coconut oil
- lemon wedges for serving
Instructions
- Preheat the oven to 375F.
- In a fine mesh sieve, rinse the white rice under cool running water until it runs clear. Thaw the broccoli by cooking it in the microwave 2 minutes less than recommended cook time.
- Add the water and coconut milk to a medium sauce pot. Bring to a slow simmer over medium-high heat. You can also warm the liquids in a heat-safe bowl in the microwave.
- Lightly oil a 9x13-inch baking dish. Add the rinsed rice, water, coconut milk, chickpeas, nutritional yeast, Old Bay seasoning, onion powder, garlic powder, salt, and black pepper. Stir to combine.
- Cover tightly with foil. Bake at 375F on the middle oven rack for 25-30 minutes. Remove from the oven when the rice is cooked through.
- Stir the casserole. It will be realtively thick; if you prefer a creamier end result, stir in ⅓ cup milk of choice. Top with shredded cheese and the thawed broccoli.
- In a medium bowl, mix together the panko breadcrumbs, coconut oil, and a pinch of salt. It will be a relatively dry, sand-like texture. Sprinkle across the top of the casserole.
- Return to the oven to bake, uncovered, for an additional 10 minutes or until the panko is golden.
- Remove from the oven and let cool for 5 minutes before slicing and serving. Serve with a squeeze of lemon juice. Enjoy!
Video
Notes
- White rice: I have only tested this with long-grain white rice, so that's what I recommend using. Brown rice doesn't work because it requires additional liquid to cook fully.
- Coconut milk: Full-fat coconut milk adds depth and creaminess. For a lighter option, use light/reduced-fat coconut milk. I don't recommend replacing the coconut milk with another non-dairy milk.
- Leftovers: Best within 3-4 days. Let cool to room temp before covering with foil or a lid and refrigerating.
Phyllis says
I had a ton of broccoli I needed to use, so I tried this recipe. I loved it. It was an interesting combo of flavors, but a good change. I did use better than bullion vegetable broth and cannellini beans though. Delicious!
Cassidy Reeser says
Thanks for giving the recipe a try! Happy to hear you enjoyed it! 🙂
Greta says
I was a little skeptical when the 9x13 seemed very liquid after 25 minutes, but the topping took care of that! The dish was good. If I make again, I will cut back on the Old Bay or omit garlic amd onion powder and use 4 tbsp of butter with the bread crumbs.
Cassidy Reeser says
It’s definitely a trust the process kind of recipe! Thanks for the review!
Izi says
Easy, light and so filling! All of the flavours are subtle but work so well together. My partner and I love this recipe and it's in our regular dinner rotation ☺️
Ali says
I LOVE this recipe! I’ve made it a few times now and know it will continue to be a staple! I love how simple it is to make while still yielding great flavor, quantity, and nutrition. The best thing about this recipe, in my opinion, is how few groceries it requires - if you have the spices and a few pantry staples (nutritional yeast, panko, etc.) this will also be very affordable!
A few moderations I’ve made:
1. I add in 1/2 tsp smoked paprika
2. I mix butter with the panko instead of coconut oil
3. I reduce the time cooked just by a few minutes & added the 1/3 cup milk as suggested - this makes it less dry and helps it hold better as leftovers.
Thank you so much for this delicious, nutritious, and affordable recipe! 🙂
Cassidy Reeser says
Thank you so much for this review! My goal with these types of recipes is exactly that- simple affordable ingredients, low prep, and nutritious!
Michelle says
This was such a tasty casserole. Question, I want to double the yield and do it in a deeper aluminum tray (which I used last time for the recipe yield). How much extra time would you suggest or do you even think it requires more time?
Thanks!
Cassidy Reeser says
I’m so glad you liked it! I don’t think it should take too much longer if you double it since the liquid goes in hot, maybe just 5 more minutes. I would just check at 25 minutes and add extra time with the foil on as needed.
Lex says
This is a great recipe and flexible when it comes to protein if you have more time. My boyfriend is prediabetic so he can't have white rice. I made this work with the same amount of brown rice (1-1/4 cup) by adding an extra cup of vegetable broth and leaving it in the oven for an hour instead of thirty minutes. I didn't have any issues with my dish tasting sweet nor did I taste the coconut. It was definitely just savory. Using the extra broth, mine came out a little creamy rather than dry. Instead of making it for a meal, we used it as meal prep with the intention of keeping it in the fridge and grazing on it as needed. It's nice to have something fully cooked and nourishing you can heat up real quick.
Cassidy Reeser says
Thanks so much for sharing how you got it to work with brown rice! I'm sure many people will find that helpful. 🙂
Abby says
I made this as written. I used veggie stock rather than water and fresh broccoli that I steamed for a few minutes before putting on top of the casserole. It was... good? I think? I was really surprised by the very strong coconut flavor. With a full can of full-fat milk, I should have known, but I thought the spices and nutritional yeast would "cover" the coconut flavor. Between that and the warm spices in Old Bay (clove, cinnamon, mace), this ended up tasting quite sweet 'n savory, almost like a baked good or like Thai curry. Not bad, but unexpected! I threw it under the broiler for a few minutes at the end for ultimate bread crumb crunch!
Cassidy Reeser says
It does lean a bit on the sweet side from the coconut milk, so that's probably a good warning for others who might not like that. Thanks for the review!
Ali says
Delicious thank you for this recipe. I love that it's a healthy comfort food that I can prep ahead to bring to work and avoid eating junk at work!
Cassidy Reeser says
Thank you for trying it! 🙂 Healthy comfort food is my favorite type of food to make, so I'm glad you like it.