

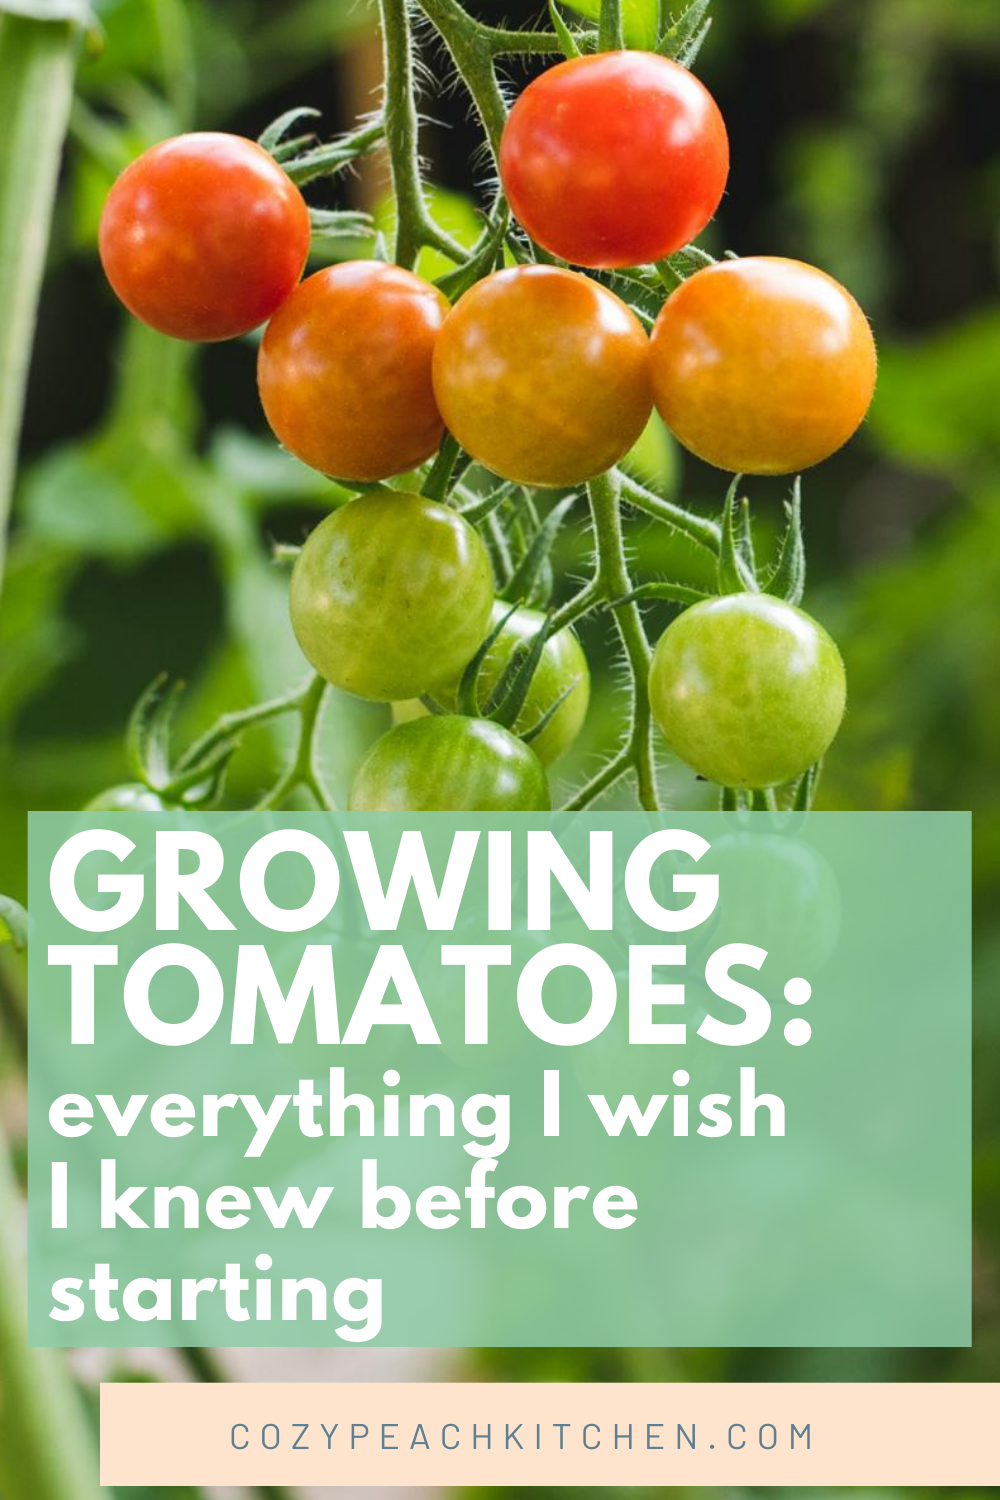
I made a lot of rookie mistakes my first year growing tomatoes and I'm sharing all of them in my complete seed to harvest guide. Follow along as I share my rookie tomato gardening journey!
This post is a little different than I'm used to sharing -- as in there isn't a recipe attached or any nutrition information to learn from -- but I've learned so much in my first year growing tomatoes that I can't keep the information to myself.
I've always wanted a big garden but until now have been stuck with unproductive container gardens and indoor plants. It's easy to romanticize the idea of a big garden when you only have to water several plants weekly.
This was the first year that I had enough room in my yard to grow an actual garden, so I went at it full force. Tomatoes were my main focus because they seem like an "easy" start (since then I have learned that they are somehow as easy to grow as they are complex). I also picked out seeds for broccoli, red onions and bell and jalapeno peppers. I'll reserve what I learned about growing those for another post.
In January I started planning the seeds I would plant in February. By mid-February I had a small jungle growing on top of my washing machine (the only area in the house that the cats couldn't reach the plants). Fast forward to March and transplants are headed to the garden, and by August they are flourishing and still producing. Because, yes, I chose indeterminate tomatoes without actually knowing what that meant.
I learned a lot this season and I made a bunch of mistakes, but somehow my tomatoes still thrived. Give them some water, healthy soil and the heat of the summer sun and they'll grow. They're just like that.
I'll share a few of the rookie mistakes I made and how I plan to learn from them next year. Let's start with choosing seeds.
Side note: I am in growing zone 8A and I am by no means a gardening expert. This guide is meant to serve as inspiration to try your own tomato garden. Check out your local county extension's website for specific gardening advice for your region.
Planning
Where you grow your tomatoes depends a lot on what kind of sun your yard has. This was my first year in my house and I underestimated the size of the pecan tree in my neighbor's backyard. It is big. The shadows cover a lot of the yard where I put my planters for much of the day. Oops.
Tomatoes need a lot of sun but I learned that they will still produce and do well with less than 8 hours of direct sunlight. My tomato plants ended up quite leggy due to the variable sun, but they still produced well.
What I learned: Visit the plot to where you plan to plant your tomatoes at different times throughout the day to see how much sun the spot truly receives. Remember that surrounding trees have a lot less foliage in March than they do in July.
Buying seeds
Choosing seeds to grow was a bit different this year, what with seed shortages at major retailers due to an uptick in home gardening. Thankfully I purchased my seeds at Lowe's back in January-- I am impatient!
The variety was not great. I went with a "culinary tomato blend" and "grape tomatoes". These were clearly mass-produced seeds that promised to be something, but I wasn't actually sure what that something was.
In planning for my fall garden, I went ahead and ordered from Baker Creek because they have a huge variety of rare and just plain fun seeds. There are also reviews to show how well they grew for different gardeners. This is a nice departure from choosing between the two to three varieties that the big home improvement stores have.
What I learned: Choose online seed catalogues for better variety but don't fret too much about choosing big box store seeds. They are seeds, they will likely grow.

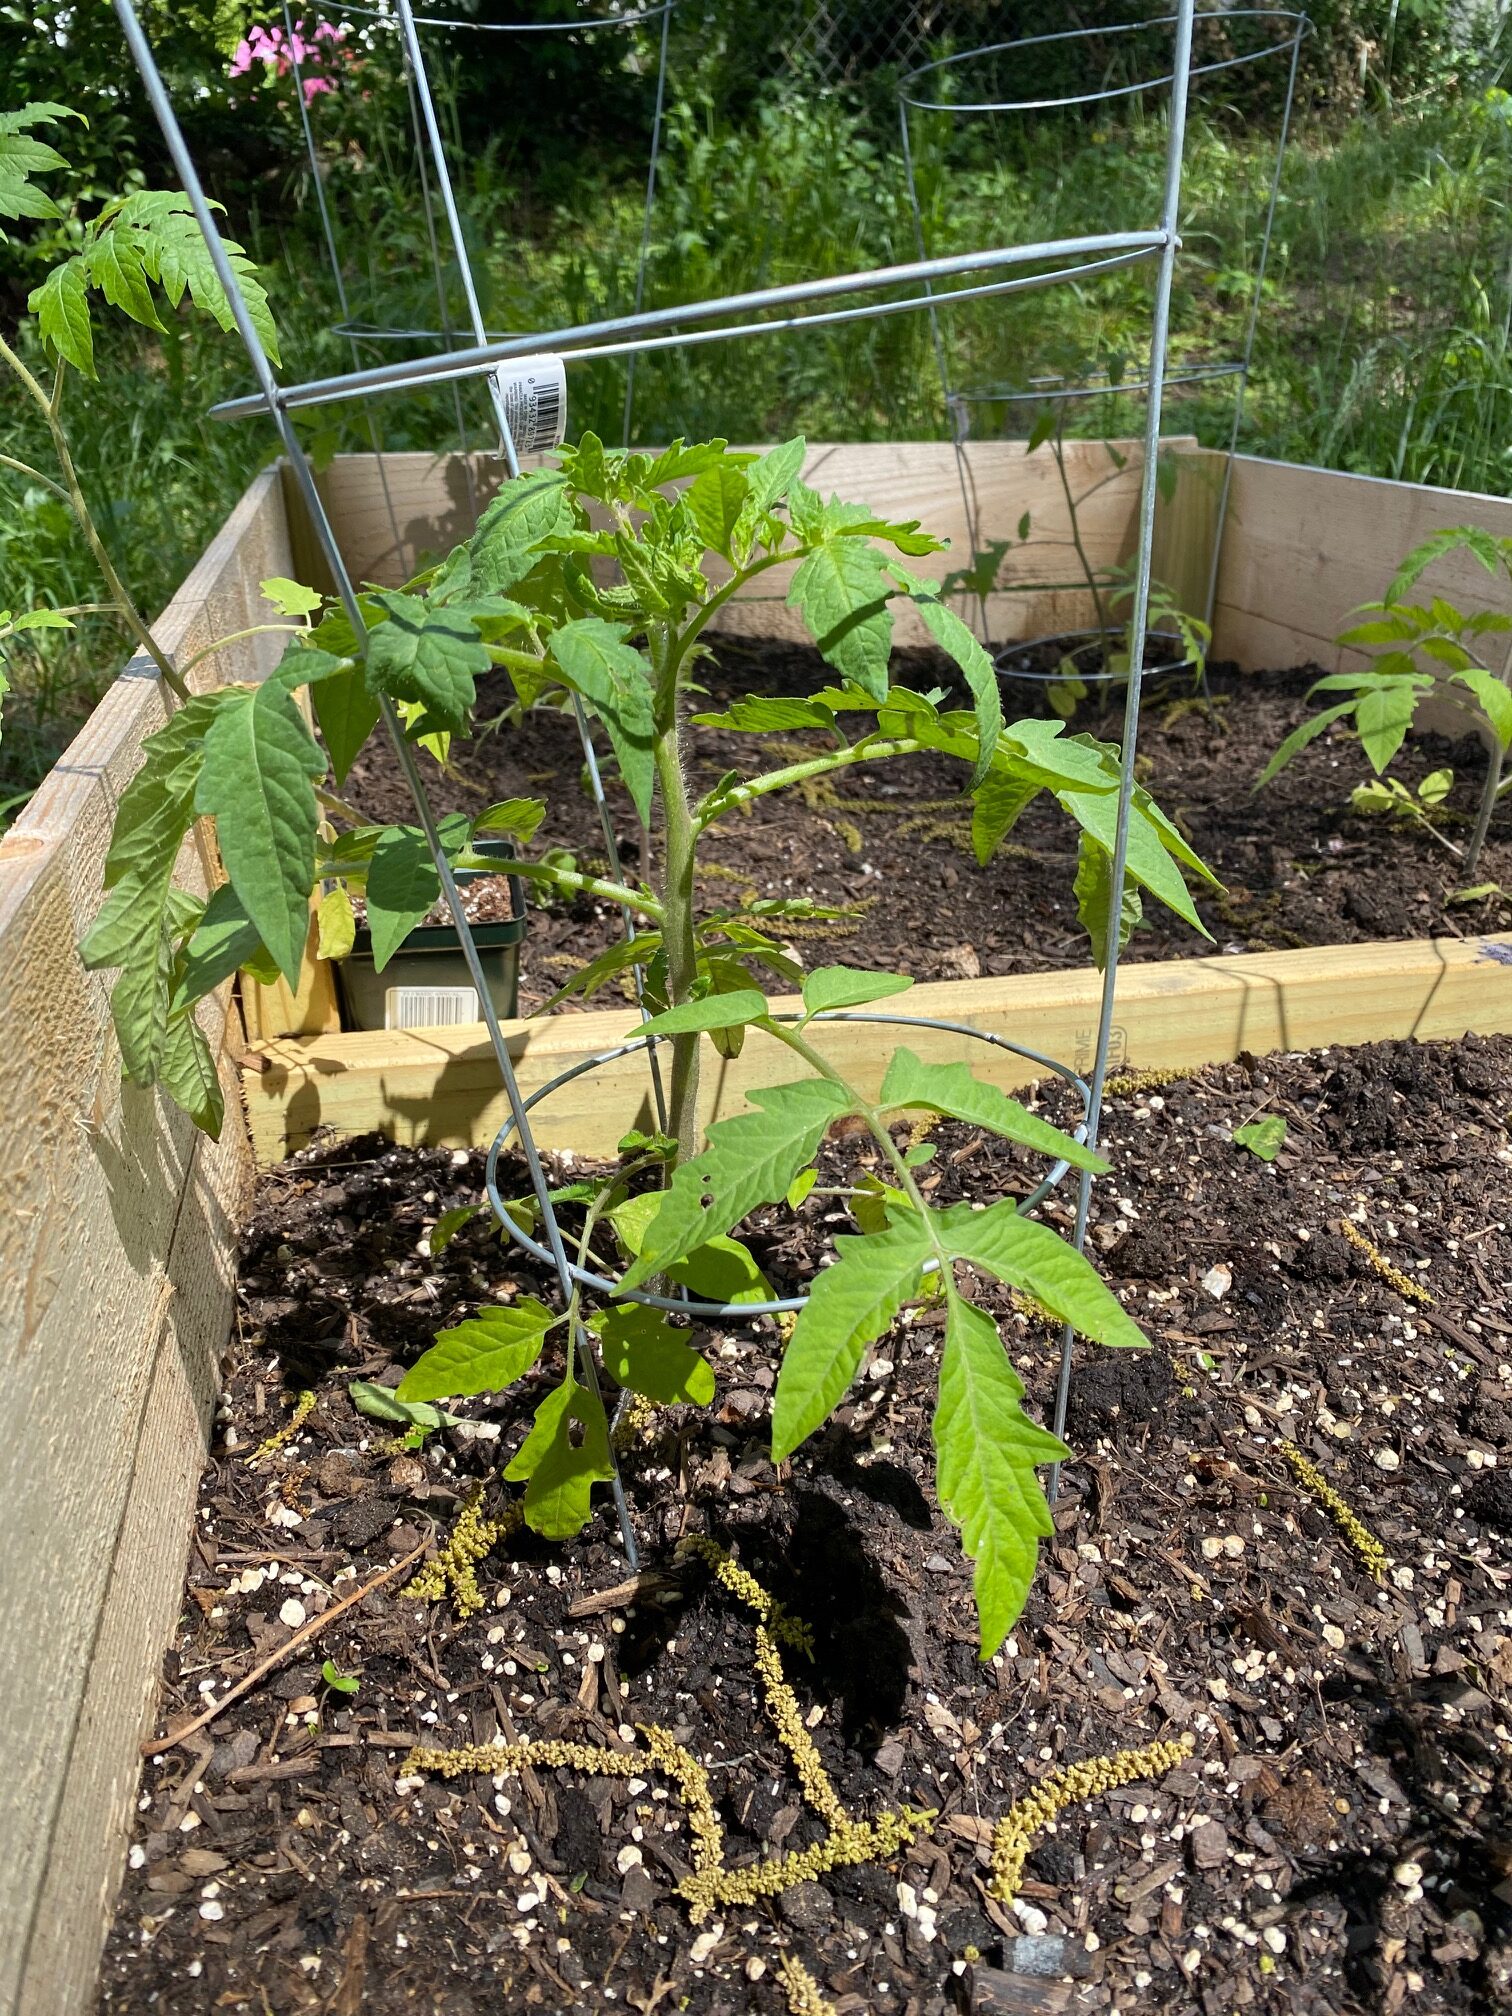
Starting seeds indoors
I grew my seeds in a Jiffy seed starting greenhouse (see left image above). It took almost ten days for the tomatoes to germinate. When they did germinate they really took off.
I don't have a good south facing window in my house so I purchased an inexpensive grow lamp (this is the one that I used). My seedlings ended up quite leggy, so I now know I could have done with two lamps.
The more I think about it, the less I feel that I actually needed to start my tomato seeds indoors. Georgia has a long growing season. It was a fun experiment but the truth is that the tomatoes grow so quickly outdoors that I think they would have germinated just as well outdoors in late March as they did indoors in February.
Plus, having a seed station indoors is a commitment. Especially since it was sitting on top of the frequently used drier.
What I learned: Growing seeds indoors is a commitment. Next year I plan to start half my seeds outdoors and half indoors to see how they fare.
Transplanting
My indoor seed starts were very, very leggy. Like I said, they could use more light than I gave them. Thankfully leggy tomatoes are easy to fix.
When my seedlings were 6 inches tall I transferred them to cup and pint-sized pots. I covered up nearly half of hte tomato with soil beause tomato stems can actually grow roots. Long legged tomato plants fixed!
I let these transplants hang out inside for another several weeks, until I was sure the last frost had passed. Tomatoes do not like frost and I was not about to risk my month of seed parenting on an inevitable late-season frost.
What I learned: Legginess in tomatoes can be fixed by transplanting. Transplant seedlings to larger containers when their roots start to grow out of their initial containers.
Hardening off
This term was new to me when I started growing seeds but it is a very important step. Hardening off seedlings means slowly acclimating them to the outdoor temperatures before planting them in the garden.
I transferred my 10 tomatoes plants to a cookie sheet so that I could easily bring them out to my porch. I hardened them off over a 2 week period because I was being very careful.
I started by taking them outside for 30 minutes, then 1 hour, maybe one hour again the next day, then a couple of hours. It was easy to tell when the plants didn't like what I was doing to them -- they wilted up quickly! That was my sign to dial back the time outdoors.
What I learned: Don't forget your transplants outside while hardening them off. Really, set a timer and don't snooze it. Avoid direct afternoon sunlight at first because the seedlings are not used to such strong light.
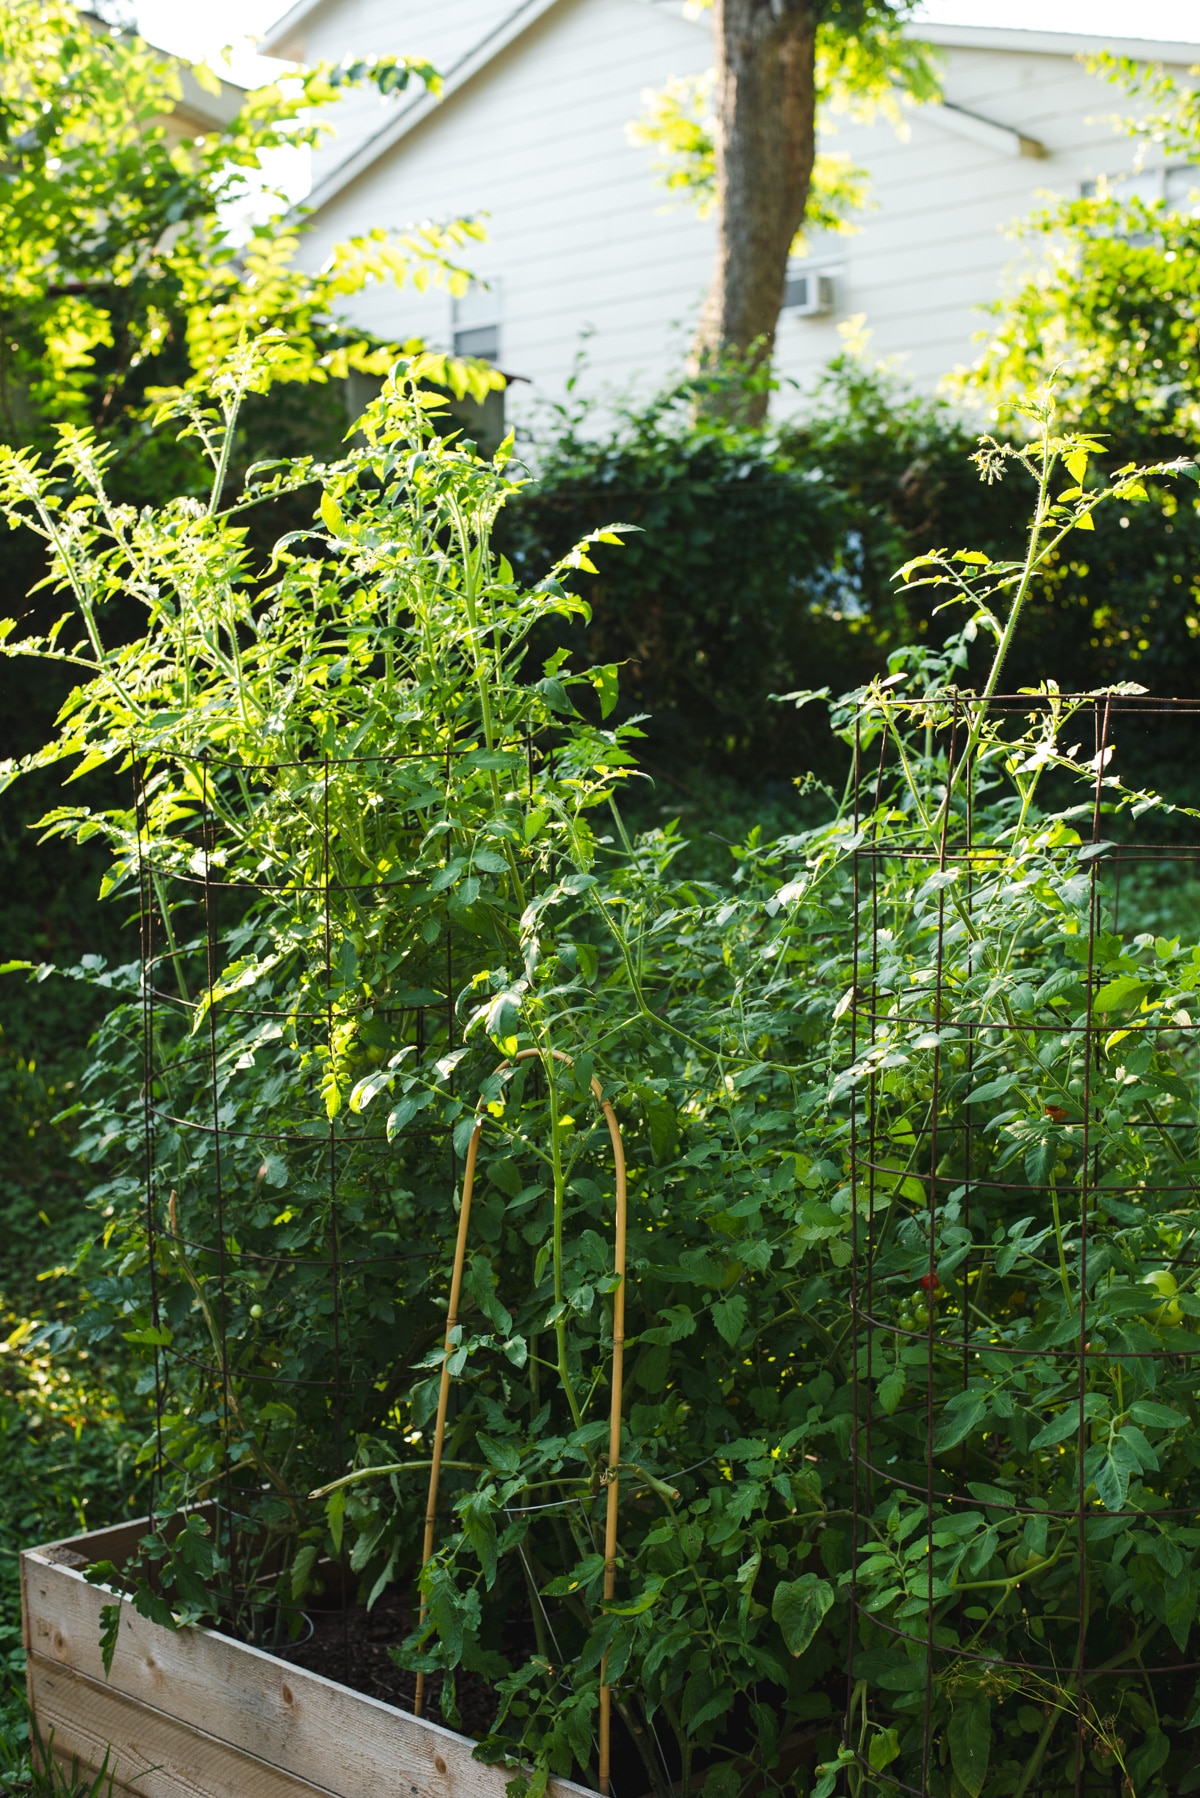
My garden
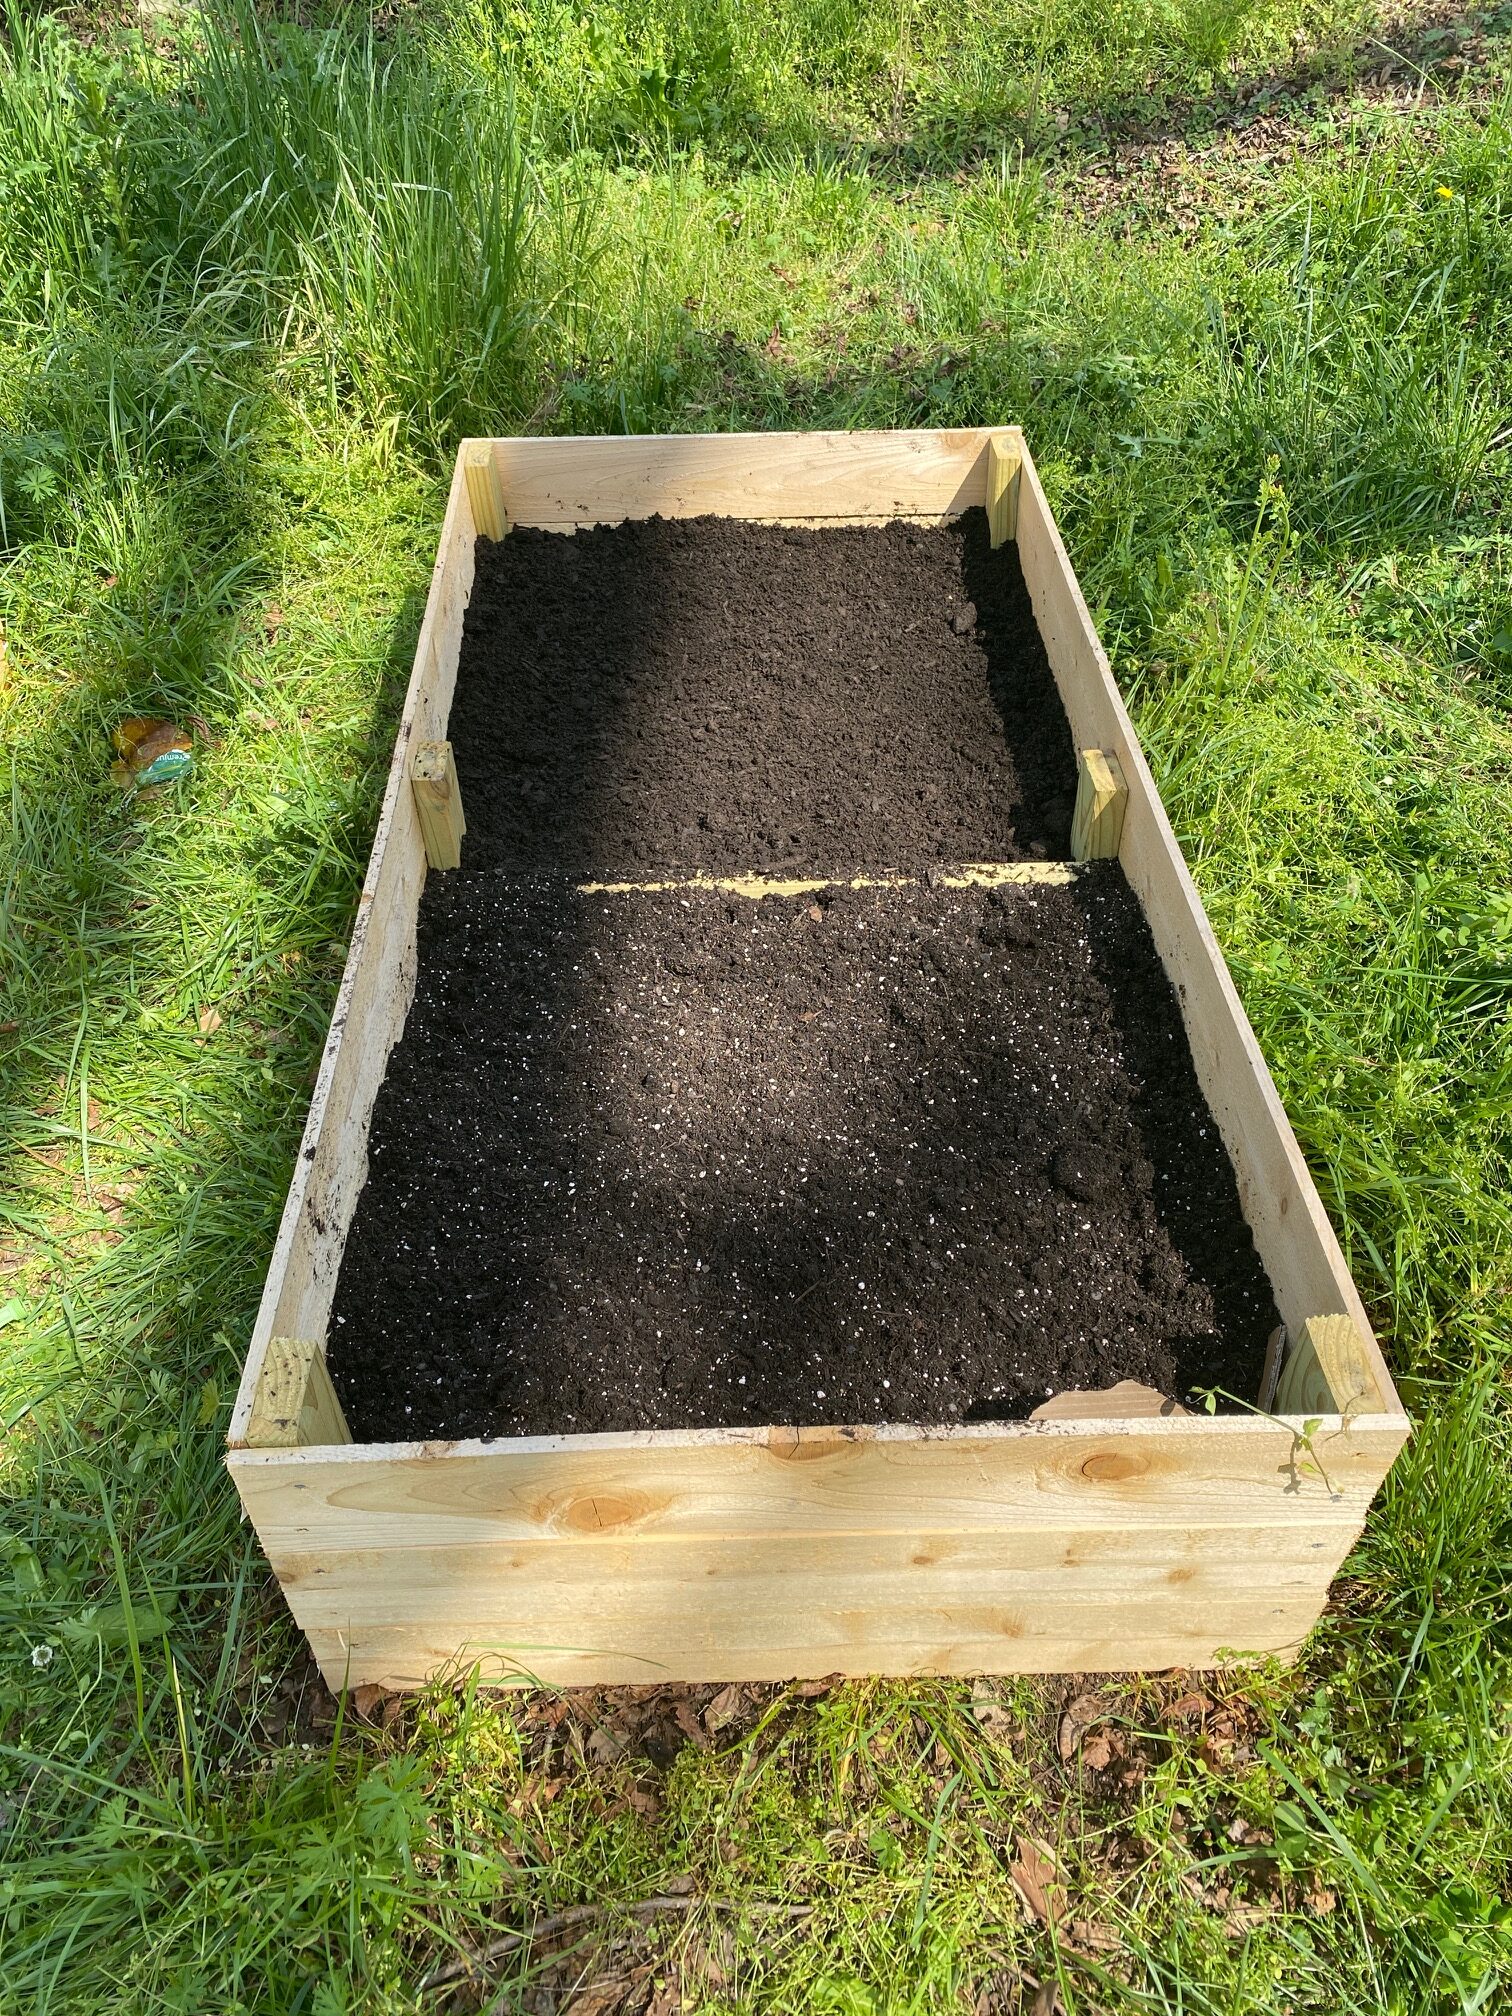
I grew too many tomatoes. There, I said it. I got excited about the prospect of growing my own seedlings and really went over board. This resulted in 10 tomato plants in a 6 by 3 feet raised bed and a few more scattered across large containers and an impromptu in-ground garden bed.
My dad visited in early February and built me two 6 by 3 feet raised beds using untreated cedar fencing. They are wonderful, but I will note that they were more expensive than I anticipated. One planter filled up with cow manure and raised bed soil cost almost $100!
Raised beds vs containers vs in-ground
I decided to experiment with the tomato plants that didnt' make it into the raised bed. I put two in separate large containers using the same soil. One near the raised bed and one up front so that the only different variable was the container.
In ground: I also planted one tomato plant in a soil patch that I dug up in my front yard. I will note that the plants I grew in-ground (affixed with a few bags of organic soil and cow manure) grew way better than even my raised bed garden. I think this is because it was "good" soil and the garden dries out more slowly, which accounts for my sometimes neglectful watering methods.
Containers: Speaking of watering. Those container tomatoes did not do well at all. This is consistent with my previous container tomato attempts. They need water so much more than the raised bed and in-ground tomatoes. In fact, they needed almost twice daily watering when it was 95 degrees out. That doesn't mean I did that, and they did not thrive. Oops.
Raised beds: My biggest issue with the raised beds is that they needed extra soil about halfway through the season. Random holes appeare, thanks to friendly neighborhood squirrels and birds. Soil washed away due to dramatic rainstorms and an overzealous watering hose. That being said, I would definitely use these raised beds for tomatoes again.
What I learned: If you have good soil you might have the best success with in-ground tomato plants. Yes, there are more weeds and yes, pests are more likely. But it's less expensive and gardens aren't cheap! Plus, edible landscaping.
Staking tomatoes
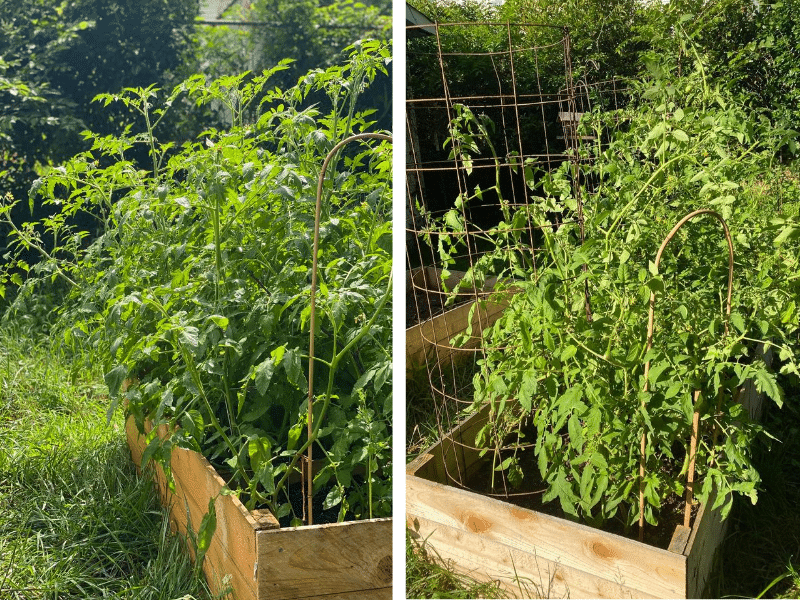
I didn't think this through when I first transplanted my tomatoes to the raised beds. "Oh, how about two 24 inch tall cages on a couple of the plants and the rest I can tie to a few sticks I found in the yard?"
No. That did not work. As the plants grew, and oh did they grow (as I write this they are at least five feet tall), they started leaning from the weight of the tomatoes. What a mess, I couldn't even tell what was going on!
My neighbor saved the day with three old and rusted, but definitely workable, six feet tall tomato cages from Tractor Supply. See the photo above for before (left) and after (right) staking. In early June I put these in my garden and the plants instantly went from horizontal monsters to a bit more controlled vertical monsters. At the advice of my neighbor I also trimmed off around 20% of the tomato limbs that were completely out of control.
I will say that I didn't stake one of my tomato plants and instead let it vine over the edge of its container. It looks a bit wild but is producing all the same.
What I learned: You need to buy tomato cages, especially with indeterminate varieties. Buy big tomato cages, the tomatoes will probably grow into them and if they don't you will still have great support for the plants.
Side note: Proper pruning can prevent giant and gangly tomato plants. I recommend reading up on tomato pruning if you want to avoid a jungle. I did not do much pruning this year, so I do not have any tips to share.

Pests
Let me start by saying I was so lucky with pests. Raised beds do help with that, but even my in-ground tomatoes suffered very little from pests.
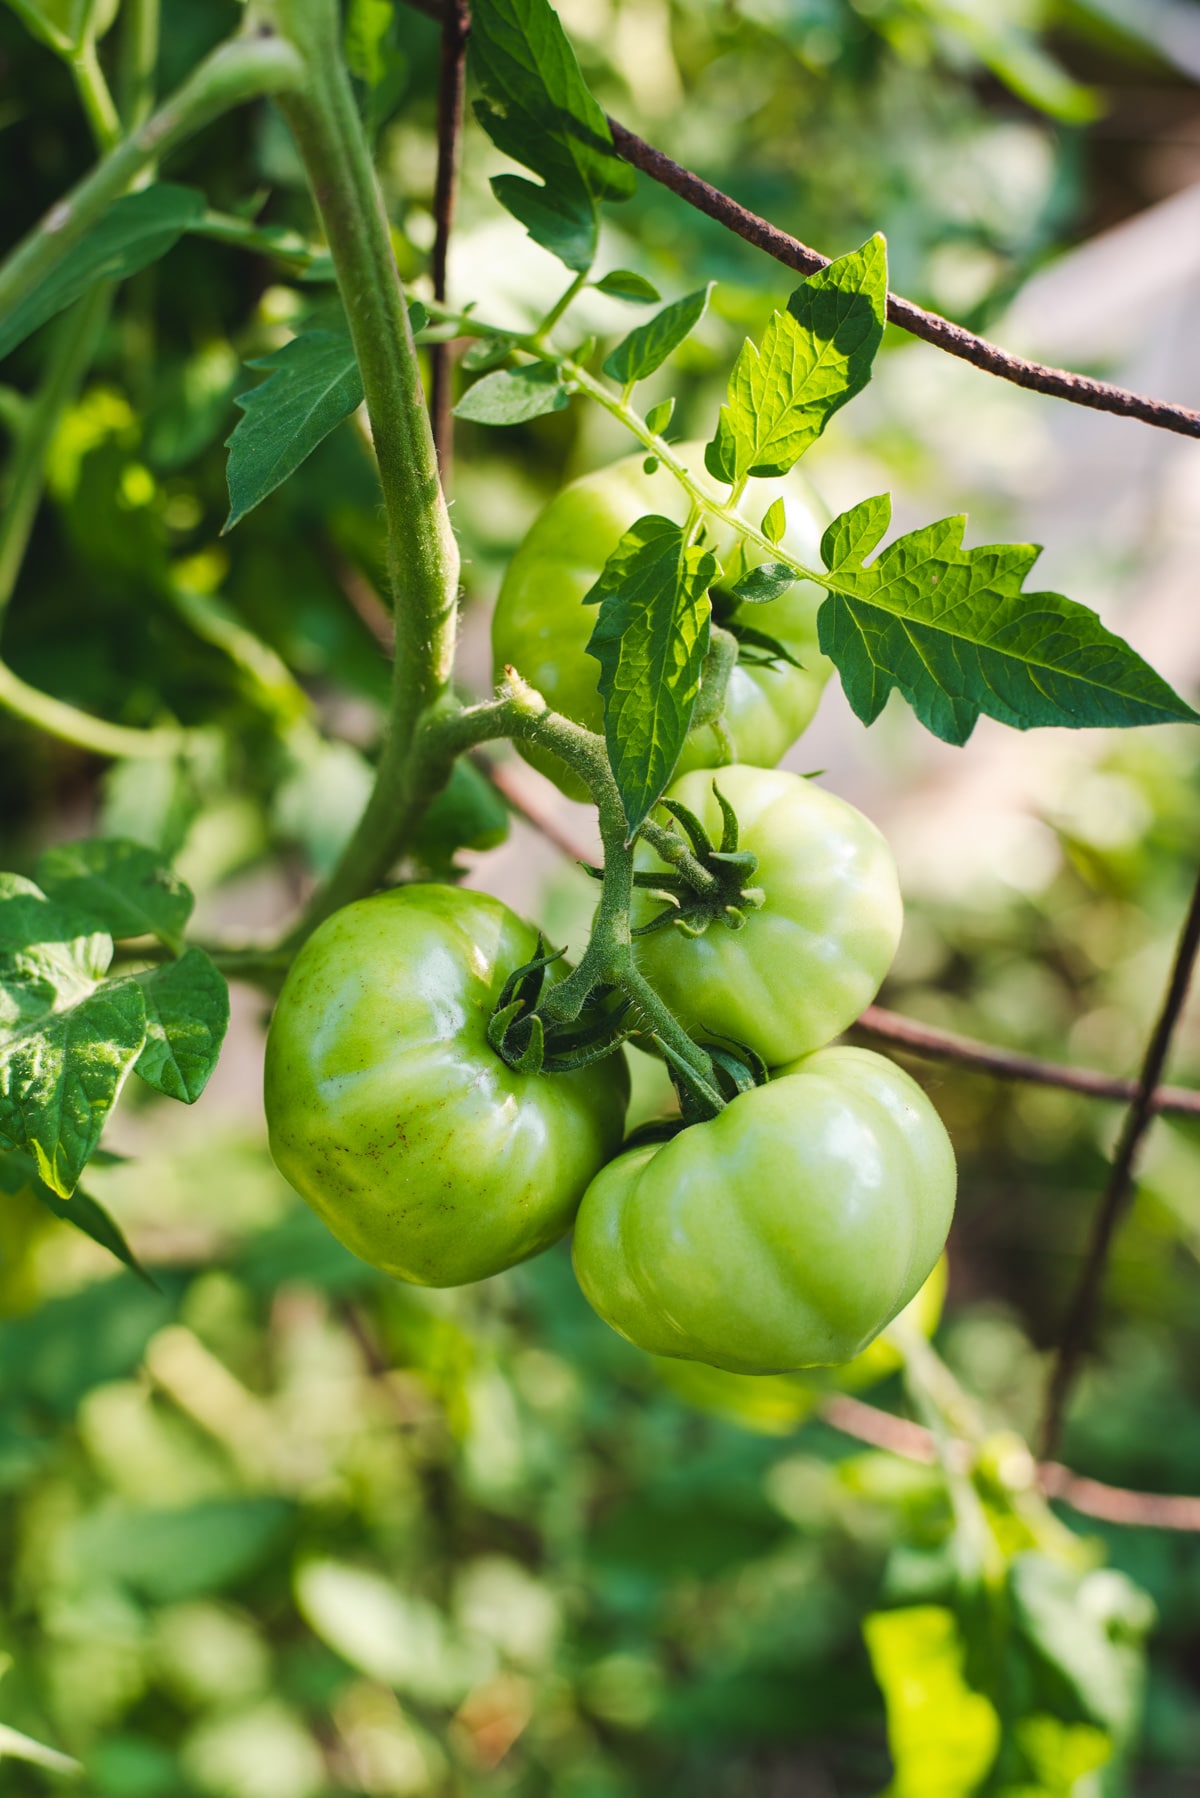
I had a brief bout with aphids in early June. I found aphids all over two of my tomato plants and quickly set to googling "How do I get rid of aphids on tomato plants naturally???" because I didn't come all this way just to use an insecticide.
Good news: a simple mix of 1 teaspoon dish soap and 2 cups water in a spray bottle, applied liberally and daily in the morning shade, wiped those babies away. I applied to every single leaf on every single tomato plant and it took some time but saved me from a lot of disappointment.
Side note: The image above shows a ladybug on a tomato plant. Ladybugs eat aphids! This one showed up around the same time that my aphid problem resolved.
What I learned: Inspect your plants daily. Spotting a pest early can make or break that plant surviving. Dish soap and water are a surprisingly effective treatment for aphids.
Fertilizing and composting
I never got around to fertilizing my tomato plants. I probably should have but they did fine anyway. I'll try this next year.
As far as composting goes, I have a composter set up but the soil is only just now ready. I plan to use it for my fall garden.
What I learned: Use a mix of high quality organic soil and compost (I used Black Cow manure). I will definitely try fertilzing and composting next year.
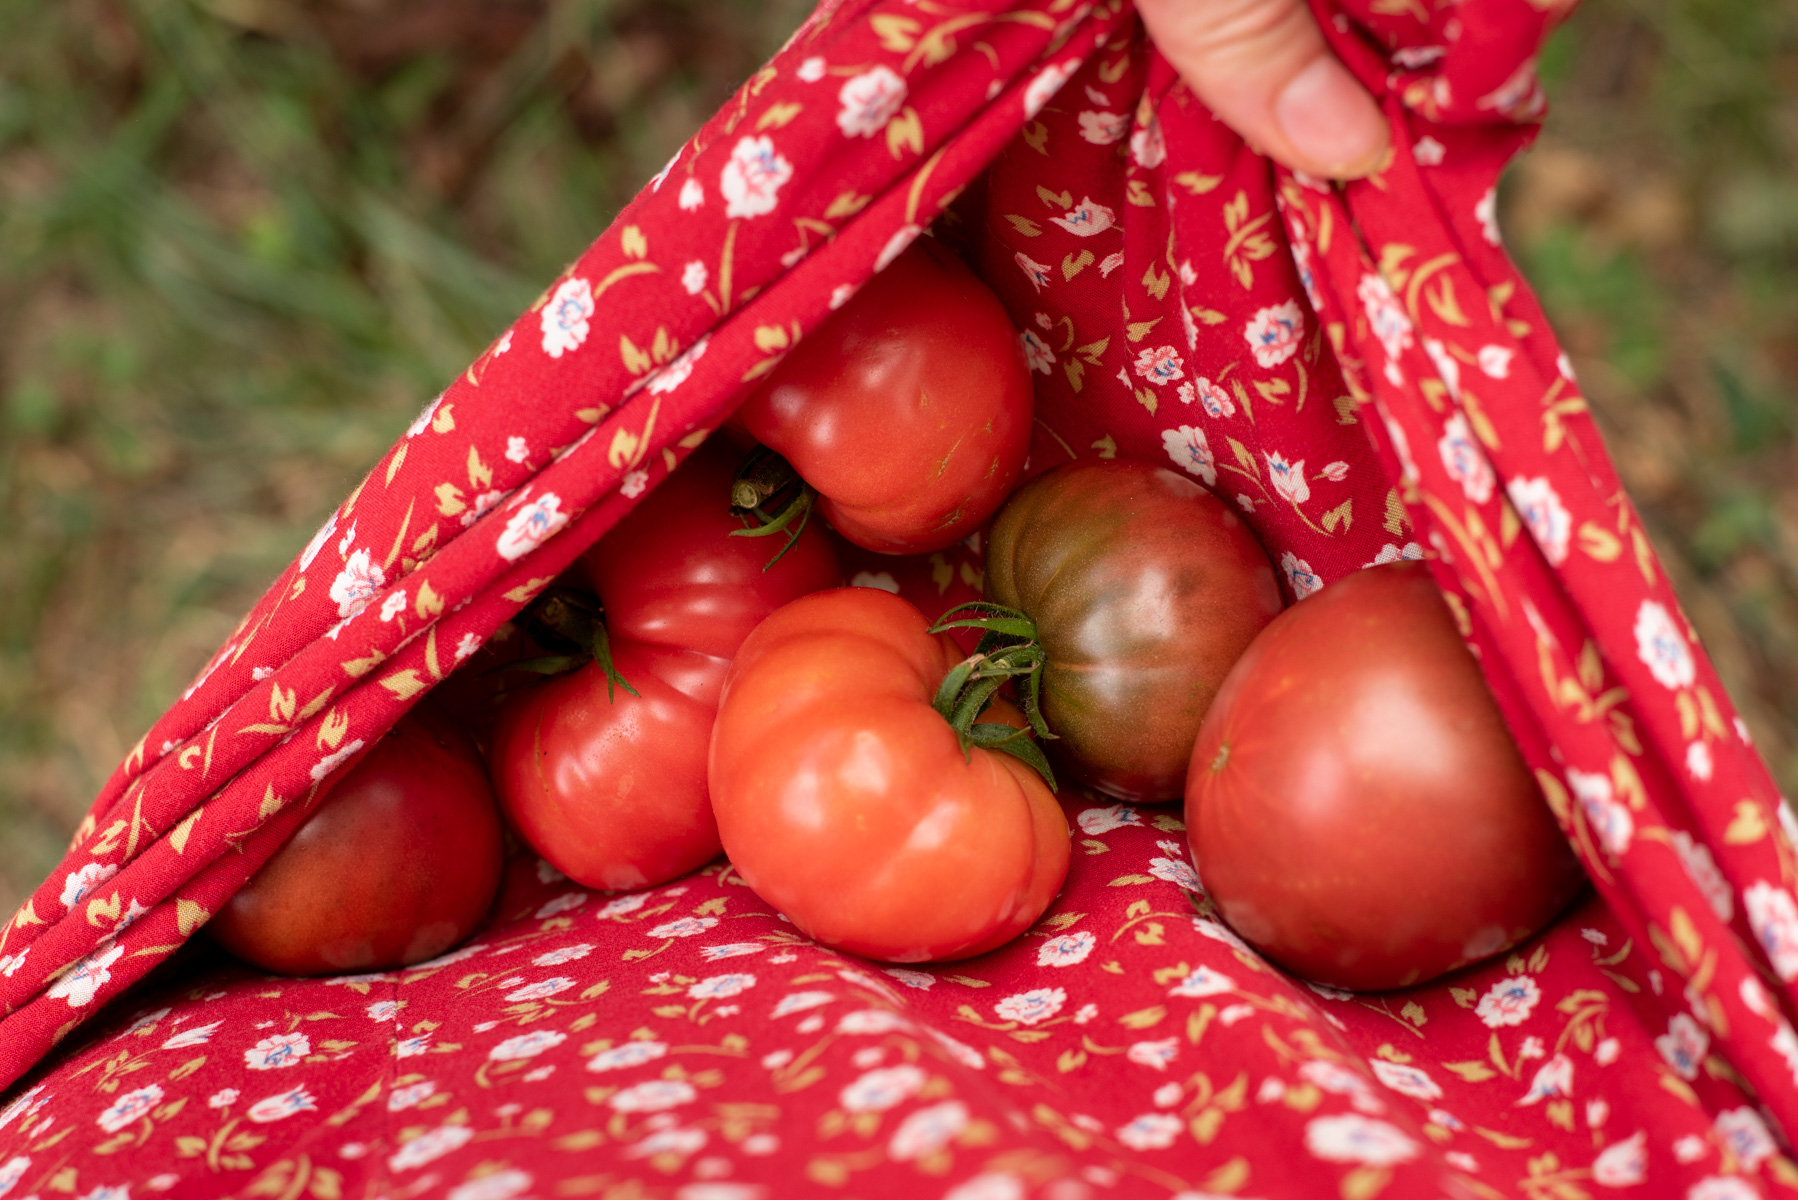
Harvesting
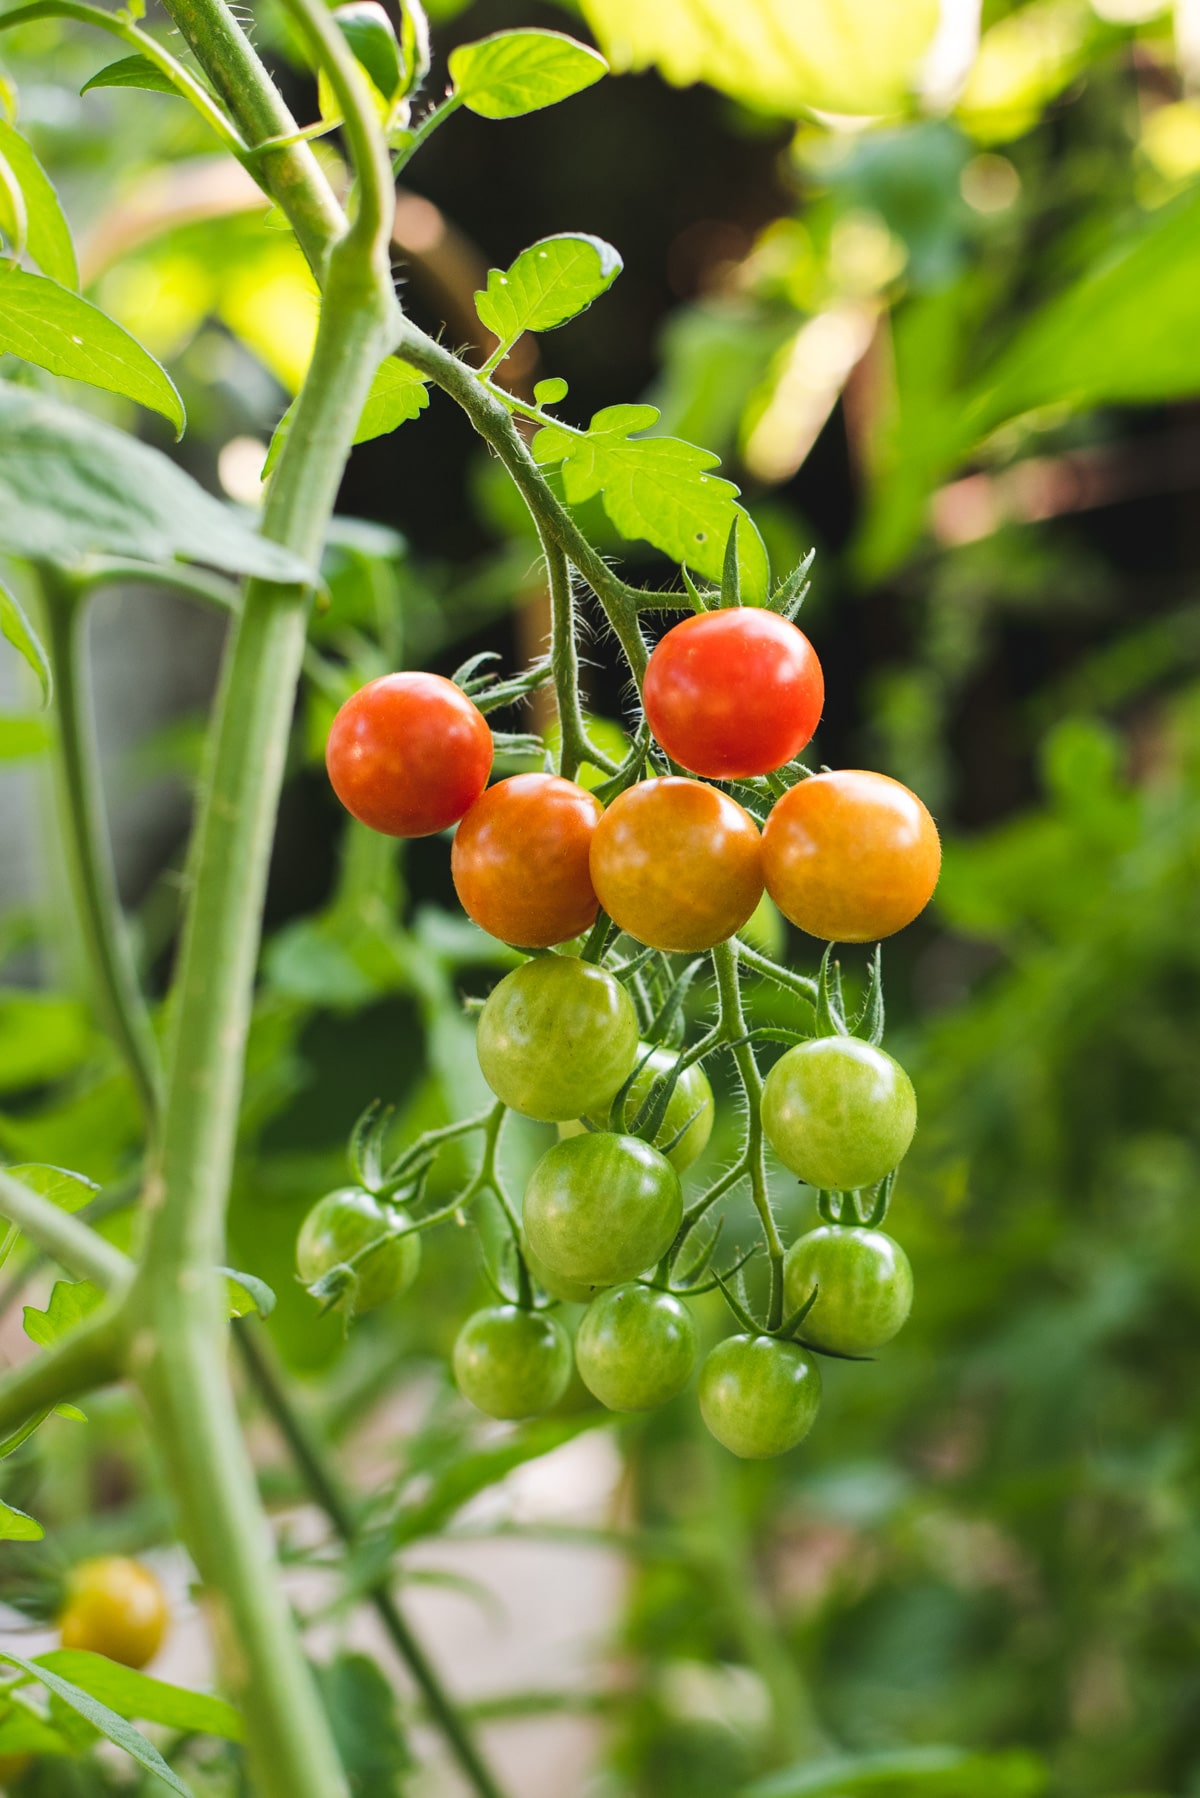
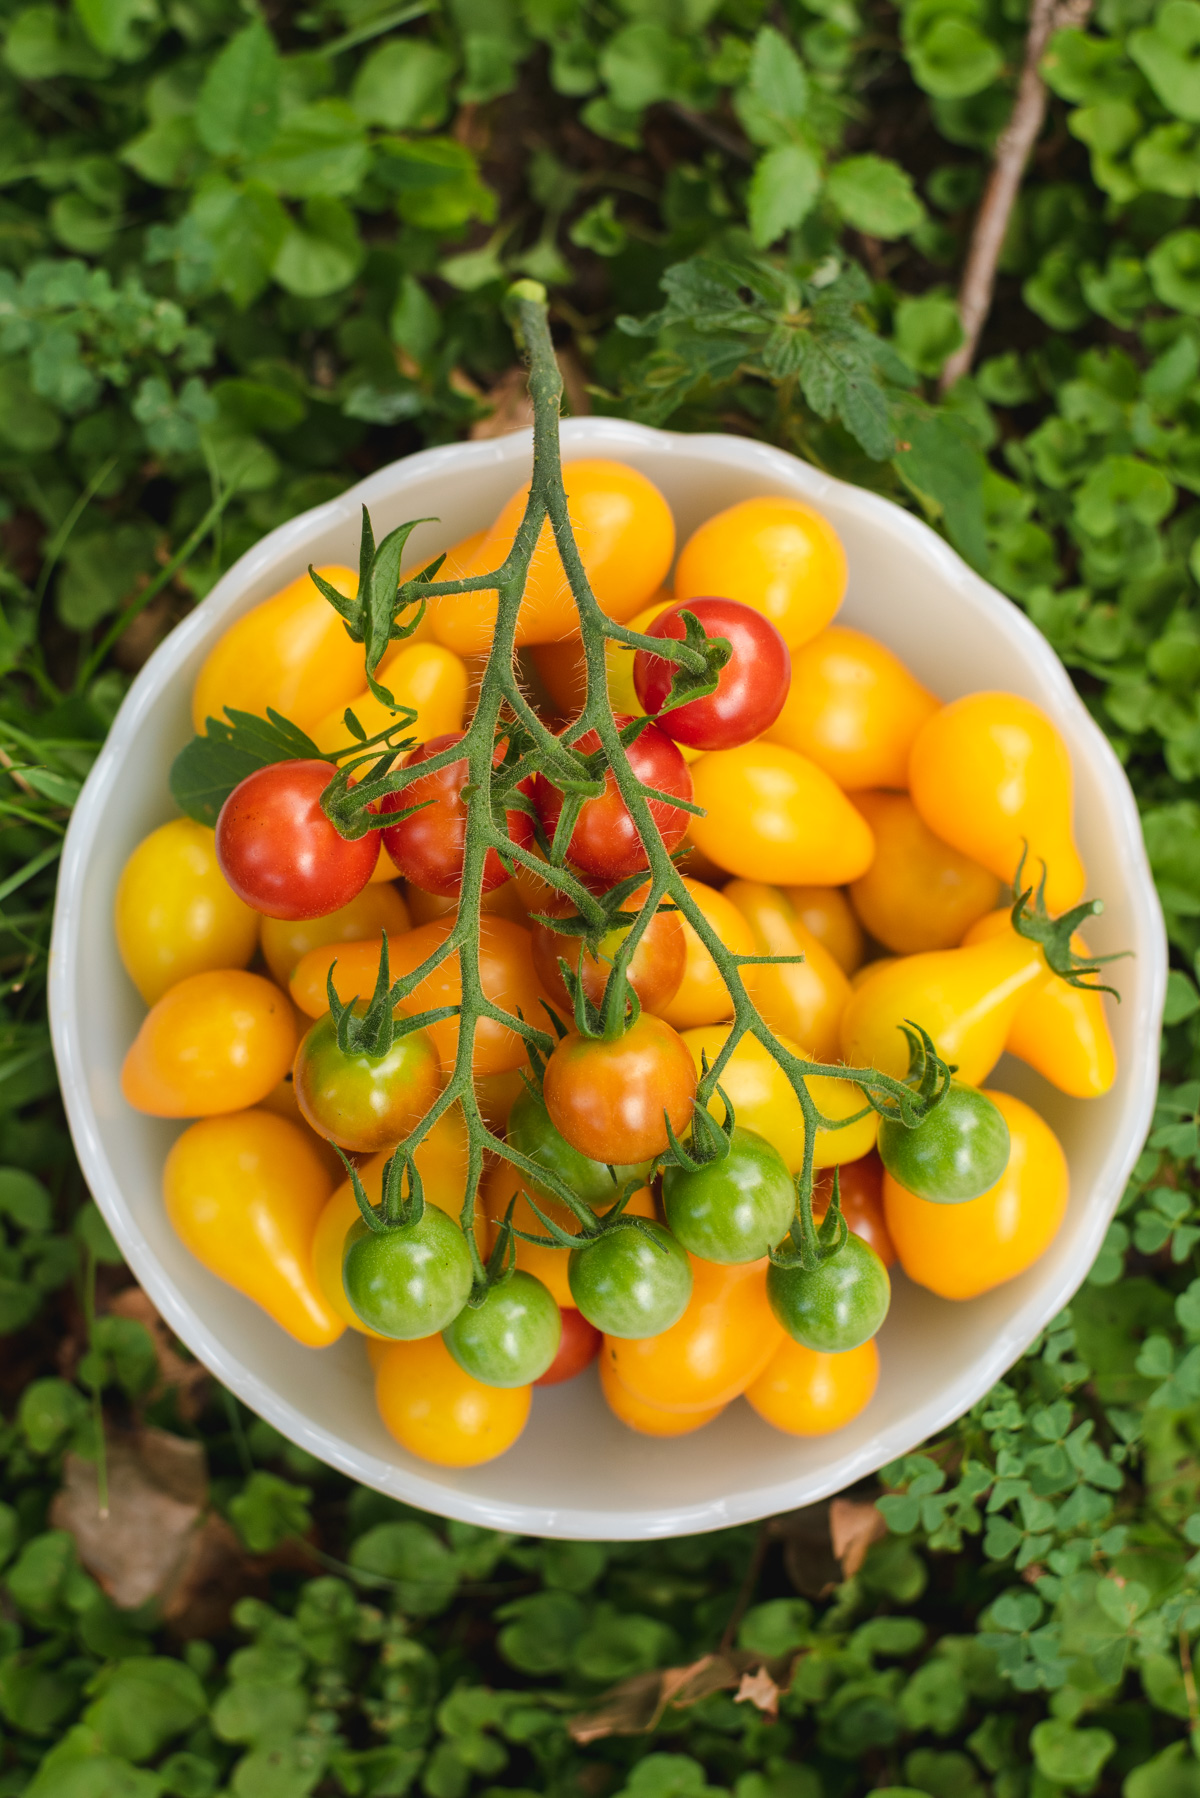
Like I said earlier, I chose indeterminate tomato plants. That means they keep producing until they die in the fall from frost. That means lots and lots of tomatoes, which is good but actually can end up overwhelming if you don't have a plan for them.
I'd be lying if I said that I wasn't overwhelmed by the amount of tomatoes my plants grew. Yes, I love it, but even though I ended up with several pounds a week, it was never enough to actually can the tomatoes.
I've been making one jar of tomato sauce weekly using a variety of "culinary blend tomatoes" and the grape tomatoes. Otherwise I slice them up and put them on sandwiches. Having a lot of tomatoes means getting creative in the kitchen.
What I learned: You may not need as many tomato plants as you think. Start small -- you can always add storebought transplants later in the season.
Conclusion
Growing outdoor plants in a hobby garden is an equal balance of relaxing, rewarding, confusing and at times overwhelming.
I am still tickled every time I harvest a bunch of cherry tomatoes and add them to my dinner. It gives me a new sense of appreciation for the hard, hard work that goes into keeping our food supply going.
I hope this guide gives you the confidence to try growing your own tomatoes. I started out with very little experience and relied heavily on my county extension's website for advice. I recommend googling your city + "county extension" and "gardening" for more location specific advice.
What's in store for next year? Definitely more tomatoes. Probably a bigger plot. And certainly more planning!
In the mean time, I'll be making cherry tomato pasta sauce on the regular!
OGPlantWhisperer says
Have you ever accidentally killed your tomato plants by overwatering or under-fertilizing them? Share your biggest gardening mishaps and how you learned from them to become a better tomato grower.
Gena Reine says
Hi! Thanks for your advice and suggestions. For about 3 years now I've grown tomatoes in a raised bed. I buy tomato plants at Lowes each spring, after the last freeze. My raised beds sit in the backyard w full sun all day. No shade at all. The tomatoes seem to love it. I fertilize when I transplant, then again maybe twice. I water every other day, especially come June and July. (I live near Houston, Tx.)
This year I've had sooooo many tomatoes, it's been crazy! It's end of June now and my 2 plants are looking terrible. There are still a very few green tomatoes on them. Branches look sad. Leaves are yellowing and dying, and the foliage isn't as thick. In the past, at this point, I started pulling the dying and dead branches and leaves until I was left w nothing but a center stalk. Eventually I pulled that up, threw it away, and waited til next March to buy another.
My question is, what do I do to salvage the plants for next year? And is that even realistic?
Cassidy Reeser says
My first thought is that they may need more water. I'm not sure about Texas, but here in Georgia it's been much hotter than usual. I have been watering almost daily in my raised beds because they seem to dry out quickly, and I even watered twice on a few days that it got to be 100+.
Another thought- are you adding new soil or compost to the raised beds each year? It could be that, even with fertilizing, they aren't getting enough nutrients using the old soil.
I don't think it's too late to start with new transplants from the store this year. Just my two cents as a hobby gardener! Good luck 🙂