


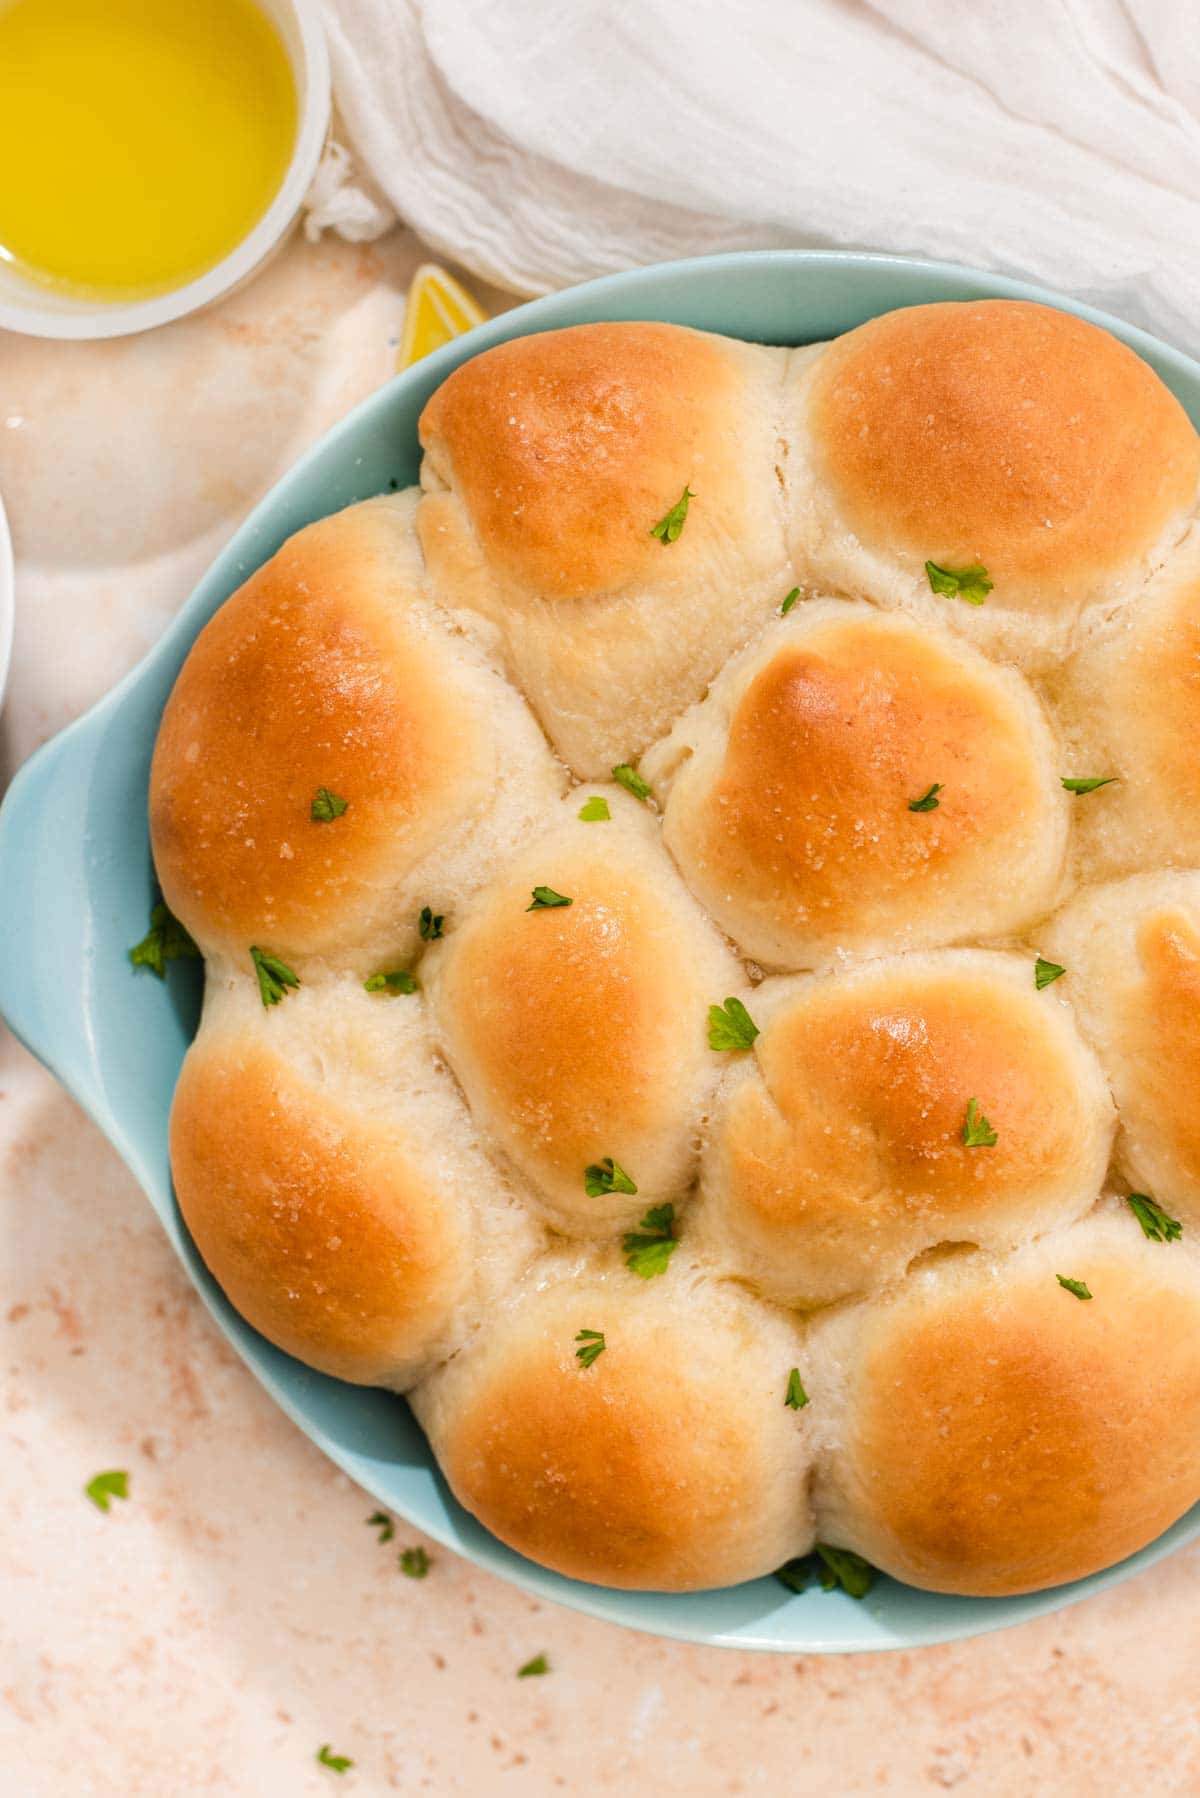
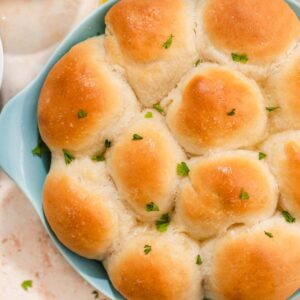
Soft, fluffy pull-apart yeast rolls are mouthwateringly delicious and easy to make with baking staples. Just like Sister Schubert's dinner rolls, these are gently sweet and freeze well, making them a great option for holidays!
The aroma of homemade yeast rolls baking in the oven is one of the best smells this time of year. It may take a little longer to make rolls at home, but it's always worth it!
I grew up eating frozen Sister Schubert’s dinner rolls with special meals like Thanksgiving and Christmas, and they were always my favorite part of the meal.
I like to think that, even though these yeast rolls are inspired by Sister Schubert's, they taste even better! They are also surprisingly easy to make, so they're a great option for those who are new to baking bread.
Jump to:
Why this recipe works
- Tender texture: These yeast rolls are soft, ultra-fluffy, tender, and light. They are made from enriched dough made with yeast. That means they include high-fat ingredients like milk and butter to form a soft, supple dough. They seriously do melt in your mouth!
- Flavor: They have a touch of sweetness, thanks to white sugar.
- Simple ingredients: Made with simple pantry staples like all-purpose flour and active dry yeast.
- Great for holidays: These dinner rolls are ready in just under 2 hours (most of which is inactive time), but they can easily be made in advance or frozen.
This year I’ll be serving these homemade yeast rolls at Thanksgiving alongside the sourdough stuffing, garlic cream cheese mashed potatoes, and gouda mac and cheese. Join me?
Ingredients
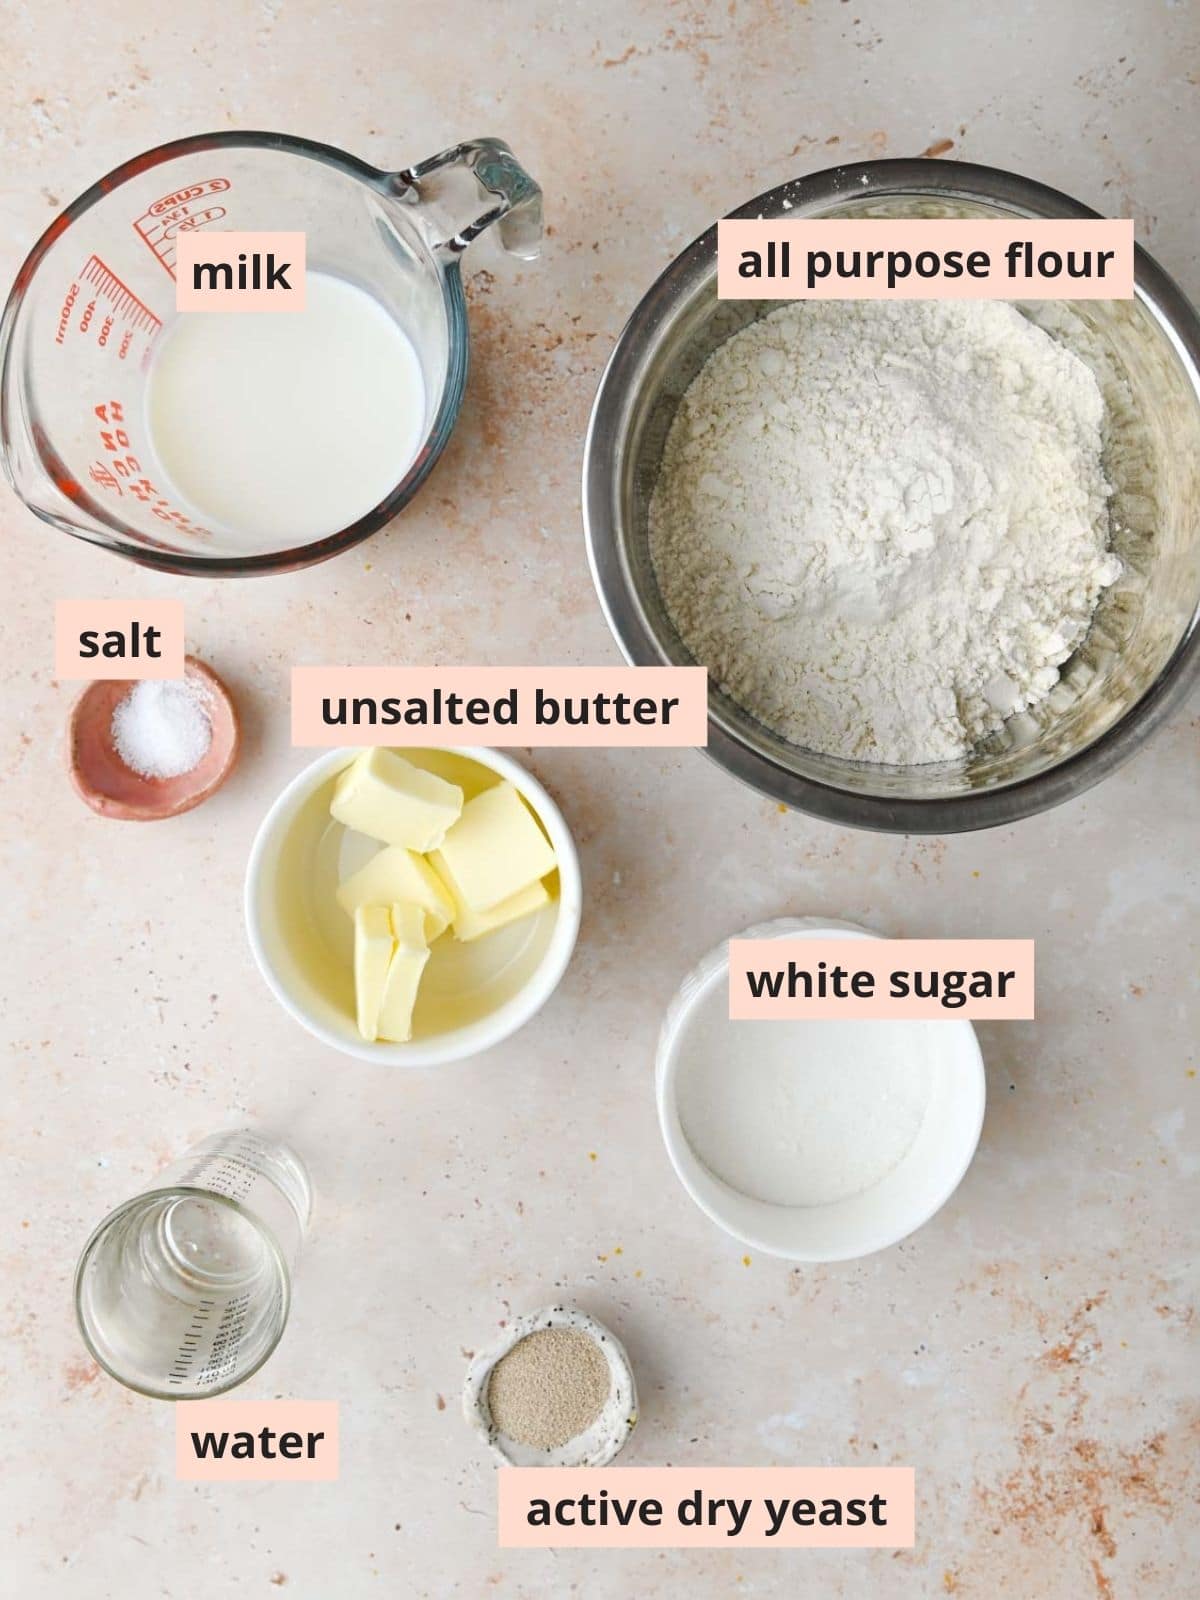
- All-purpose flour creates a soft yeast roll. Use an equal amount of bread flour if you prefer chewier rolls.
- Milk: Whole milk is my go-to for baking, but 2% or even skim works. Higher-fat milk yields richer yeast rolls.
- Unsalted butter: If using salted butter, make sure to decrease salt to ¼ teaspoon.
- Granulated sugar adds a touch of sweetness to the rolls and activates the yeast. Liquid sweeteners and brown sugar do not work here.
- Active dry yeast: We will use 2 ¾ teaspoons of yeast, which is a little more than one packet. If you only have packets available you can use 2 and ¼ teaspoons, it won’t make too big of a difference. I have not tested this recipe with instant yeast, but it should work just fine.
- Salt is a necessary addition to balance out the other ingredients. I use table salt (iodized salt) in baking recipes.
How to make
Step one: Whisk together the milk and water in a liquid measuring cup. Add slices of butter. Microwave for 1 minute, then whisk. Continue microwaving in 15 seconds intervals, until the mixture reaches 110 degrees F.
Expert tip: If you don’t have a thermometer, think “bathwater warm”: cool enough to stick your hand into, but hot enough that you don't mind leaving it submerged.
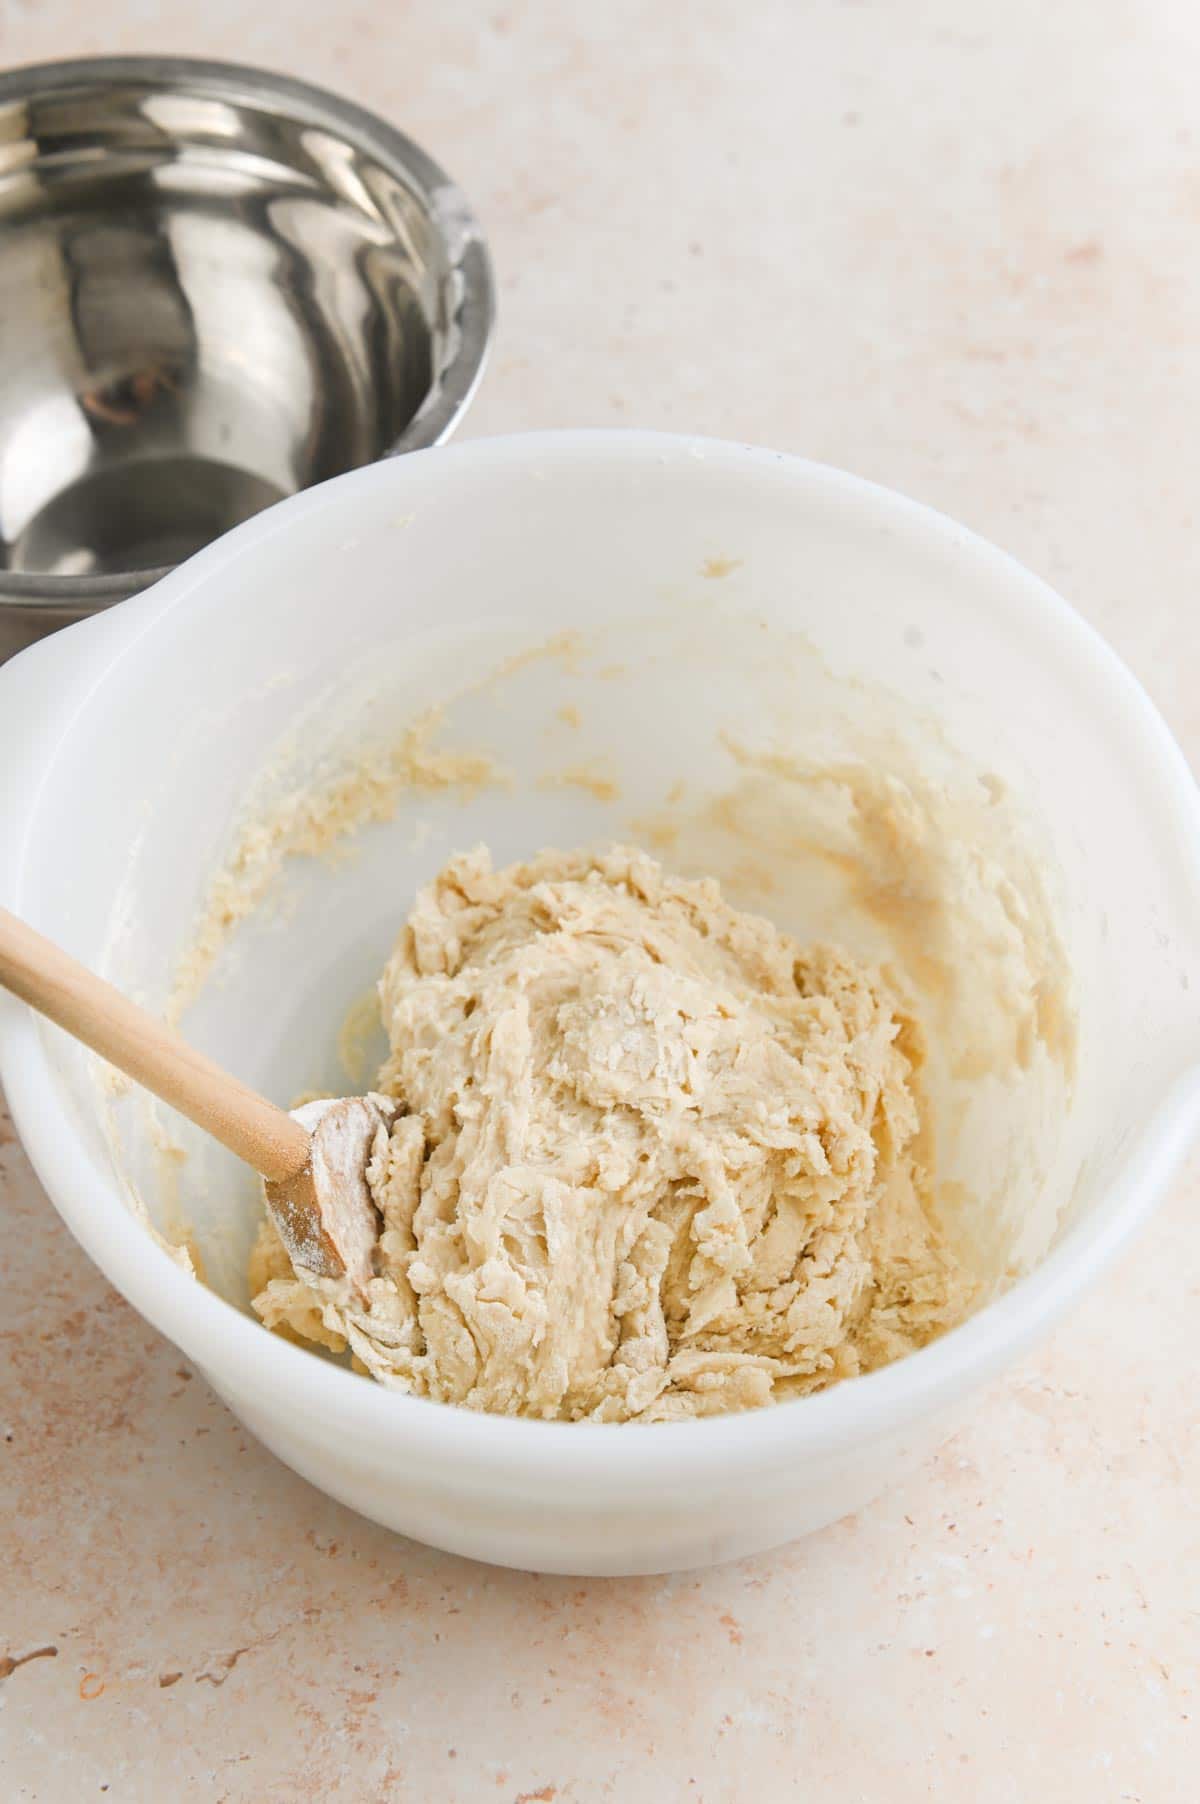
Step two: In a large bowl, stir together the liquids, active dry yeast, white sugar, salt, and 1 cup of all-purpose flour until a very wet, shaggy dough forms.
Add in the remaining 1 and ½ cups of flour. Mix until a shaggy dough forms.
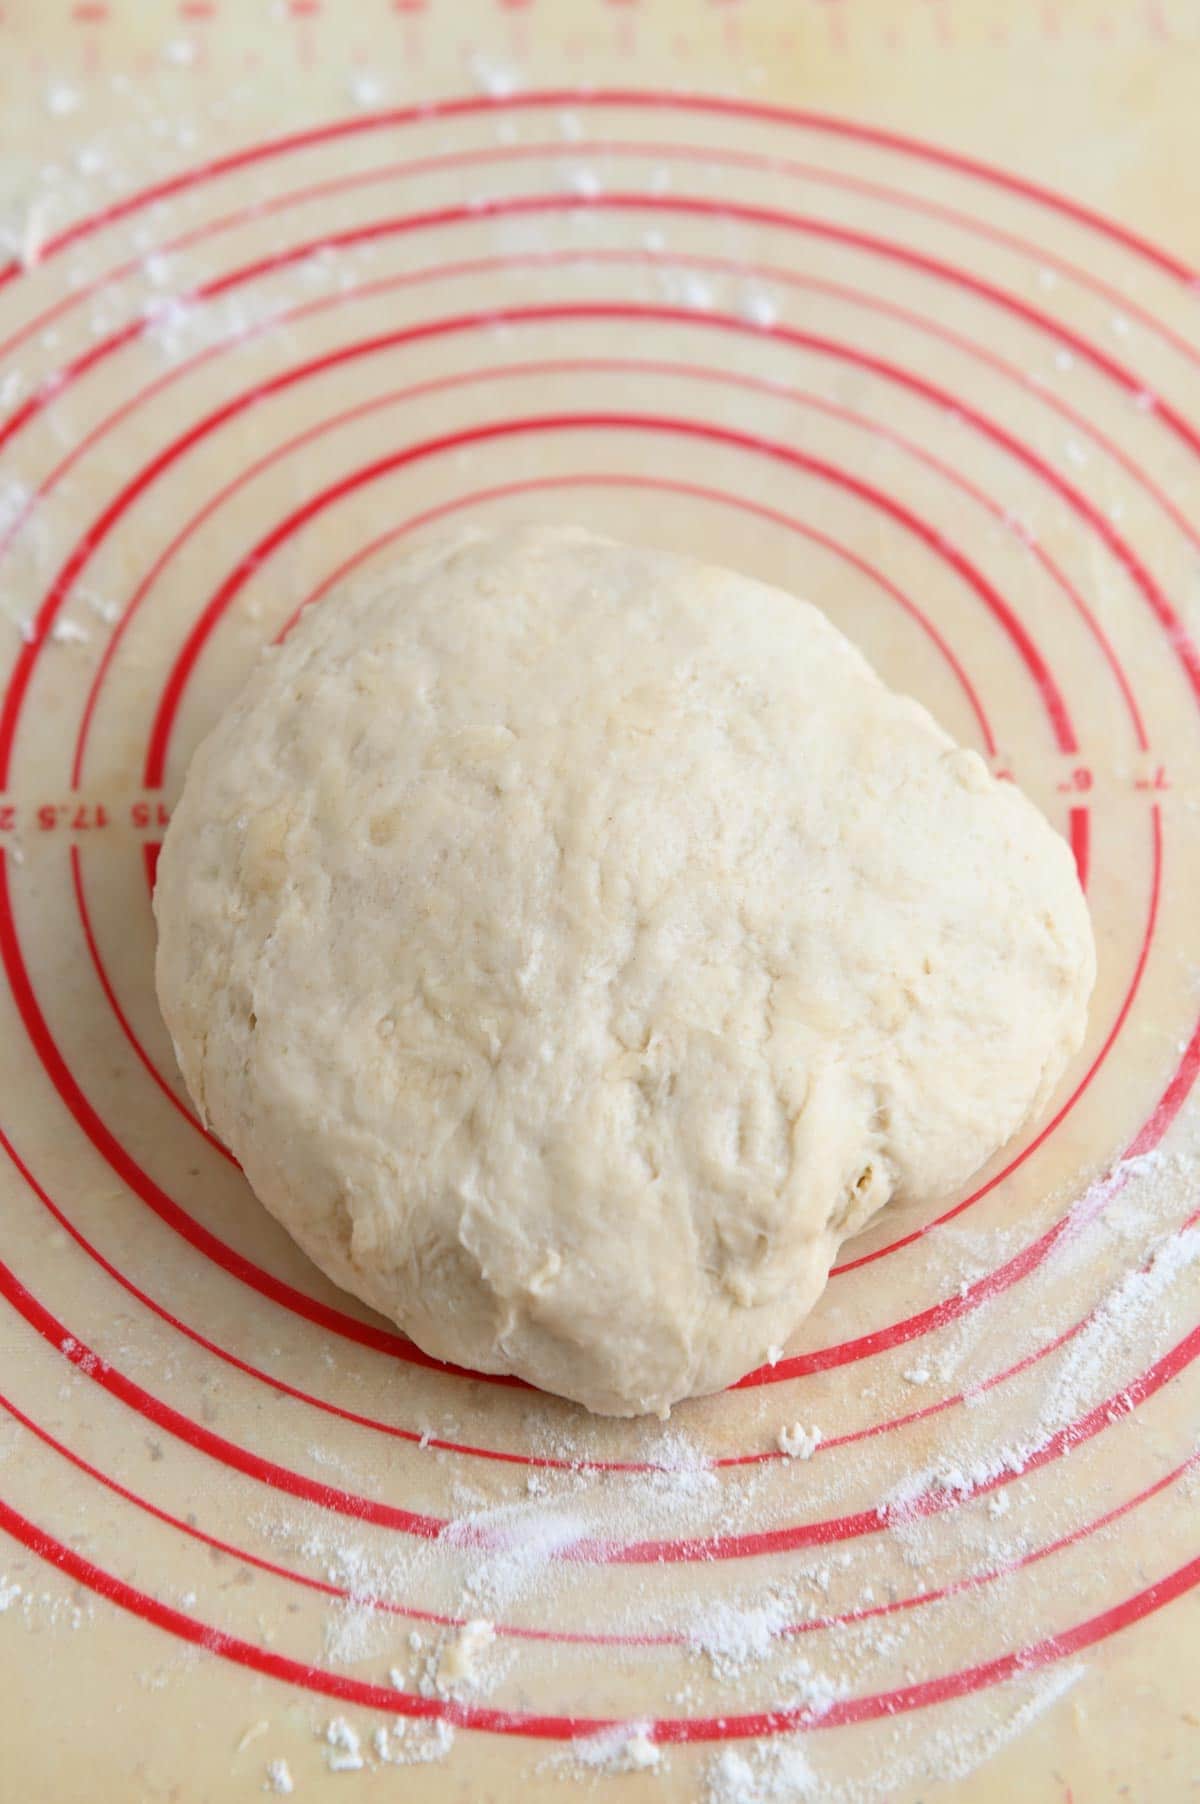
Step three: You can knead the yeast roll dough by hand or with a stand mixer. I like to do a combination of the two: use the stand mixer for 5-6 minutes, then turn out and knead for the remaining 1-2 minutes.
- Kneading by hand: Turn out onto a lightly floured surface. Knead for 8-10 minutes, until the dough is smooth and elastic.
- Kneading in a stand mixer: Use the dough hook attachment to knead until the dough is smooth and elastic, about 6-8 minutes.

Step four: Place the kneaded dough in a lightly oiled bowl. Turn to coat. Cover with plastic wrap or a clean dishtowel. Let rise until doubled in size, about an hour (it may take longer, up to 2 hours, in a cold kitchen).
Punch down the dough. Divide the dough into 12 pieces. I use a kitchen scale for accuracy, but you can eyeball it.
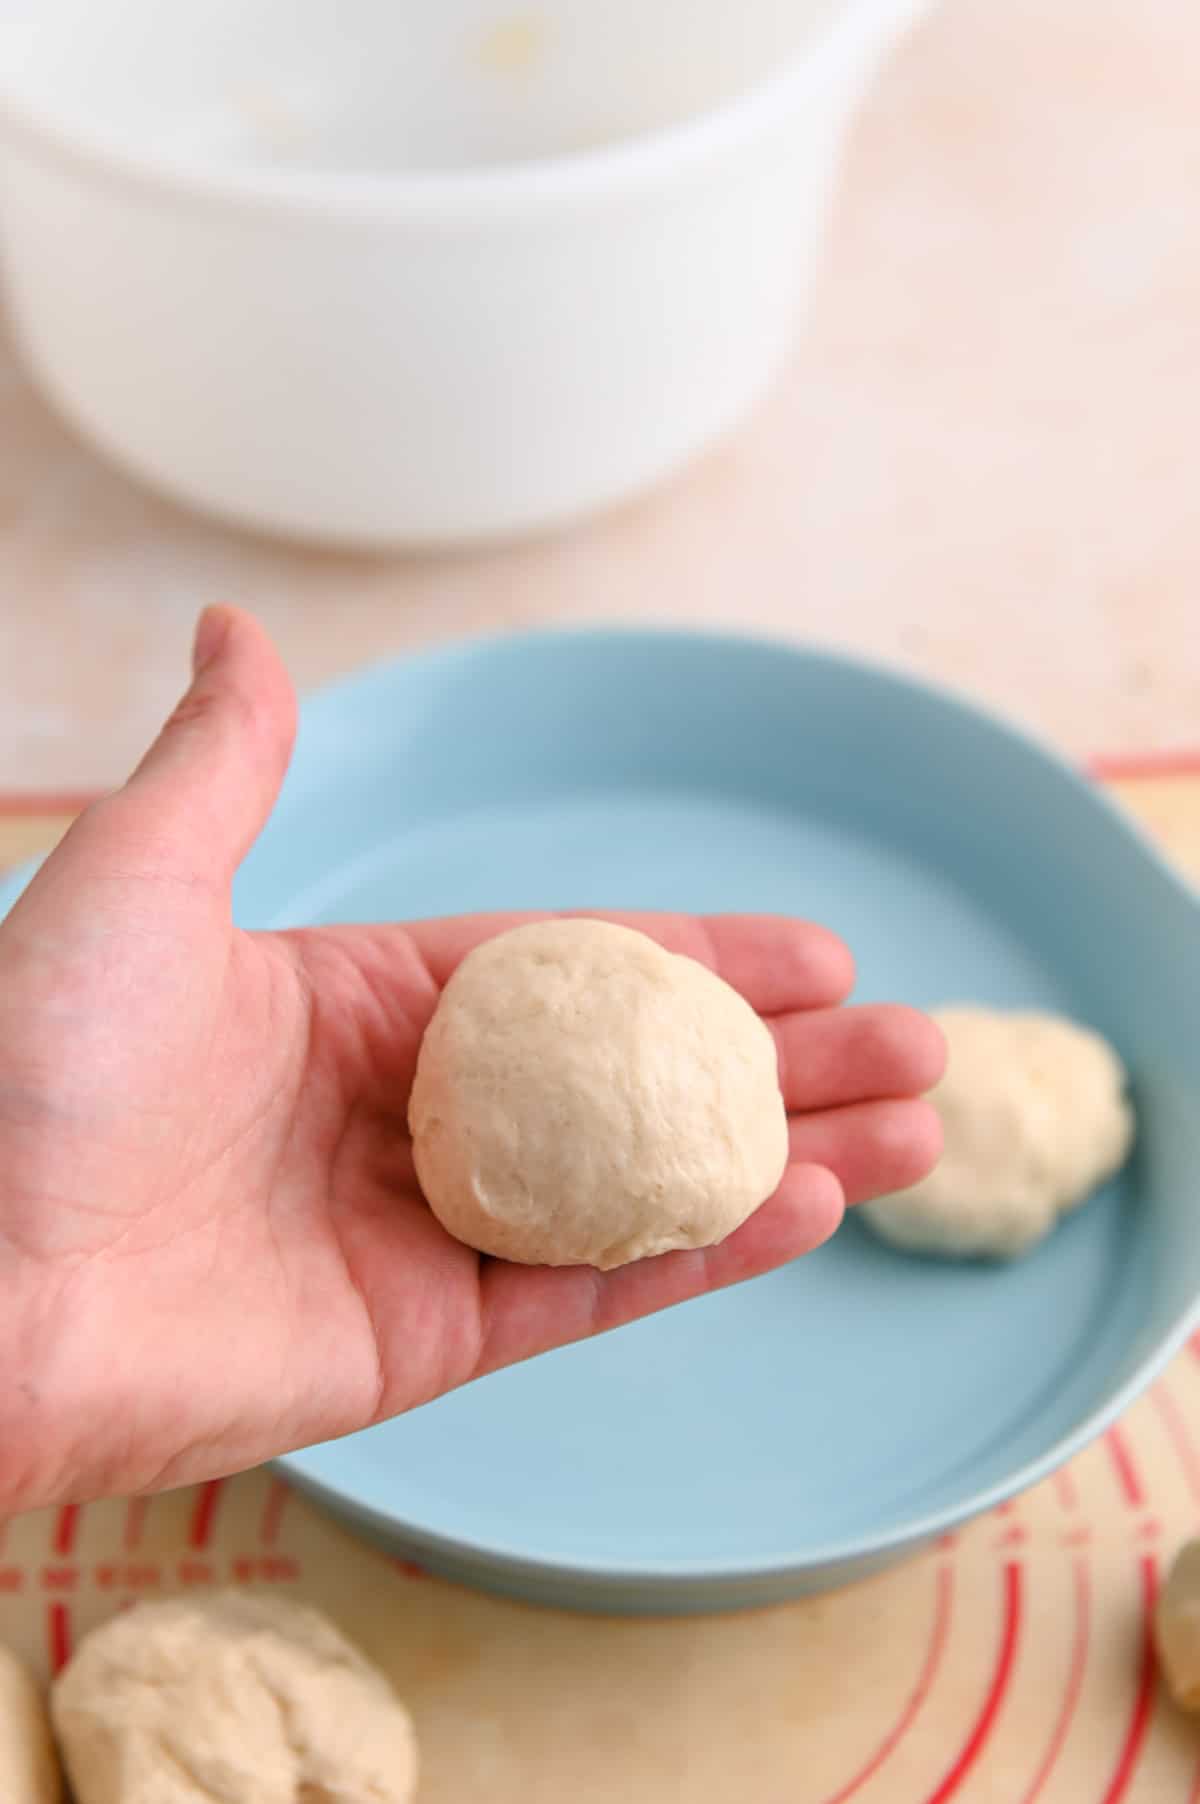
Step five: To make round dough balls: Pinch the ends of each dough piece together in the center. Place seam side down. Use the palm of your hand to gently roll each dough ball until smooth and round.
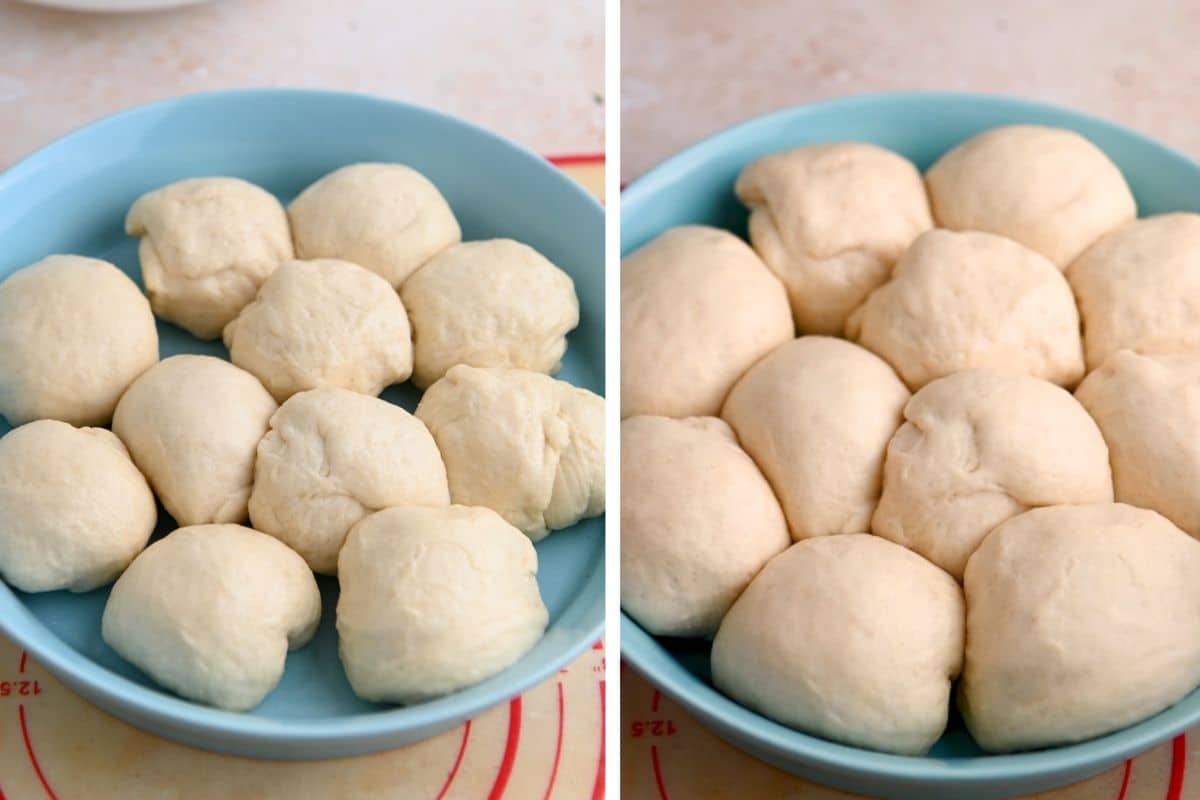
Place the dough balls in a lightly oiled 8x11-inch baking dish or a round 9-inch dish for pull-apart rolls. Cover and let rise until doubled in size, about 30 minutes.
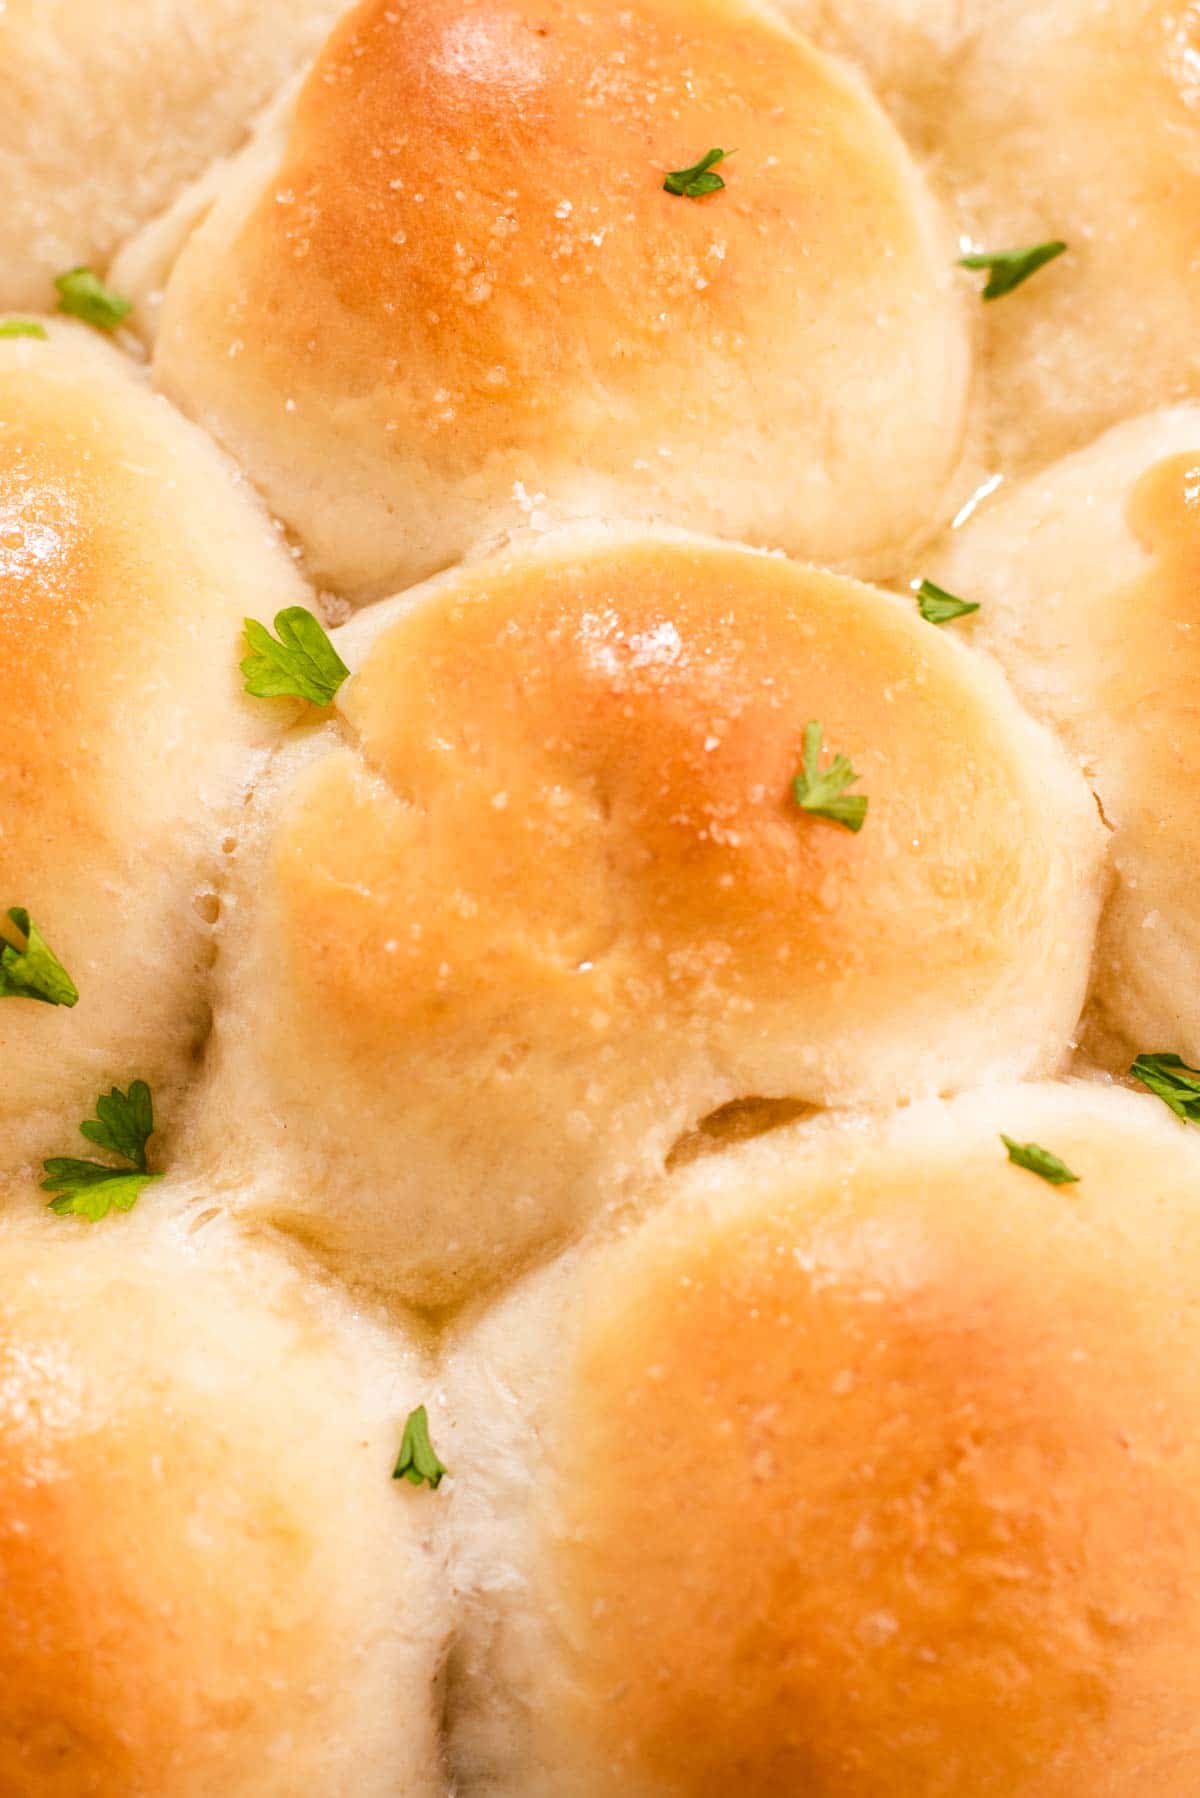
Step six: Bake at 350 degrees on the middle oven rack for 18-20 minutes, until the tops of the yeast rolls are golden brown. Remove from the oven and brush with melted butter and a sprinkle of flaked sea salt. Enjoy!
Expert tips
- Choose a warm environment: Dough rises best in a warm environment (about 80F). When my kitchen is cold I like to preheat the oven to the lowest temp for just 5 minutes, then turn the oven off and let the rolls rise in the oven with the oven door cracked.
- Baking dishes: Twelve rolls fit best in a 12-inch cast iron skillet or 8x11-inch baking dish. For pull-apart yeast rolls, I use a 9” cake pan or 8-9” round casserole dish, which only fits 10-11 rolls. This packs them in tightly and creates the pull-apart effect. You can also freestyle the rolls and just bake them on a sheet pan, but they won’t be pull-apart rolls this way.
- Flour: Avoid adding too much flour to the dough. I recommend spooning and leveling flour into a measuring cup instead of scooping the measuring cup directly into the bag of flour. Even better, use a scale to measure flour by grams. One cup of all-purpose flour weighs 120 grams.
- When to add flour: If the dough becomes too sticky while kneading, add only a sprinkle of flour at a time. Adding too much flour will dry out the rolls.
Roll variations
- Garlic yeast rolls: Include either ½ teaspoon garlic powder or 4-5 cloves minced garlic in the dough. This is similar to my cast iron biscuits recipe.
- Whole wheat yeast rolls can be made by substituting white flour with 100% whole wheat all purpose flour. The dough will be denser and have a heartier flavor. You might also like my whole wheat garlic knots.
- Half wheat: Use half regular all-purpose flour and half whole wheat flour.
- Burger buns: Hear me out, these rolls are great as burger buns. Make slightly large rolls and bake them on a parchment paper lined baking sheet until golden. See my sweet potato buns recipe for more tips.
- Egg-free: Just like my sweet potato dinner rolls, this recipe is egg-free. While many yeast roll recipes call for eggs, I was delighted to find that these rolls are perfect without eggs. This means that the recipe is easy to make vegan/dairy-free as desired.
Recipe FAQ
If making dairy-free yeast rolls, note that they will be slightly less tender due to fat content, but they will still turn out light and fluffy. Choose an unflavored non-dairy milk like soy, almond, or oat milk. Choose an unsalted vegan butter like Earth Balance buttery sticks.
I have not tested this recipe with gluten-free flour. If I did I would try it with an all-purpose flour blend, such as Bob's Red Mill.
The rolls don't need to be brushed before baking, but I highly recommend brushing them with melted butter after baking. This makes their tops soft and tender.

Storage and make-ahead tips
- Make the night before: You can make the rolls up to 18 hours in advance of baking. Follow the recipe up to the second rise (step 6), then cover tightly and transfer to the fridge. When ready to use, let rise at room temp until doubled in size. This will take an extra 30 minutes to an hour because the rolls will be cold from the fridge.
- To freeze before baking: The rolls can be frozen for up to 3 months. To freeze the rolls, follow the recipe up until the second rise (step 6). Place rolls in a lightly oiled baking pan and cover tightly. On the day that you plan to use them, let the frozen rolls thaw at room temperature for 4-5 hours, until doubled in size. Bake per recipe instructions.
- To freeze after baking: You can freeze the baked yeast rolls for up to 3 months. Let cool completely before freezing in an airtight container. When ready to eat, let thaw on the counter in 3-4 hours. The entire pan can be reheated in the oven at 325F in about 10 minutes. Cover the pan tightly with foil when reheating.
- Storage and reheating: Yeast rolls are always best right out of the oven or day-of, but they will keep at room temp for 2-3 days. For best quality, let cool to room temp before tightly covering.
More favorite baking recipes


Did you try this recipe? You can leave a star rating in the recipe card or a review in the comments below. Or check out my cookbook and keep up to date with my YouTube, Instagram, TikTok, or newsletter!
Recipe
Want to Save This Recipe?
Enter your email & I'll send it to your inbox. Plus, get great new recipes from me every week!
By submitting this form, you consent to receive emails from Cozy Peach Kitchen
Homemade Yeast Dinner Rolls
Ingredients
- ½ cup whole milk
- ½ cup water
- ¼ cup unsalted butter sliced; plus more for topping
- 2 and ¾ teaspoon active dry yeast
- ¼ cup white sugar
- ½ teaspoon salt
- 2 and ½ to 3 cups all-purpose flour
Instructions
- Heat liquids: Whisk together the milk and water in a liquid measuring cup. Add slices of butter. Microwave for 1 minute, then whisk. Continue microwaving in 15 seconds intervals, until the mixture reaches 110 degrees F (I use a meat thermometer) *Can also be heated in a sauce pot.
- Make the dough: In a large bowl or stand mixer, stir together the liquids, active dry yeast, white sugar, salt, and 1 cup of all purpose flour until a very wet, shaggy dough forms.
- Add in the remaining 1 and ½ cups flour. Mix until a shaggy dough forms. Turn out onto a lightly floured surface to knead by hand for 8-10 minutes OR knead in a stand mixer with the dough hook attachment for 6-8 minutes. The goal is smooth, elastic dough. Add remaining ½ cup flour as needed if the dough is too wet or sticky to work with.
- First rise: Place the kneaded dough in a clean, lightly oiled bowl. Turn to coat. Cover with plastic wrap or a clean dish towel. Let rise in a warm area until doubled in size, about an hour (it may take up to 2 hours in a cold kitchen).
- Shaping the dough: Punch down the dough. Divide the dough into 12 pieces. I use a kitchen scale for accuracy. To make round dough balls: Pinch the ends of each dough piece together in the center. Place seam side down. Use the palm of your hand to gently roll each dough ball until smooth and round.
- Second rise: Place the dough balls in a lightly oiled 8x11 baking dish. Cover and let rise until doubled in size, about 30 minutes. Preheat the oven to 350F.
- Baking: Bake at 350 degrees on the middle oven rack for 18-20 minutes, until the tops are golden brown. Remove from the oven and brush with melted butter for soft tops and a sprinkle of flaked sea salt. Enjoy!
Video
Notes
- Leftovers: For best quality, enjoy within 2-3 days. Best enjoyed warm.
- Make ahead: You can make these up to 18 hours in advance of baking. Follow the recipe up to the second rise, then cover tightly and transfer to the fridge. When ready to use, let rise at room temp until doubled in size.
- Freezing instructions: Can be frozen for up to 3 months.
- To freeze the rolls before baking, follow the recipe up until the second rise. Place rolls in a lightly oiled baking pan and cover tightly. On the day that you plan to use them, let the frozen rolls thaw at room temperature for 4-5 hours, until doubled in size. Bake per recipe instructions.
- To freeze after baking, let cool completely before freezing in an airtight container. When ready to eat, let thaw on the counter in 3-4 hours. The entire pan can be reheated in the oven at 325F in about 10 minutes. Cover tightly with foil when reheating.
- Dairy-free option: Choose unflavored non-dairy milk like soy, almond, or oat milk. Choose an unsalted vegan butter like Earth Balance buttery sticks.
Cade says
I stuffed these rolls with hamburger, bacon, cheese, & onion!! Had to cook slightly longer but these rolls are FANTASTIC!!
El Capitan says
Holy dankness, these are good! They are easy to make and have a cozy, delicious taste.
Becky Jones says
I made these for Christmas dinner & it was second time. They were wonderful and easy. I'm 66years old & disabled so for me it was a Godsend. Thank you so much...
Cassidy Reeser says
Thanks so much for the review and I'm glad you enjoyed the rolls. 🙂
Vicky says
Made this yesterday for Easter dinner. Perfection! Thank you for a wonderful recipe.
Cassidy Reeser says
I'm so glad that you liked them! Thanks for the review.