


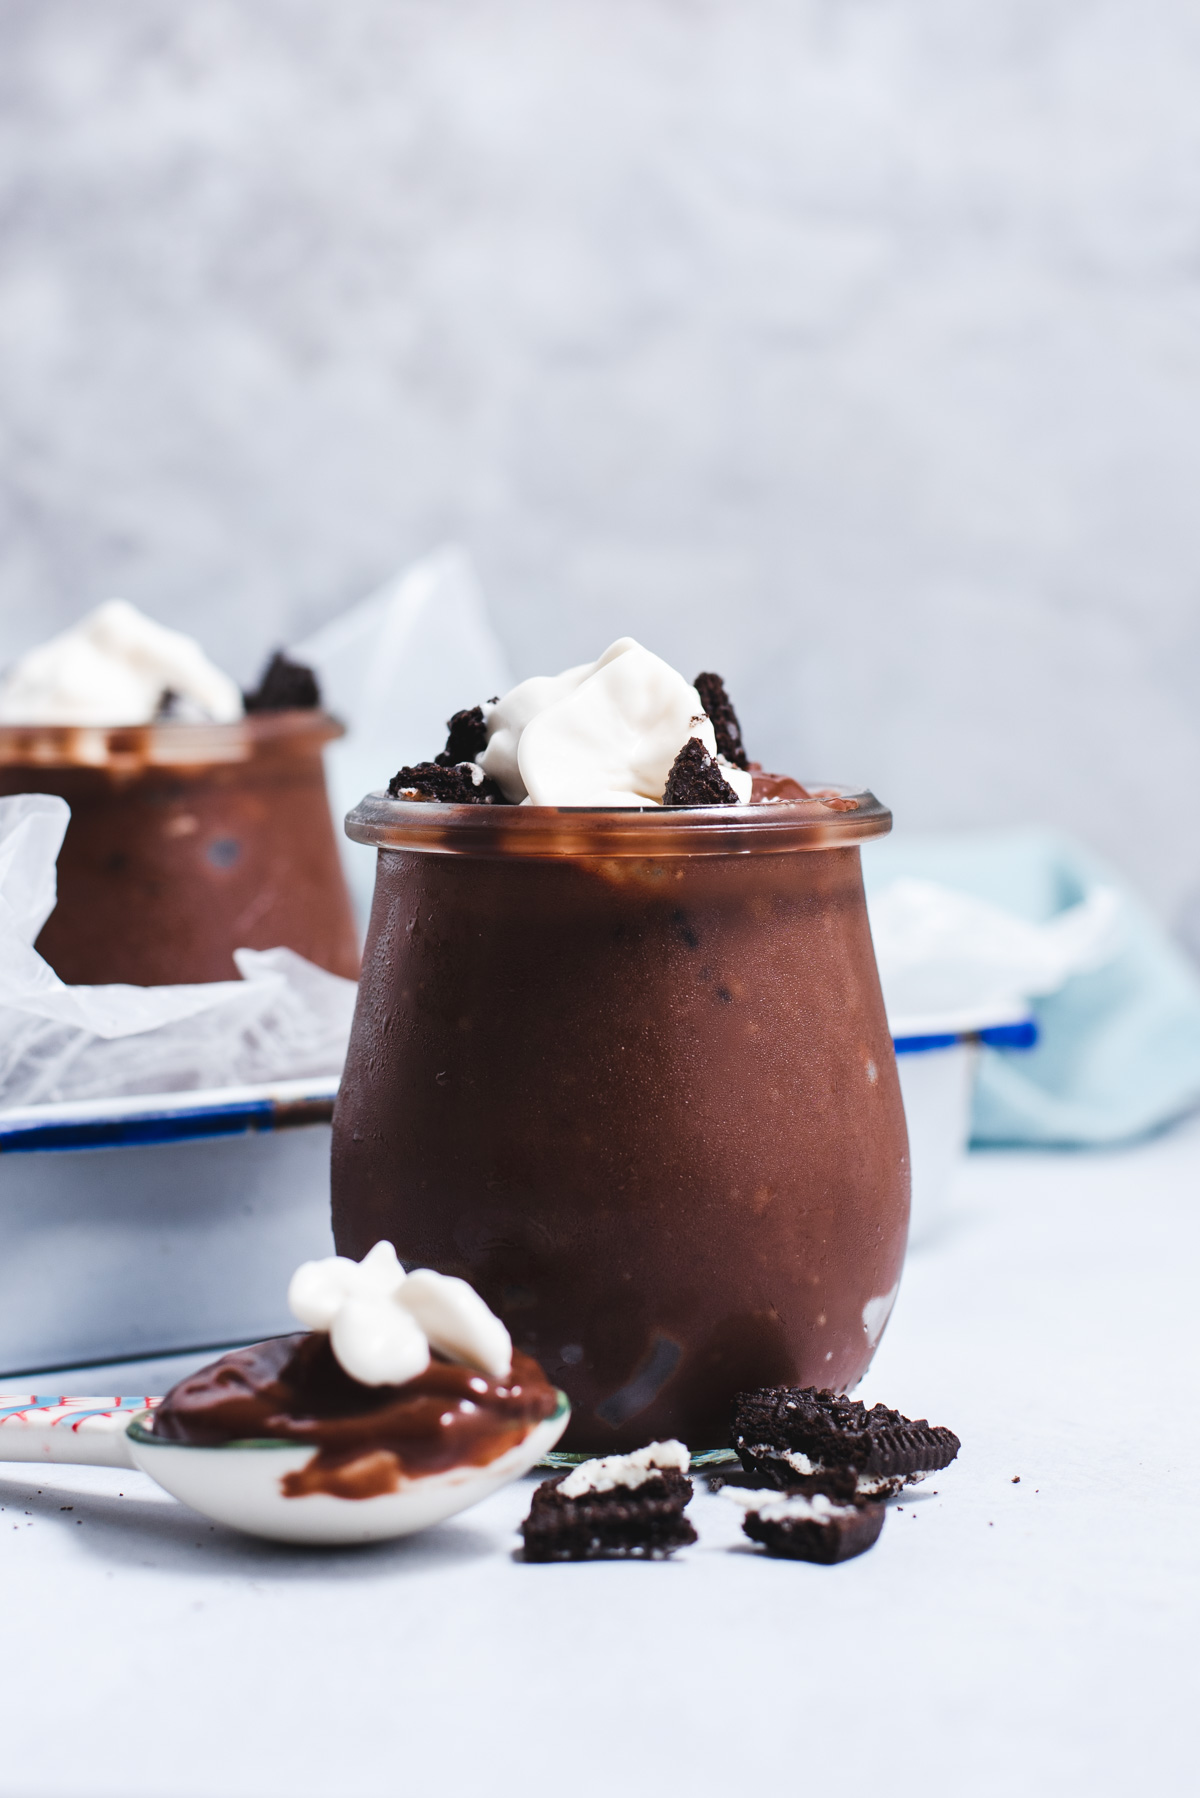
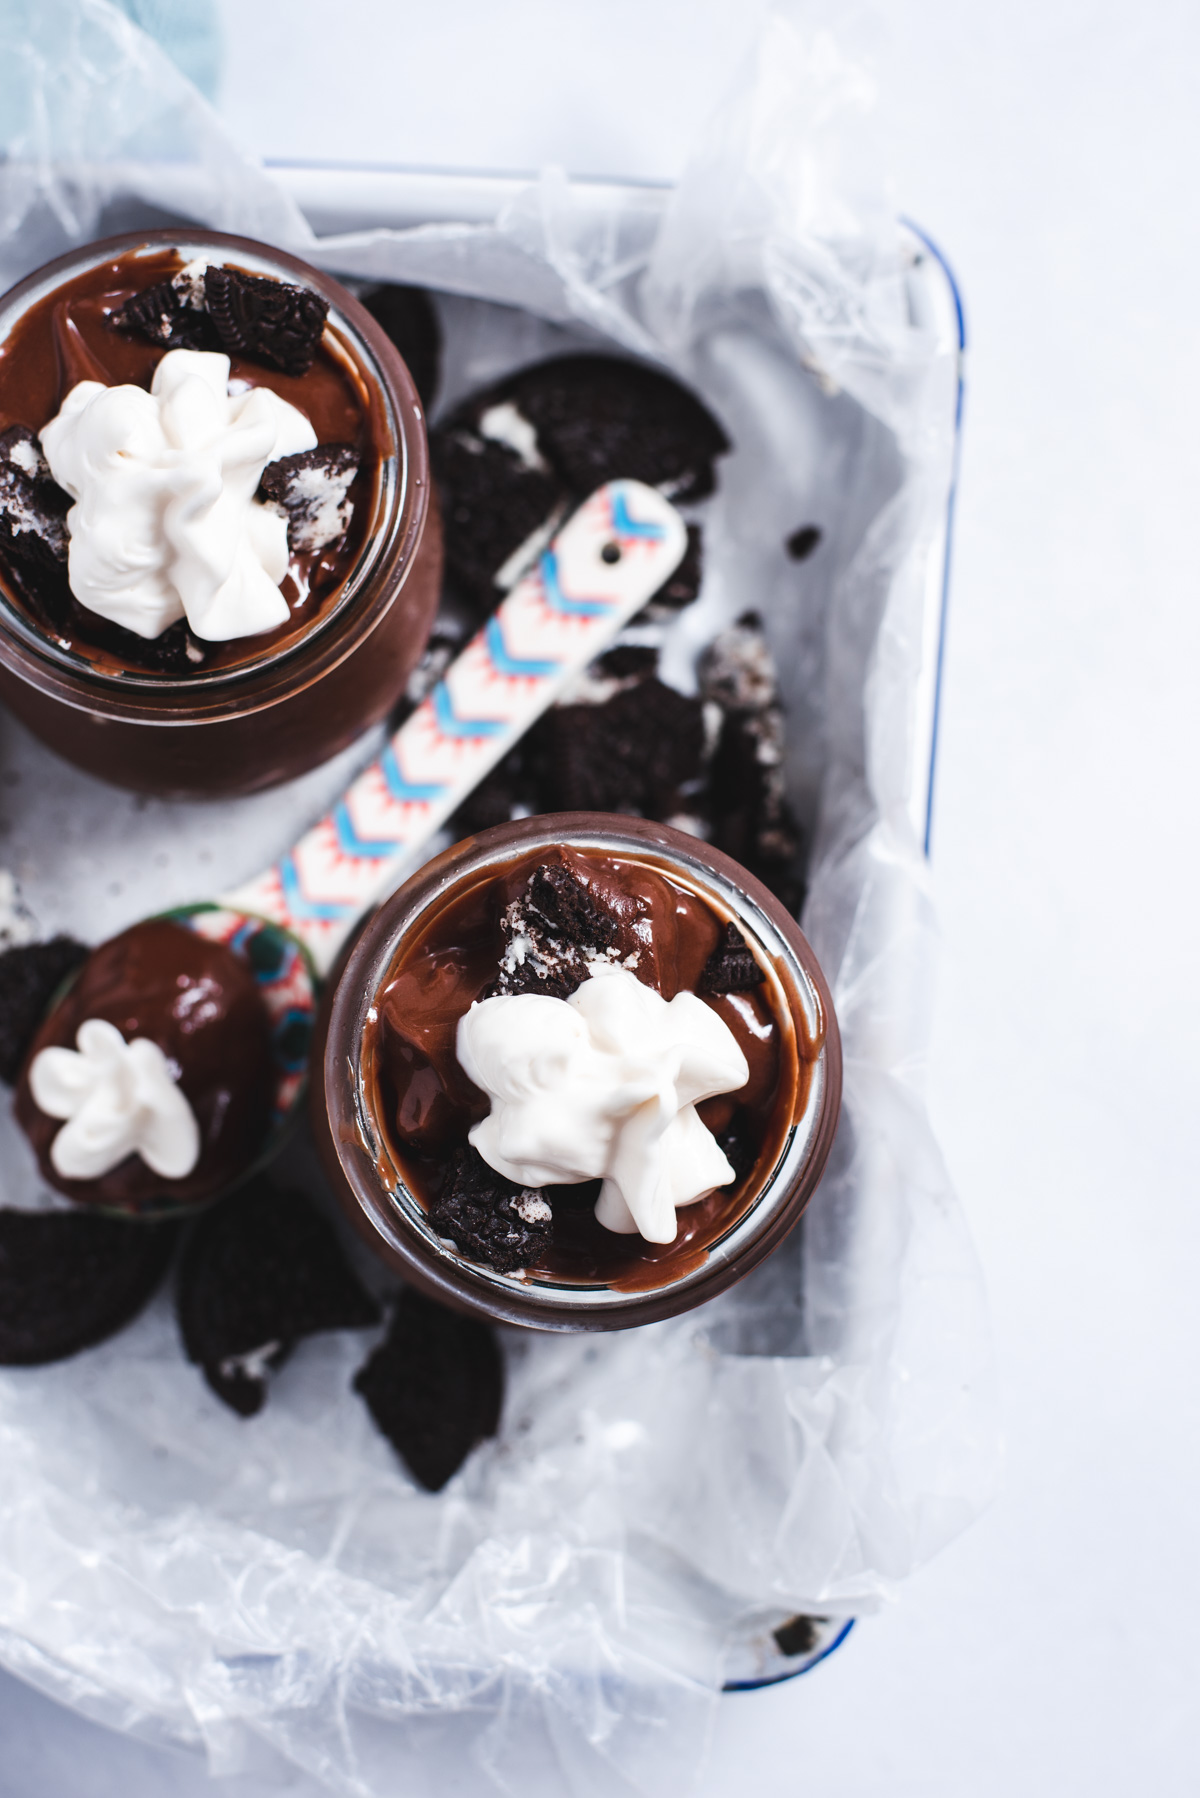
This ultra chocolatey dairy-free pudding requires just 15 minutes of active time and is so easy to make! It's great on its own but you'll love it even more with a dollop of whipped cream and crushed vegan cookies on top.
Vegan pumpkin pudding and vegan banana pudding are two of the most popular recipes on the blog, and I absolutely love all things chocolate so it feels like time to share this recipe.
This dairy-free chocolate pudding is made with soy milk instead of heavy cream or dairy milk. It's thickened with the magic of cornstarch, which makes the pudding lusciously thick and creamy!
Jump to:
Recipe features
- Made with classic ingredients, just without dairy or eggs. Unlike many "healthy" versions of dairy-free pudding, this one is made without tofu, avocado, or beans. This pudding is a sweet treat that's perfect for dessert.
- Quick & easy: Making dairy-free chocolate pudding takes just 15 minutes of active time using 10 ingredients. The pudding should chill for at least 4 hours to cool down.
- The pudding is ultra-creamy, rich, and filled with double the chocolate flavor from cocoa powder and dairy-free chocolate chips. We also add a touch of espresso powder to really enhance the chocolate flavors.
- Dietary features: nut-free, gluten-free, soy-free optional (just use a soy-free non-dairy milk)
What you'll need
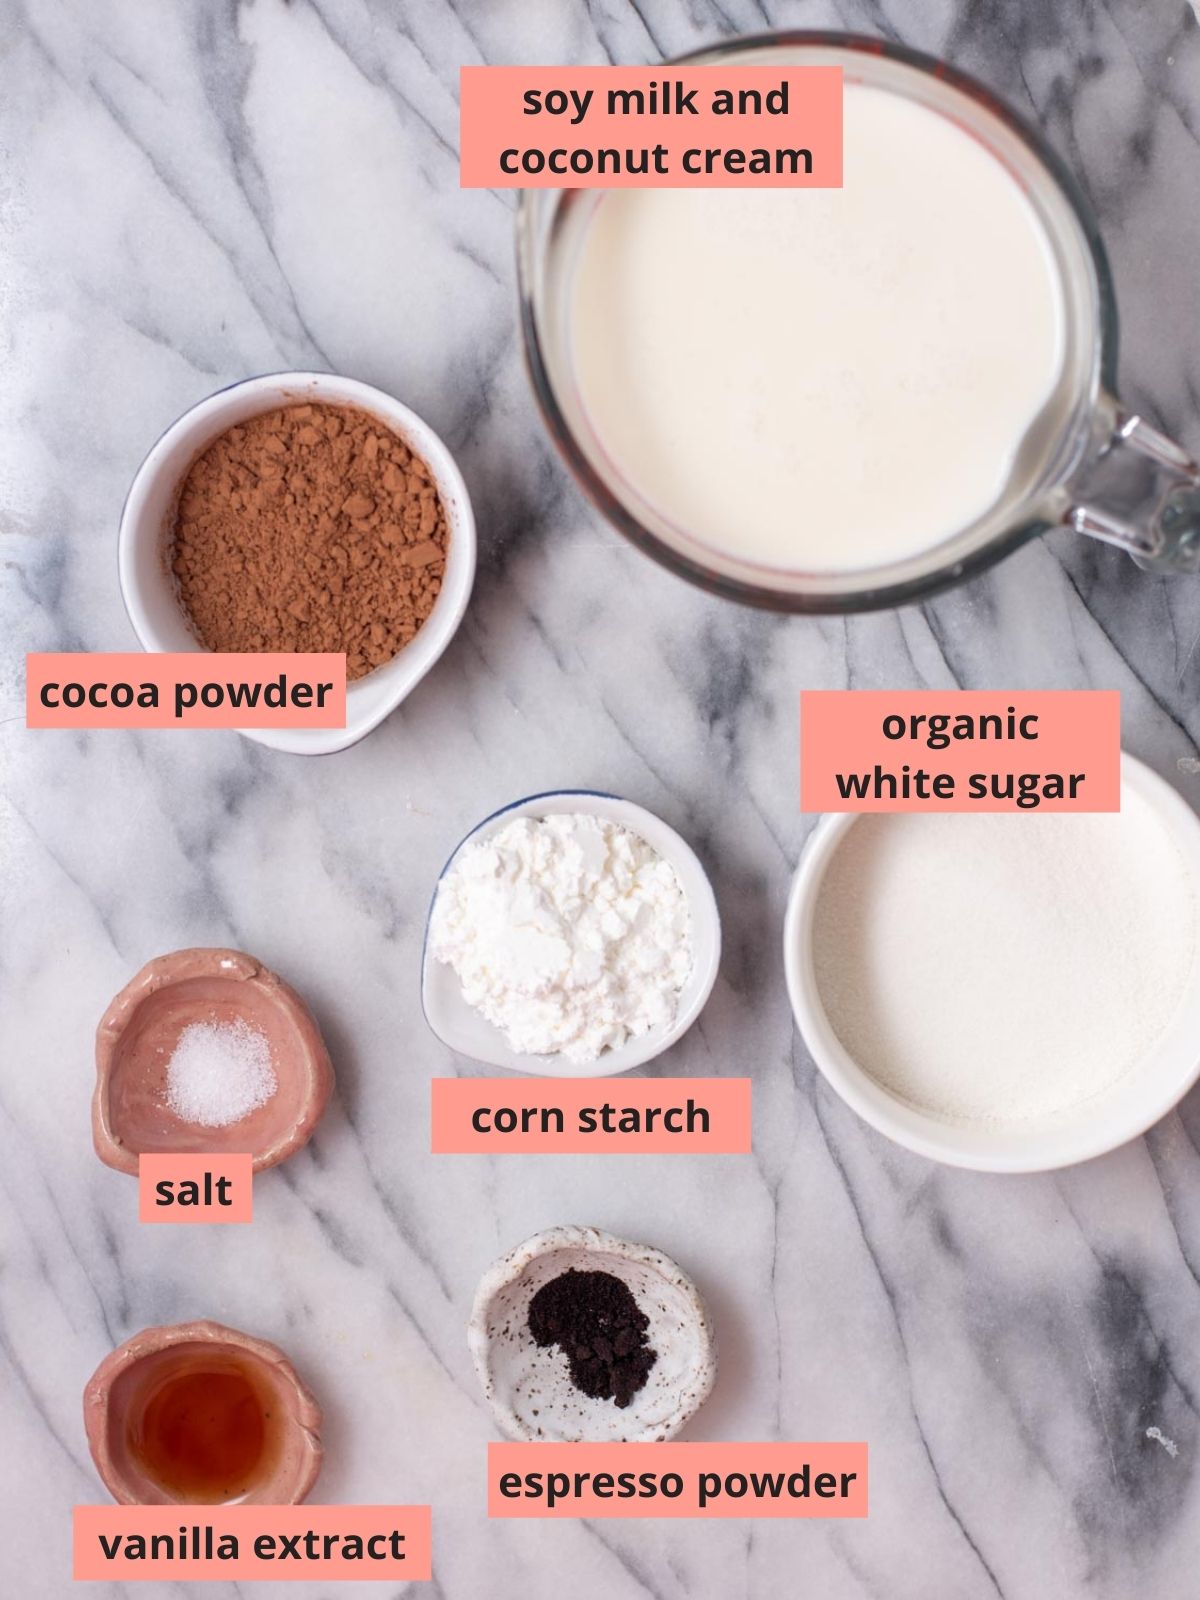
- Coconut cream: Not to be confused with coconut milk, canned coconut cream is much richer and should be available right next to the canned coconut milk.
- Non-dairy milk: I use unsweetened soy milk for most of my vegan baking because I find that it has the most neutral flavor. Almond milk, oat milk or coconut milk will also work. You can also use canned coconut milk which will make the pudding super rich and slightly thicker.
- Corn starch: Starch acts as the primary binder in the recipe, so don't leave it out! You can replace corn starch with arrowroot starch if you prefer a grain-free and allergy friendly option.
- Chocolate chips: Choose dairy-free chocolate chips like Lily's or Enjoy Life brands.
- Cocoa powder: Choose unsweetened cocoa powder like the kind you use in brownies.
Step-by-step instructions
The only equipment you need is a medium sauce pot, stove, and whisk (preferably a silicon whisk so that you don't scratch the pot).
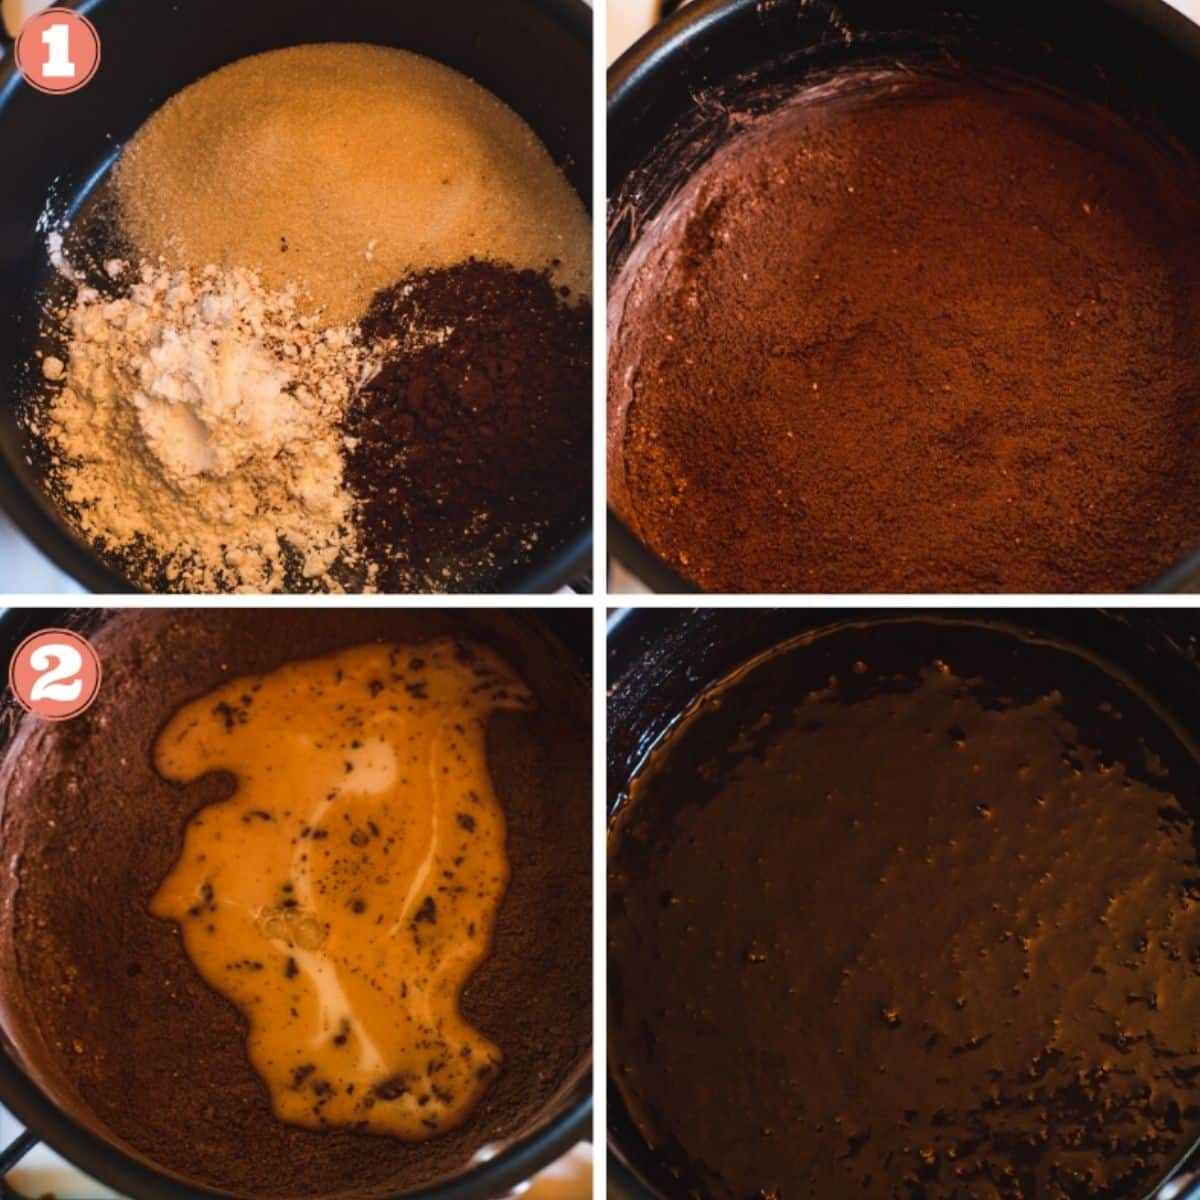
Step 1: Start by mixing together the dry ingredients in a medium saucepot: white sugar, corn starch and cocoa powder.
Step 2: With the heat off, slowly mix in ½ cup non-dairy milk until a thick sauce forms.
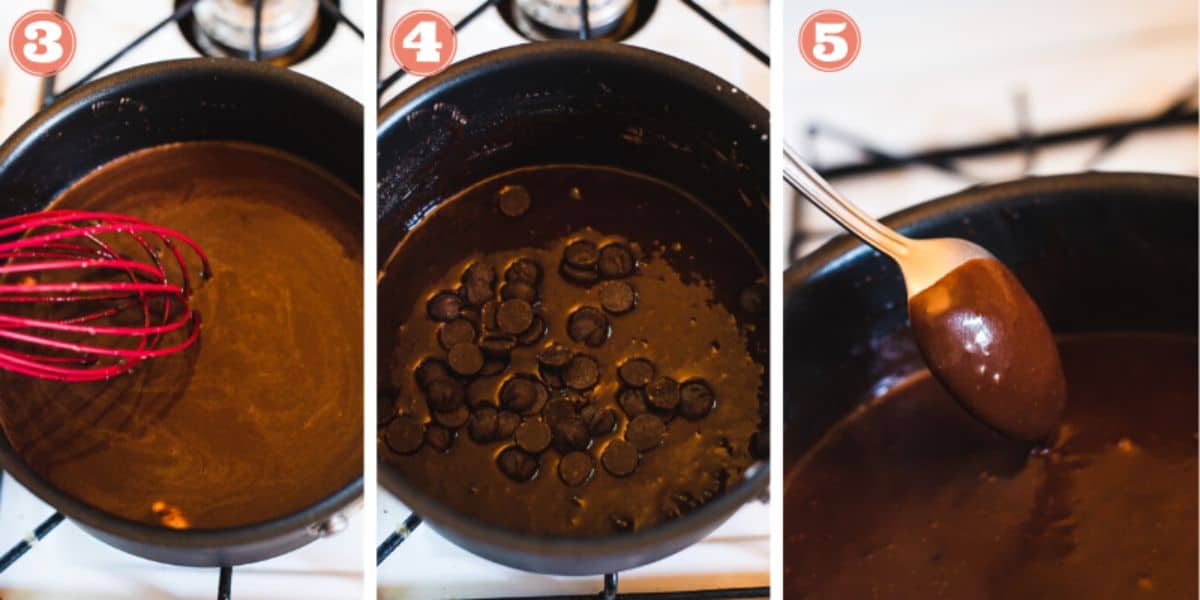
Step 3: Turn the stove onto medium-high heat. While stirring consistently with a whisk, slowly pour in the remaining milk and coconut milk. It's important to keep whisking the entire time so that no lumps form.
Step 4: The mixture should start bubbling in a 1-2 minutes. Once it's bubbling, stir in the chocolate chips. Turn the heat down to medium low so that it is lightly simmering. Continue to stir occasionally to prevent a film from forming.
Step 5: Simmer until the mixture coats the back of a metal spoon without sliding off. This will take anywhere from 5-10 minutes. Once you get to that point, turn the heat off. Mix in the vanilla extract, espresso powder (optional, this enhances the chocolate flavor) and salt.
Transfer the pudding to a heat-proof container. Allow to cool to room temp before transferring to the fridge to cool completely.
Expert tips and variations
- Make it thinner or thicker: The longer you simmer the chocolate pudding the thicker it will become because the milk evaporates off. Slowly add 1 tablespoon of non-dairy milk at a time to thin the pudding.
- For ultra-fluffy pudding: While this isn't part of the recipe, it's something I like to do for extra indulgent and fluffy dairy-free pudding. Instead of putting whipped cream on top of the pudding, fold in an entire can of (dairy-free) whipped cream into the pudding after the pudding has cooled. This will make it lighter like traditional pudding.
- Lumpy pudding? Try this: You can usually get rid of any lumps with an immersion blender or by whisking them out. A blender might work if your pudding is still mostly liquid.
Storage and serving tips
Storage: Keep leftovers refrigerated for up to 5 days.
For best quality: To prevent skin from forming on top of the pudding, I recommend pressing plastic wrap, foil, or wax paper directly onto the pudding surface before transferring it to the fridge.
Serving ideas: Serve topped with coconut cream or store-bought vegan whipped cream, or make the chocolate pudding a little lighter with sliced strawberries. I topped mine with crushed Oreos, which are vegan by ingredient list but may come into contact with non-vegan ingredients in the factory. That being said, any Oreo-style cookie will work.
Looking for more dairy-free desserts?


Did you try this recipe? You can leave a star rating in the recipe card or a review in the comments below. Or check out my cookbook and keep up to date with my YouTube, Instagram, TikTok, or newsletter!
Recipe
Want to Save This Recipe?
Enter your email & I'll send it to your inbox. Plus, get great new recipes from me every week!
By submitting this form, you consent to receive emails from Cozy Peach Kitchen
Dairy-Free Chocolate Pudding
Ingredients
- ½ cup organic granulated sugar
- ¼ cup cocoa powder
- ¼ cup cornstarch see note #1
- 2 cups unsweetened soy milk divided; see note #2
- ½ cup coconut cream see note #3
- ⅓ cup vegan chocolate chips optional, makes it richer
- ½ teaspoon espresso powder
- ½ teaspoon vanilla extract
- ⅛ teaspoon salt
- handful crushed cookies for topping optional
- vegan whipped cream for topping
Instructions
- Start by mixing together the dry ingredients in a medium sauce pot: white sugar, corn starch and cocoa powder. With the heat off, slowly mix in ½ cup non-dairy milk until a thick sauce forms.
- Turn the stove onto medium-high heat. While stirring consistently with a whisk, slowly pour in the remaining milk and coconut cream. Continue stirring until the mixture starts bubbling.
- Once it's bubbling, stir in the chocolate chips. Turn the heat down to medium low so that it is lightly simmering. Continue to stir occasionally to prevent a film or lumps from forming. Simmer until the chocolate coats the back of a metal spoon without sliding off. Once you get to that point, turn the heat off.
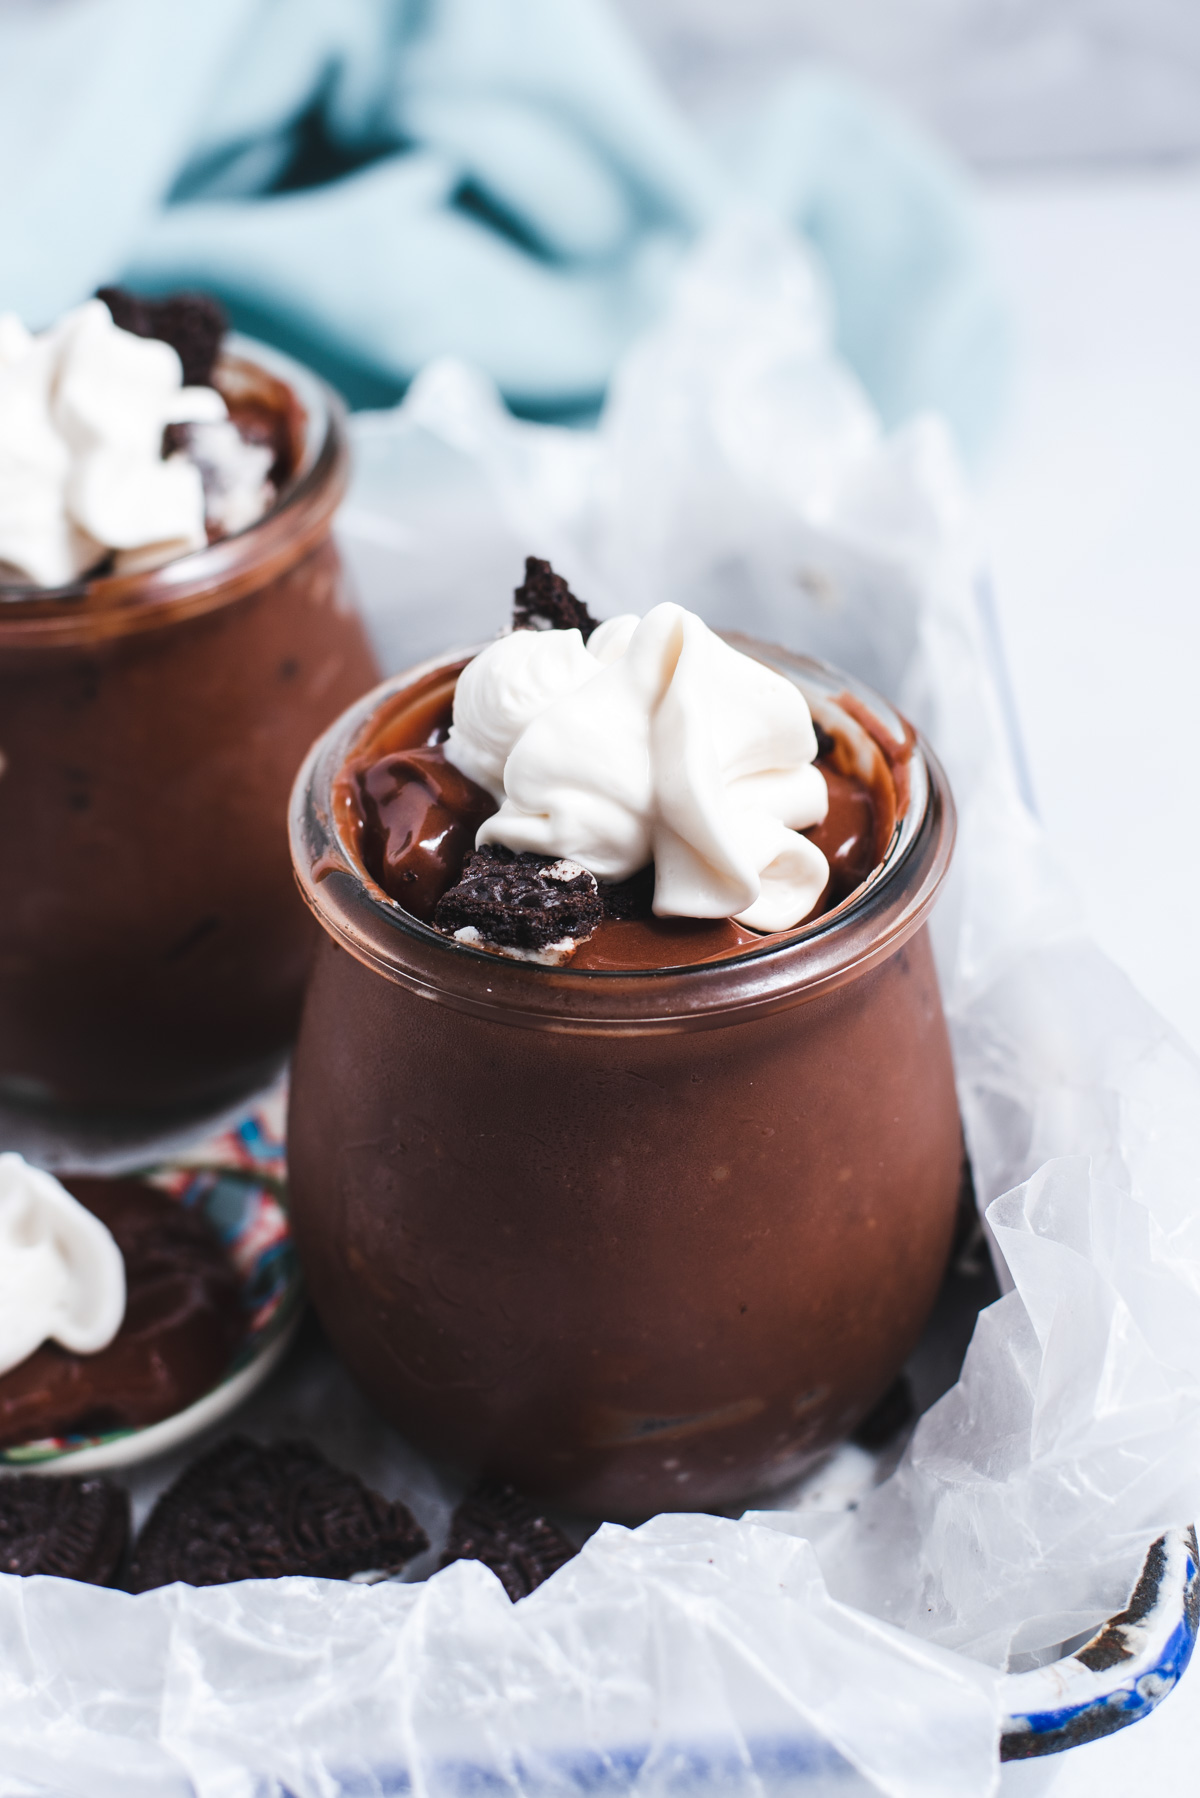
- Mix in the espresso powder, vanilla extract, salt. Let cool to room temperature before transferring to the fridge to cool completely. This will take about 4 hours. Serve in individual ramekins or jars topped with whipped cream and crushed chocolate cookies.
Notes
- Corn starch is the primary thickener in this recipe. Arrowroot starch will also work.
- Non-dairy milk: Any unsweetened, unflavored non-dairy milk will work.
- Coconut cream: Not to be confused with coconut milk, canned coconut cream is much richer and should be available right next to the canned coconut milk.
- Make it thinner or thicker: The longer you simmer the pudding the thicker it will become because the milk is evaporating off. Slowly add in 1 tablespoon milk at a time to thin the pudding.
- Pro tip for ultra-fluffy pudding: Sometimes I will fold in an entire can of (vegan) whipped cream into the cooled pudding to make it extra fluffy. This works best if you plan on eating the pudding immediately and if you like the flavor of vegan whipped cream.
- Storage: Keep leftovers refrigerated for up to 5 days. To prevent a skin from forming you can press plastic wrap, foil or wax paper directly onto the pudding surface before transferring it to the fridge.
Comments
No Comments