


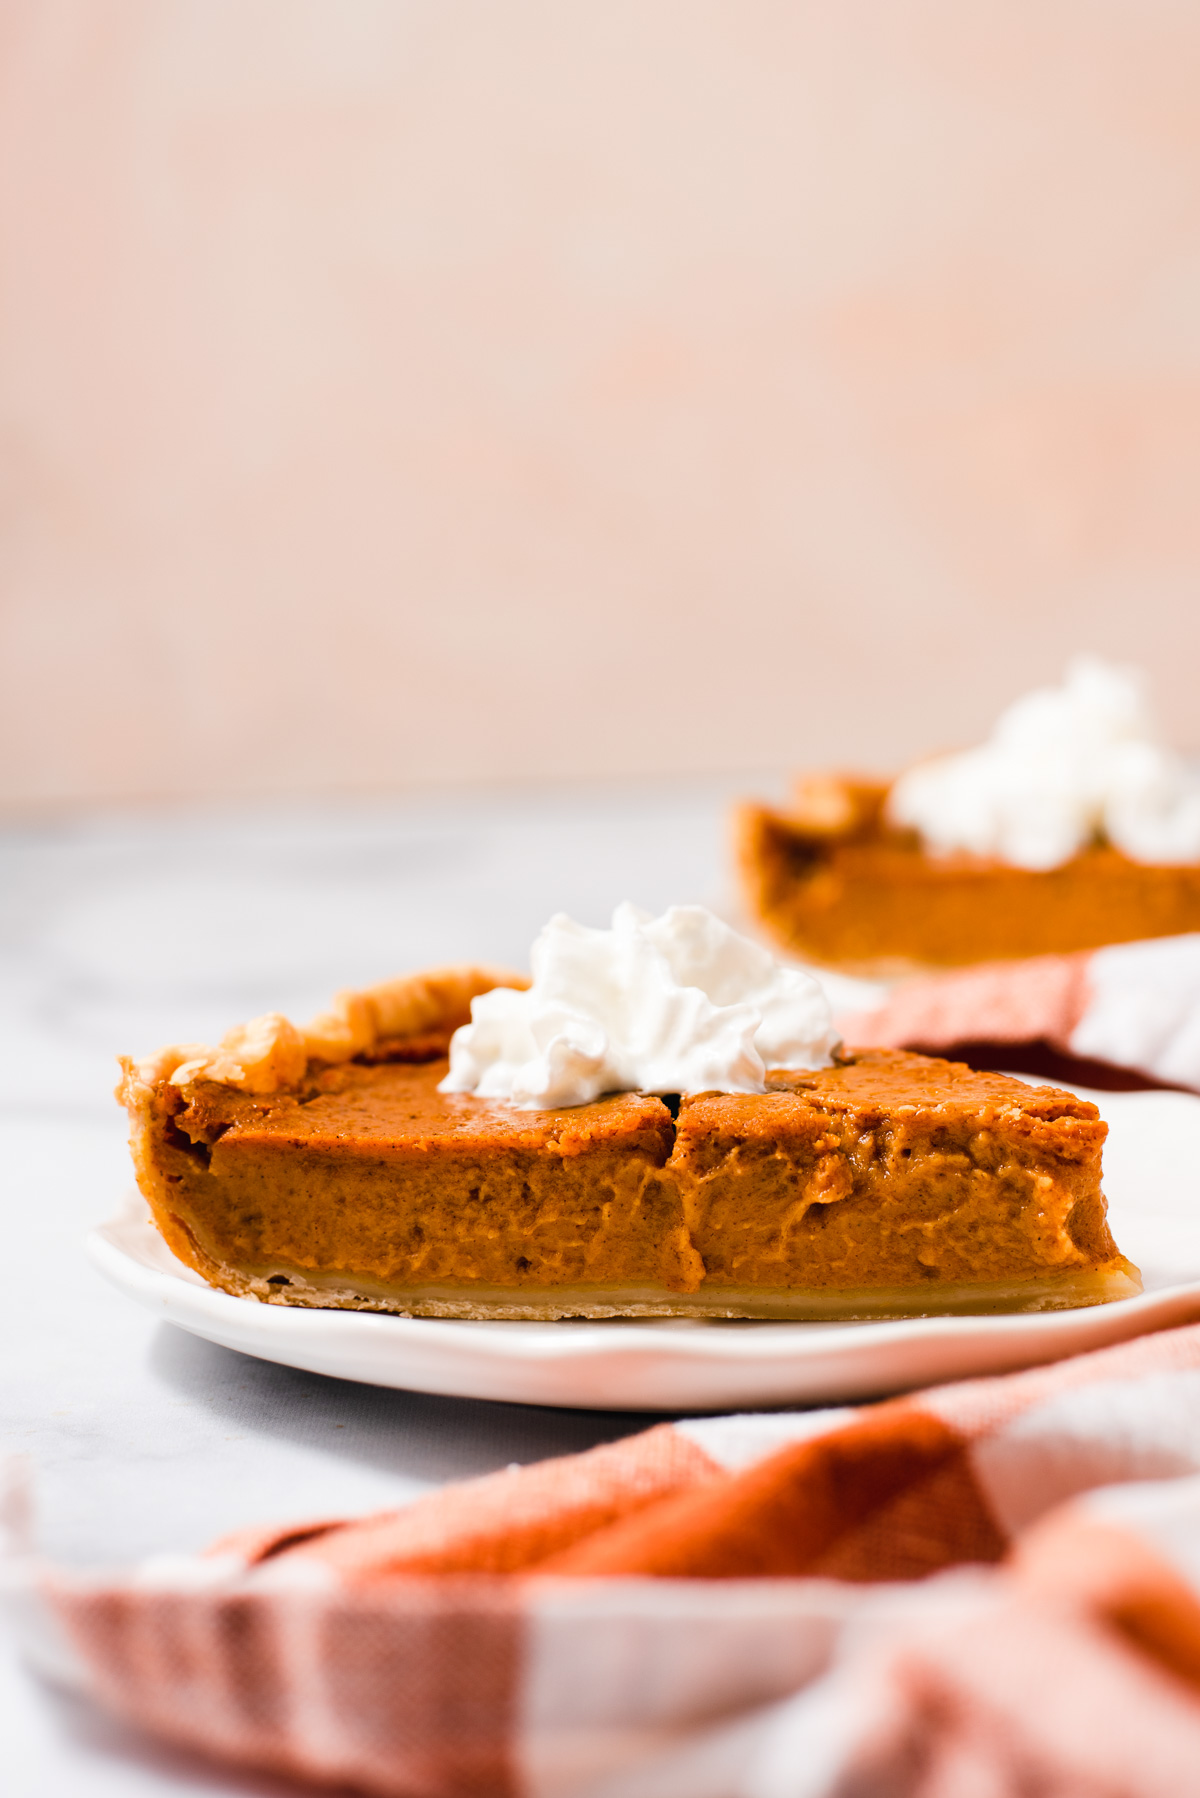
Yes, you can make delicious pumpkin pie at home without eggs! My eggless pumpkin pie requires under 10 minutes of active time to make and has a perfectly soft texture.
You might think that eggs and dairy are integral to pumpkin pie, but think again! My eggless pumpkin pie is a great option if you're serving a guest with an allergy or special diet, or if you just happened to run out of eggs in the middle of cooking of Thanksgiving dinner.
The pumpkin pie filling is also dairy-free, so as long as you're using a dairy-free pie crust it'll be an entirely vegan pumpkin pie.
Recipe highlights
- Silky smooth texture: The filling is based on my popular vegan pumpkin pudding recipe. After baking and chilling just like traditional pumpkin pie, the result is a thick, sliceable slice of pumpkin pie.
- Simple ingredients, classic flavor: It tastes just like classic pumpkin pie, and that's because we're using standard ingredients like brown sugar, cinnamon, and pumpkin pie spice.
- Uses an entire can of pumpkin puree, so you don't have to worry about an awkward leftover amount of canned pumpkin.
Ingredients
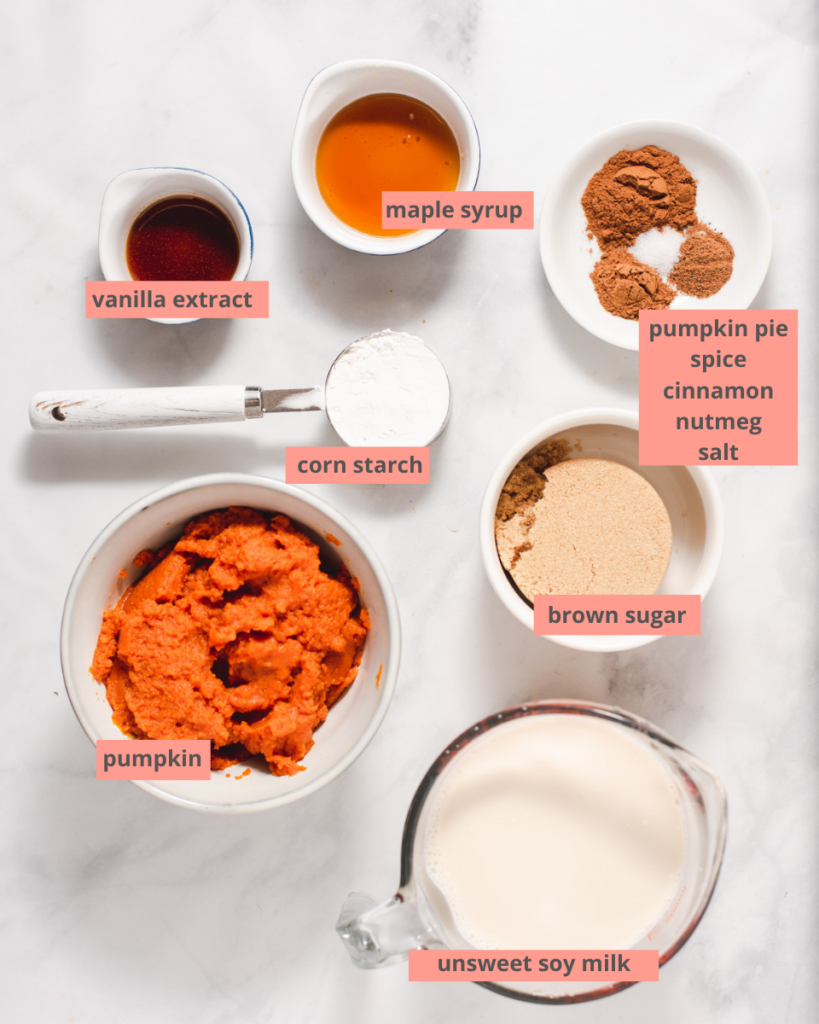
- Pumpkin puree: Canned pumpkin puree is my go-to but homemade will also work. Pumpkin pie filling will not work here.
- Maple syrup and brown sugar: These are the main sweeteners in the recipe. I use light brown sugar. If using dark brown sugar, the pumpkin pie will be slightly deeper in cover and flavor because of the additional molasses in dark brown sugar.
- Soy milk: I use unsweetened, unflavored soy milk but almond, oat or any similar non-dairy milk will work and can be used to make this recipe soy-free. I have not tested this recipe with dairy milk, but I don't see why it wouldn't work!
- Corn starch: In lieu of eggs, we need something to thicken the pie filling and add that luscious texture. Corn starch does the trick!
- Pumpkin pie spice, nutmeg, cinnamon, salt: This is where the fall-flavored magic happens.
Step by step instructions
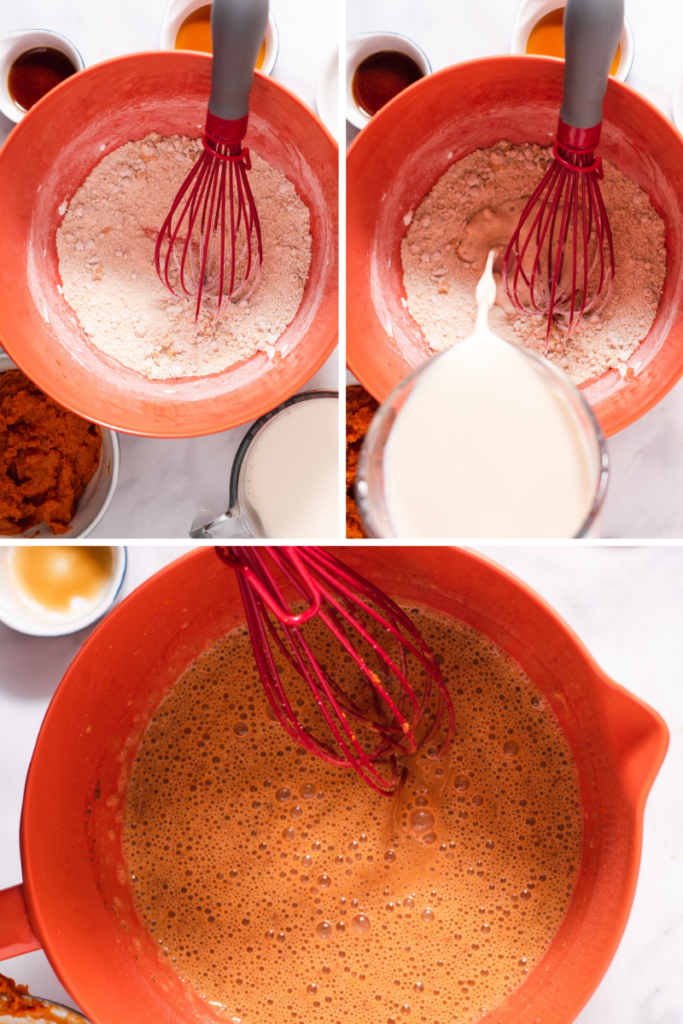
Start by making the pumpkin pie filling. Stir together the dry ingredients: corn starch, brown sugar, and spices.
Slowly whisk in the non-dairy milk. Next, whisk in the pumpkin, maple syrup and vanilla extract.
Set the filling aside and preparing a 9 inch pie crust in a pie pan. I use my recipe for an oil-based pie crust.

Pour the filling into the pie dough. Bake the pie for 40-50 minutes at 400 degrees F.
How to tell the pie is ready
- The edges of the pie will be darkened in color.
- Went pressed gently, the pie should feel firm around the edges.
- The center will still jiggle, but only very slightly.
- If the edges are browning but the pie isn't set, cover them with foil or a pie shield.
- Remove from the oven and let cool at room temperature for an hour. After an hour, transfer to the fridge and let cool another 3 hours before enjoying.
Cassidy's tips
- Baking dish: Ceramic, metal and glass all bake at different speeds, which is why I recommend baking the pie for 40-50 minutes.
- If using a frozen pie crust, ensure it is fully thawed before adding the pumpkin pie filling.
- Give yourself enough time, at least 4 hours, to let the pie cool and set before serving. It's even better if you let it chill in the fridge overnight.
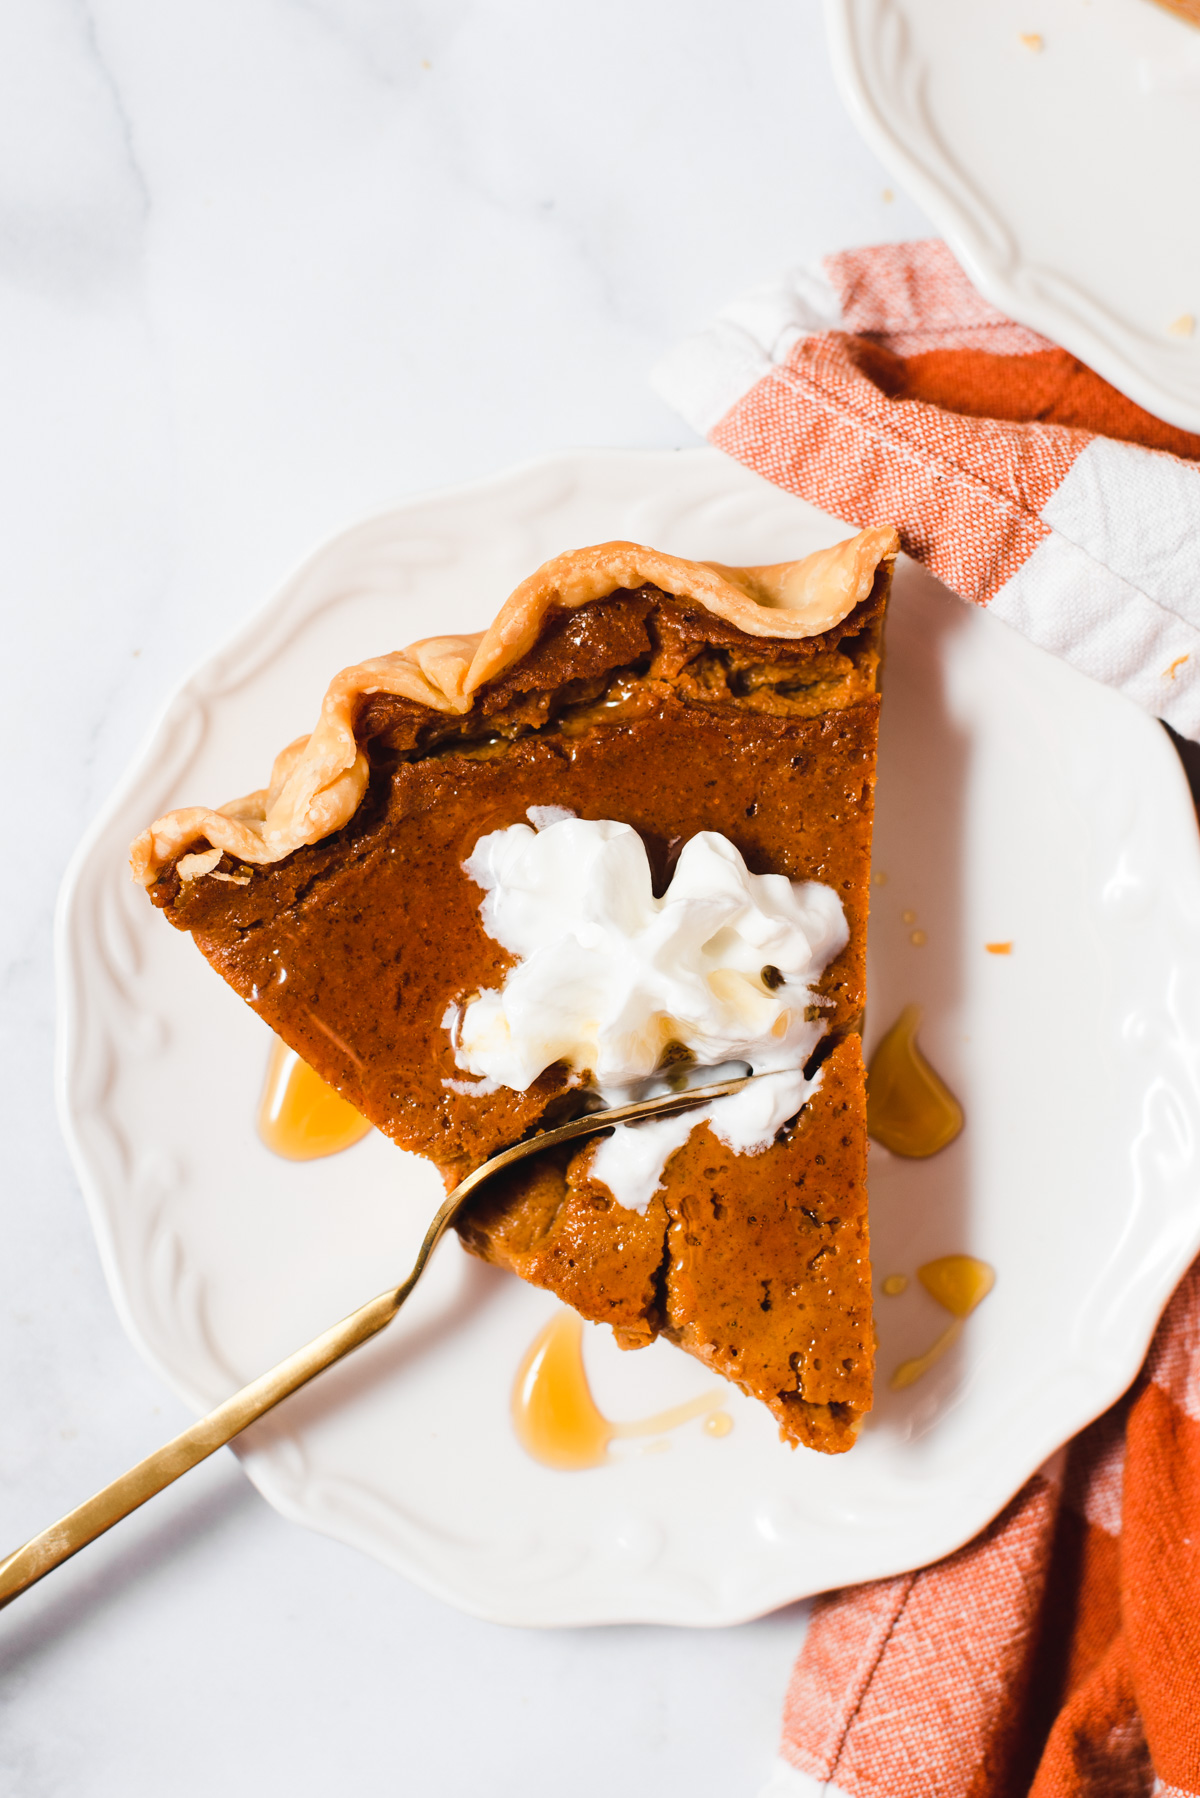
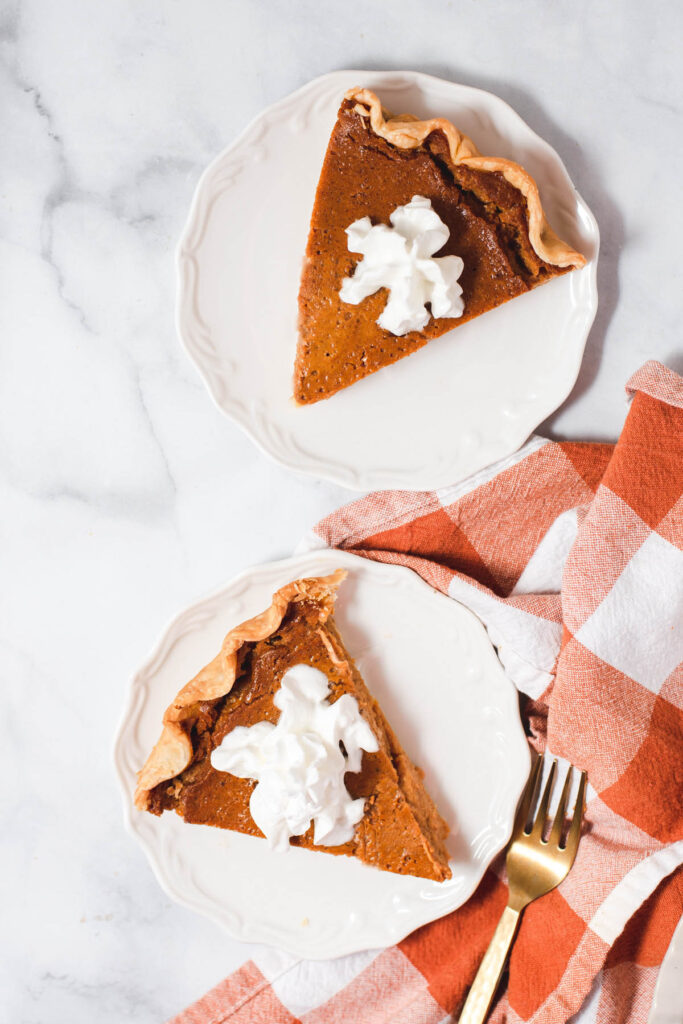
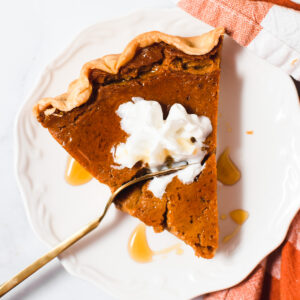
- Serving: Best served cold with a dollop of (vegan) whipped cream and a drizzle of maple syrup.
FAQ
Two things can cause this: the pie cooled too quickly or the pie baked for too long. Here's how to prevent this:
1. Take the pie out of the oven when the center is still a bit jiggly to prevent overcooking it.
2. To prevent cooling it too quickly, let the pie cool at room temperature for at least an hour before transferring to the fridge.
This feels like one of those inevitable issues when baking pie. The usual recommendation is to put tin foil around the edges of the pie when you notice it browning, but I have another method.
I use this pie shield. It is a life-saver and I definitely recommend trying it out if you make pie frequently.
For best quality, store covered in the fridge for no longer than 3-4 days.
Yes, for food safety reasons pumpkin pie, even the eggless kind, should be refrigerated after chilling unless you are planning to enjoy the pie within 2 hours.
Looking for more pumpkin recipes?
For a healthier version of pumpkin pie, try out this healthy pumpkin smoothie (it can easily be made vegan!).


Did you try this recipe? You can leave a star rating in the recipe card or a review in the comments below. Or check out my cookbook and keep up to date with my YouTube, Instagram, TikTok, or newsletter!
Recipe
Want to Save This Recipe?
Enter your email & I'll send it to your inbox. Plus, get great new recipes from me every week!
By submitting this form, you consent to receive emails from Cozy Peach Kitchen
Eggless Pumpkin Pie
Ingredients
- 1 9" pie crust unbaked; thawed completely if using frozen pie crust
- ½ cup brown sugar
- ¼ cup corn starch
- 1 ½ teaspoons ground cinnamon
- ½ teaspoon pumpkin pie spice
- ¼ teaspoon nutmeg
- ⅛ teaspoon salt
- 1 ¼ cups unsweetened soy milk see note #1 for more options
- 15 ounce can pumpkin puree not pumpkin pie filling
- 1 tablespoon maple syrup more for serving
- ½ teaspoon vanilla extract
- whipped cream for serving
Instructions
- Preheat the oven to 400F.
- In a large mixing bowl, whisk together the brown sugar, corn starch, cinnamon, pumpkin pie spice, nutmeg, and salt. Add just ¼ cup of the milk, stirring until a thick paste forms. Slowly pour in the remaining milk, whisking continuously to prevent clumping. Stir in the pumpkin puree, maple syrup and vanilla extract.
- Place the 9" pie dough in a pie dish. If you're using the oil pie crust recipe, I recommend avoiding any fancy edges. It'll be easiest if you just make a flat, simple edge.
- Pour the pumpkin mixture into the unbaked pie crust. Smooth into an even layer with a spatula, if needed. Place the pie on the middle rack of the oven. Bake at 400F for 40-50 minutes. Cover the crust with tin foil or a pie shield if it browns too quickly.
- The pie is cooked when the edges are firm and darkened in color. The center will be just slightly jiggly, but not liquid. Remove from the oven and let cool to room temperature, about an hour. After cool, refrigerate for 3-4 hours, until chilled through.
- Once chilled, slice and enjoy with whipped cream and a drizzle of maple syrup.
Notes
- Milk: I usually use unsweetened, unflavored soy milk but almond and oat milk should also work. I have not tested this recipe with dairy milk, but I don't see why it wouldn't work.
- Pie dish: The pie takes longer to bake and set depending on the dish you use. It is done in about 40 minutes using a thin metal pie dish (the disposable kind). Ceramic or glass may take 5-10 minutes longer.
- For best quality, keep leftovers covered in the fridge for no longer than 4 days.
Cat says
I am making two pies: one dairy milk-free, one not. Can I use the same recipe for the dairy milk pie, subbing dairy milk for non-dairy? Thank you.
Cassidy Reeser says
Although I haven't tried it myself, I don't see why that wouldn't work, since the dairy milk should thicken up nicely with the corn starch. Looking it up just now, it seems that dairy milk doesn't require as much corn starch to thicken as non-dairy milk, but I don't think it will hurt to add as a failsafe for the pie thickening. Enjoy!
Ashley says
is the nutrition information with the pie crust or without?
Cassidy Reeser says
I just updated it because it wasn't calculating with the pie crust. Now the calories reflect 1 slice of pie with crust.
Malissa says
The baking time is a big struggle. I’m using a glass dish, and I tried a springform before this. Both times the crust begins to burn and the middle is still moving A LOT. I’ve used almond milk. I know I followed the recipe precisely, yet I still can’t make it work! I’m a frequent baker, and I’ve never struggled this much with a recipe. Any advice? I have got to figure this out!
Cassidy Reeser, RDN, LD says
Hi Malissa, first off thanks for asking! Is the filling warm (directly off the stove) when you add it to the crust (it should be)? Is it still liquid-y after 4 hours in the fridge? I have used a ceramic pie dish and a disposable tin dish with success, but actually not glass — I don’t think that should matter too much.
With pies (especially oil crust) I often have trouble with the crust browning too quickly so I cover the edges with tin foil when it begins to brown... this should allow you to bake it longer. The center will still be a little jiggly but the filling edges should be set when the pie is transferred to the fridge to cool.
I hope this helps! Let me know how it goes.
Malissa says
The filling was still warm, though I turned off the heat as I put the crust into the pie dish. I did try to get tin foil over the edges as it started to brown. I had this top layer that sort of hardened or crusted, and beneath that crust, the filling seemed to be still boiling. I finally pulled the pie out at 70 min. Maybe I’m just letting it bake for too long? The sides seemed to still slosh quite a bit when I pulled the rack to check it at 45min though. I’ll see what happens after it chills. I definitely don’t think I should have that top crust though.
I know someone else who made this recipe and didn’t seem to struggle one bit! Too bad she can’t come over to make it with me. I’ll update tomorrow. I think I will be trying again.
Cassidy Reeser, RDN, LD says
It is tough to tell how much baking is enough because so much of the setting happens while it cools, but it should definitely be enough by 60 minutes. And I would also skip the top crust. I think chilling it should do the trick... Best of luck!
Cassidy Reeser says
For anyone reading the comments: this recipe was updated September 2020 and the pumpkin pie filling no longer needs to be heated before pouring into the pie crust (this is noted in the instructions).
Tabi Williams says
Hi, can't wait to try this recipe, I'll be using fresh pumpkin puree from one I've grown will that be ok as i know it's wetter than canned puree.
Cassidy Reeser, RDN, LD says
I think that should work just fine. Hope you enjoy!