


This vegan macaroni and cheese is packed with flavor, super smooth and creamy, and ready in under 30 minutes thanks to coconut milk. The best part? This recipe is made without cashews AND it's blender-free!
If you're like me and love comfort food and vegan macaroni and cheese but don't like getting out a blender, soaking nuts, or boiling veggies, then this recipe is for you!
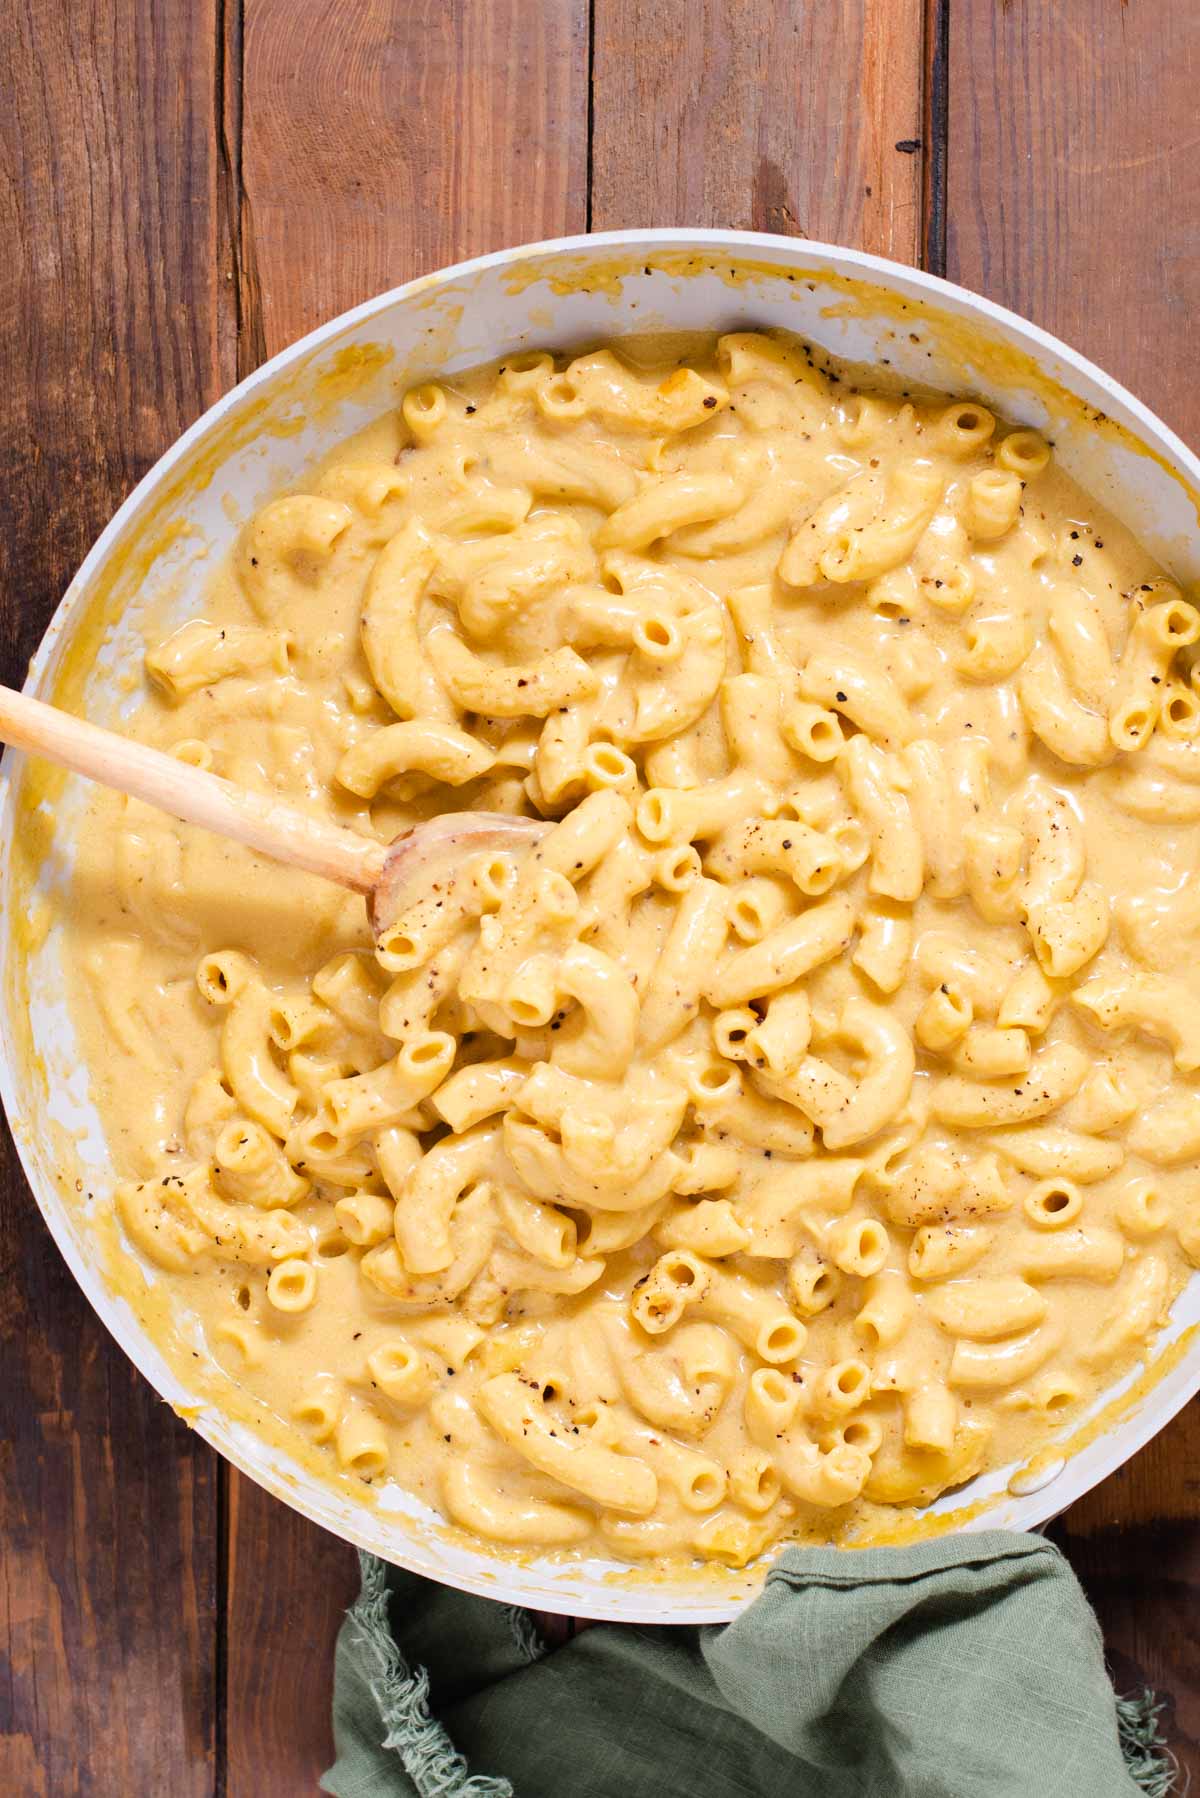
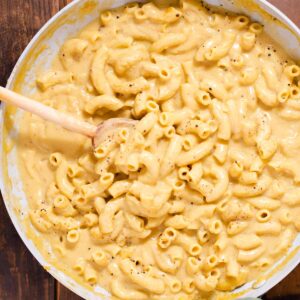
This vegan mac and cheese uses full-fat coconut milk to make a rich and creamy, savory, dairy-free cheese sauce in under 30 minutes!
Jump to:
Recipe features
- Dietary features: vegan, dairy-free, nut-free, can be made gluten-free and oil-free
- Made without a blender or food processor.
- Super creamy: Uses coconut milk for a smooth, rich, and creamy texture.
- Quick and easy recipe: Ready in under 30 minutes using pantry staples.
- Flavorful: Packed with umami, savory flavors.
Ingredients

- Coconut milk is the key ingredient. Choose a can of unsweetened full-fat coconut milk, not boxed/refrigerated "coconut milk beverage" or coconut cream. Lite coconut milk works but will result in a thinner sauce.
- Miso adds a lot of saltiness and depth. I use yellow or white miso (they are very similar) but red miso will work in a pinch.
- Nutritional yeast contributes to the "cheesy" flavor. You can find nutritional yeast in the baking aisle or by the spices at most grocery stores. I usually use Bragg's brand.
- Seasonings: Ground mustard powder, Old bay, and onion powder are classic mac and cheese seasonings. Old Bay is a multipurpose seasoning that is useful to have on hand for roasted veggies and chicken fried tofu.
Step-by-step instructions

- In a large skillet over medium-high heat, sauté 3 cloves of minced garlic in olive oil until lightly golden and fragrant.
- Sprinkle in ¼ cup of all-purpose flour. It will be slightly lumpy- don't worry! Toast the flour for 1-2 minutes, until it is deepened in color. This removes the raw flour flavor.
- Slowly add the coconut milk to the flour mixture, whisking to combine. Start with just a little bit and slowly add in more to prevent lumps.
- Add the nutritional yeast to the flour and garlic mixture. Stir in the miso, lemon juice, mustard powder and salt. Continue to whisk until the mixture is smooth. Let simmer over medium-low heat until thickened.
The cheese sauce is ready when it is thick enough to coat the back of the spoon without sliding right off. It will continue to thicken slightly when you turn the heat off.
Cassidy's tips
For a lower-fat option
Use one can of light or reduced-fat coconut milk in place of a can of full-fat coconut milk. The recipe will be slightly less creamy, but still delicious.
To make gluten-free
Use an all-purpose gluten-free flour in place of regular all-purpose flour. My favorite brand is Bob's Red Mill all-purpose flour blend.
Adjust for salt
I don't add any table salt because miso is very salty. If you prefer a saltier sauce I recommend tasting for salt at the end.
Recipe FAQ
This recipe does have a subtle coconut flavor so if you really don't like coconut then this recipe may not be for you. The coconut flavor is not overpowering because the other ingredients mellow it out and give it that cheesy umami flavor.
Yes! If you prefer baked mac, this recipe can easily be modified. My broccoli mac and cheese recipe has a golden panko topping you can add if you'd like a golden crust.
If using the broccoli mac method, add to a lightly greased 9x13 or similarly sized casserole dish. Cover tightly with foil and bake covered for 15 minutes on the middle oven rack at 350 degrees F. After 15 minutes, remove the foil and bake for 10 more minutes, or until the panko is golden brown and crispy.
No, coconut milk is required for this recipe. You might like my broccoli mac and cheese recipe if you're looking for a cashew-based sauce.
No, but I do have an Instant Pot vegan mac and cheese that is very similar to this recipe.
Serving ideas
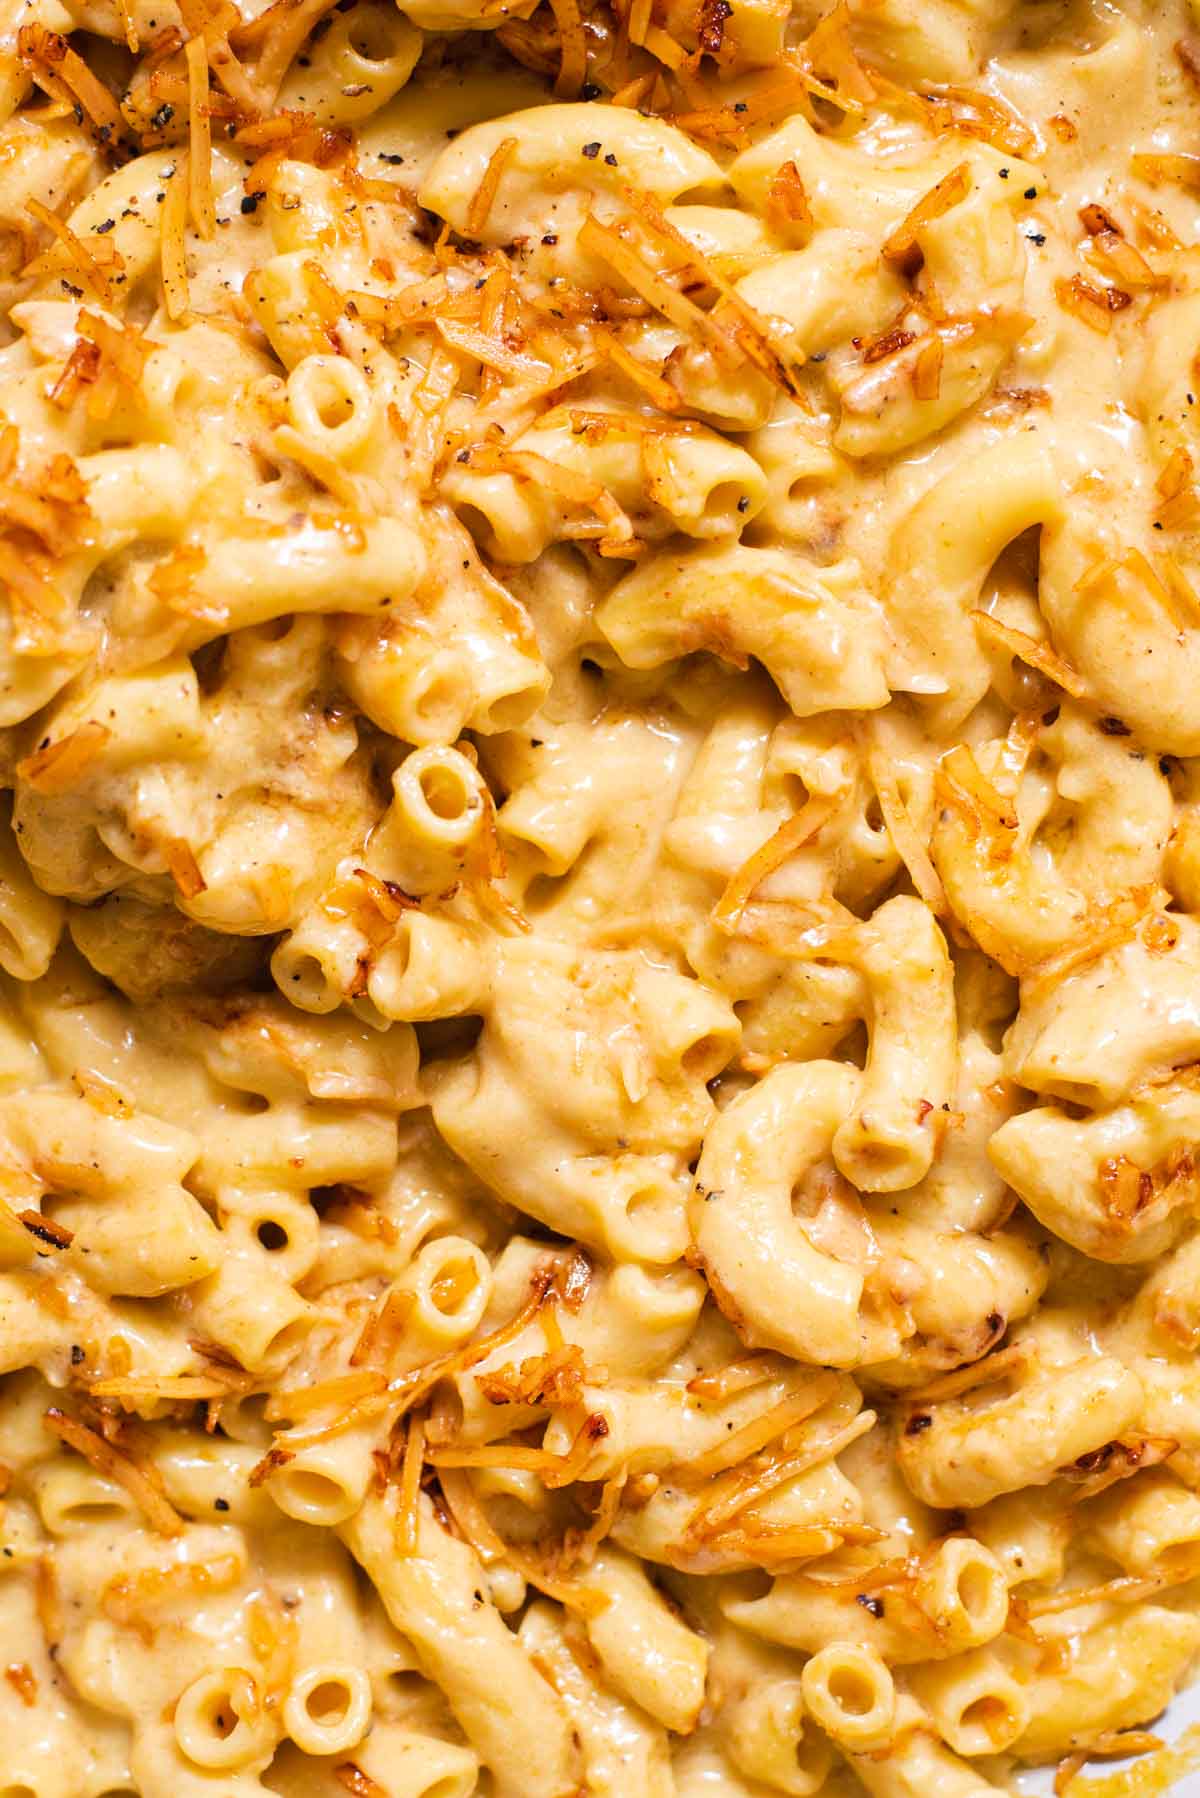
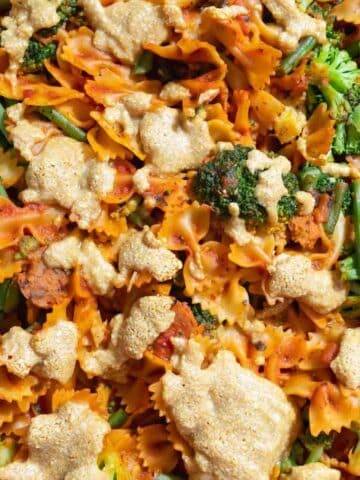
For a complete meal serve vegan macaroni and cheese with panko breaded tofu or vegan mushroom meatballs and a sprinkling of smoked tempeh bacon or coconut bacon (pictured below).
Serve with vegan collard greens, vegan cornbread and Instant Pot vegan black-eyed peas for a Southern-style meal.
If you want to serve mac and cheese with a veggie, I recommend steamed or roasted broccoli. Cauliflower is also a great option.
Make-ahead tips and storage
- Leftovers: Keep refrigerated in a closed container for 3-4 days. The sauce will thicken as it is refrigerated so you may need to add a splash of unsweetened milk (I usually use soy milk) or vegetable broth.
- Reheating: Reheat a single serving in the microwave for 1-2 minutes or on the stovetop over medium-low heat. Stir occasionally until warmed through.
- Freezing instructions: This freezes well. Transfer to a freezer-safe container and freeze for up to 3 months. Let thaw completely in the fridge before reheating.
- Make-ahead: You can make the vegan cheese sauce in bulk and freeze it for later use. It will need to thaw in the fridge for up to 24 hours before using and will need to be stirred and heated before using.
You might also like

Did you try this recipe? You can leave a star rating in the recipe card or a review in the comments below. Or check out my cookbook and keep up to date with my YouTube, Instagram, TikTok, or newsletter!
Recipe
Want to Save This Recipe?
Enter your email & I'll send it to your inbox. Plus, get great new recipes from me every week!
By submitting this form, you consent to receive emails from Cozy Peach Kitchen
Vegan Mac and Cheese with Coconut Milk
Ingredients
Creamy Vegan Macaroni and Cheese
- 8 ounces dry elbow macaroni or pasta of choice, see note #1
- 1 tablespoon olive oil
- 3 cloves garlic minced
- ¼ cup all purpose flour
- 2 13.5 ounce cans unsweetened full fat coconut milk see note #2
- 2 tablespoons yellow miso white miso also works
- 2 tablespoons water
- ½ cup nutritional yeast
- 2 tablespoons lemon juice from 1 small lemon
- 1 ½ teaspoon dry mustard powder
- ½ teaspoon Old Bay seasoning optional
Instructions
- Cook pasta to al dente in well salted water according to package instructions. Drain and set aside.
- Heat a large skillet over medium heat. Once hot, drizzle in 1 tablespoon olive oil. Add minced garlic and sauté for about 1-2 minutes, until golden and fragrant.
- Sprinkle in flour, whisking for 1-2 minutes, until lightly toasted. Whisk rapidly while slowly pouring in ¼ cup of the coconut milk. The mixture will appear lumpy at first but should thin out as you continue whisking. Slowly pour in the remaining coconut milk while whisking.
- In a small container, whisk together the miso and 2 tablespoons water to thin the miso out. Add in the thinned miso, nutritional yeast, lemon juice, mustard powder and Old Bay seasoning.
- Bring the sauce to a rapid simmer, then reduce to a gentle simmer over medium-low. Simmer until thickened enough to coat the back of a spoon without falling off. Continue to whisk occasionally to prevent clumping. If needed you can add in water 1-2 tablespoons at a time to thin the sauce.
- Stir in the cooked pasta and taste for seasonings. Enjoy!
Video
Notes
- Pasta: This is a pretty sauce-y mac and cheese. Increase up to 12 ounces of pasta if you want less sauce.
- Coconut milk: Choose canned coconut milk. For a lower-fat option, you can use one can of light or reduced-fat coconut milk in place of a can of full-fat coconut milk, or one can coconut milk and 1 cup of non-dairy milk. The recipe will be slightly less creamy but still delicious.
- To make gluten-free: Use an all-purpose gluten-free flour in place of regular all-purpose flour.
- Freezing: You can make the cheese sauce in bulk and freeze it for later use. You can also freeze the mac and cheese. It will need to thaw in the fridge for up to 24 hours before using and will need to be stirred and heated before using.
- Leftovers: Keep refrigerated in a closed container for 3-4 days for best quality.
- I usually serve this recipe with coconut bacon bits or tempeh bacon.
Sally says
One kiddo is allergic to nuts and coconut. The other one is gluten-free. Your comments indicate coconut milk is required. Any possible substitution (soy milk and pasta water combination)?. Thank you.
Cassidy Reeser says
A combination of soy milk/pasta water will technically work, but the flavor/texture will end up a bit different when replacing the coconut milk. I would just do that substitution (maybe 1/4 to 1/2 cup pasta water, the rest soy milk) and adjust seasonings to taste. Hope this works!
Lindsay says
This was a total hit! I doubled the recipe with two different pastas (regular and also a lentil pasta) and the family ate this a few times! They kept asking if we still had leftovers! We added broccoli to it too. So good! Thank you for so many great recipes. I’ve made 3 so far and all 3 have been loved by the family!
Cassidy Reeser says
Thanks for trying my recipes, I really appreciate it! 🙂
jeanne says
I made this for Thanksgiving and followed the recipe exactly as written and it was delicious. I added onion powder for some flavor
Cassidy Reeser, RDN, LD says
I bet the onion powder was a great addition. Thanks for making!
Jennifer says
This look awesome ! Going to make it this week. I was wondering what kind of flour you use ? I'm gluten free and wanted to make sur a g free flier wouldn't work ok. Thanks
Cassidy says
You should be able to use the same amount of gluten free flour (choose an all-purpose mix like the Bob’s Red Mill gluten free flour mix) with similar results. The flavor may be a little different but I expect that it would thicken similarly. I look forward to hearing how it goes. Happy cooking!